Recent Posts

23/02/2015

Project Life | Week 3

Good morning! I hope the weather wherever you are, isn't too horrible. It's been really cold here the last few days. Perfect weather for curling up on the couch with hot chocolate and a movie or book. Unfortunately I had to work the weekend, and it was chilly. On the bright side I'm sharing week 3 today, and there's another link up happening with Karen.


Here's my spread. I used cards from the Midnight Edition, and the Be you tiful card is from Studio Calico.


This week I made a bunch of craft projects, finished a book and documented my issue with choosing my next book. We also celebrated Jon's mom's birthday with a beautiful cake.


Here's the right side. I included photos of my book wreath (which I still need to hang), a selfie I took, a scrapbook page I made for work, and the cover of my Love Mini Album. My weeks are pretty boring and simple lately. We spend most of our time working, and when we're not working, we've been watching Grey's Anatomy, or I've been crafting, and Jon's been painting/assembling Warhammer models.

Thanks for coming by to see my spread for this week. Please check out the link party over at Karen's blog. Share your link, and check out everyone else's spreads.


Have a great week! I hope to see you all next week at the Monday Link Up!
-Alexandria

20/02/2015

Favourites Friday | Bloggers

I've decided that since this is my blog, I can do whatever I'd like with it. I've decided (thanks to an idea from Kellie at Give a Girl a Blog) to create a monthly post in which I share a few of my favourite things. This won't just include my favourite crafty things. Food isn't crafty, and I'd like to include it in one of my lists.

Today I'm going to share a few of my favourite blogs. Most of them are related to scrapbooking, but not all of them. I love to read blogs by people who have similar interests as me, and in the case of most of these ladies, that means scrapbooking. Both Project Life, and traditional 12x12 pages.

Wilna Furstenburg of I Heart Studio
I fell in love with Wilna's Youtube videos, and love to read her blog now as well. I took her Heartfelt Christmas workshop, and loved it! I'm saving a bit of money to purchase all of her other worshops from her site, and I own most (if not all) of her cutfiles. I love her style so much, and I love being inspired by her weekly videos. She's encouraged me to accept mistakes, and step outside of my comfort zone and use paint on a few scrapbook pages.

Marcy Penner of Hello Forever
I fell in love with Marcy's videos for Two Peas in a Bucket before the closed down. I loved her Project Life style, and took a lot of inspiration from her when I started working on catching up with 2011-2013 Project Life style (still have plans to share those spreads at some point). I loved that she didn't use 4x6 or 3x4 photos very often, she embellished but didn't overpower her photos. I took her mini book workshop at Studio Calico last year, and loved that! I got so much amazing inspiration from her that I used in my 30 Days of Me mini album.

Kellie Winell of Give a Girl a Blog
I first discovered Kellie in a Project Life group (I think). I loved the clean and simple style of her Project Life pages. Then I discovered that she makes stamps and I loved her even more! I love that she does more than just scrapbook, and uses her blog to share things happening in her personal life.

Dana Fox of The WonderForest
I can't remember how I originally discovered Dana's blog. It was a long time ago, possibly through Pinterest, and possibly through a make up tutorial. I fell in love with all the tutorials she shared for various things from hair, to make up, to craft projects. I love her blog templates, and would love to one day feel that this blog is worth purchasing a custom template from her. I love that she has a blog, and Youtube channel full of blogging tips. Through that blog and her Youtube channel, she's helped me to create some ideas for my blog, and change a few things around (it's a constant work in progress).
 
Amie Lamm of Little Lamm & Co.
I first discovered Amie during the Pocket Source's RAK giveaway they had last year. I won a set of her digital cards (love them), and immediately fell in love with her shop. I started seeing her work show up all over the place (mostly in the Studio Calico member gallery), and I fell in love with her style. I love browsing her Instagram and seeing pictures of her adorable kids, and her beautiful Project Life pages!

Andrea Gray of RetroHipMama
I think I discovered Andrea in a Project Life group. She was linking a video tour of her Project Life organization. It was creative, and of course I love seeing how other people store/organize their supplies. Then she started doing process videos, and I fell in love with watching her work. I also love to see how people create layouts. I love her pages, they're full of love and creativity.

Stephanie Bryan of Stephanie Makes
I started following Stephanie on Instagram recently, and after watching a video of her Project Life album for January, I started reading her blog. I love that she's thinking outside the box, and documenting her life in whatever way she wants. I can't wait to see how she documents February, and the rest of the year. It's so creative!

Thank you for coming to check out some of my favourite bloggers. I'm always looking for additional blogs to read, so if you have any suggestions, feel free to leave links in the comments and I'll be sure to check them out!

Have a great weekend!
-Alexandria
 

18/02/2015

DIY Pocket Mini Album | Part 1 - Creating the Cover

A few people asked me to share a tutorial on how I made my Love Mini Album (here). Today I'm sharing with you how I made the base of my album. I decided to split this into two parts because there's a lot of photos. I didn't think anyone wanted to spend two days reading through all of it!


Supplies:

  • Chipboard or thick cardboard - I used some from the back of a fridge calendar
  • masking tape
  • Fabric - I used old white sheets and dyed it, but you could use a patterned fabric and skip that step
  • Food colouring, ink refills, fabric dye or anything you can use to dye your fabric
  • Glue stick or mod podge - I used a glue stick so I could reposition the fabric if necessary
  • fabric tape, or washitape
  • scissors
  • plastic bag


First, we're going to cut our chipboard pieces to size. You can adjust this to whatever sizes you want, but to fit 4x6 photos into the pockets, you'll want your front and back cover to be 5x7. Your spine will be 1x7, unless you plan to make a lot of pages, then you can make it whatever width you want, just make sure it's the same height as your front and back cover.


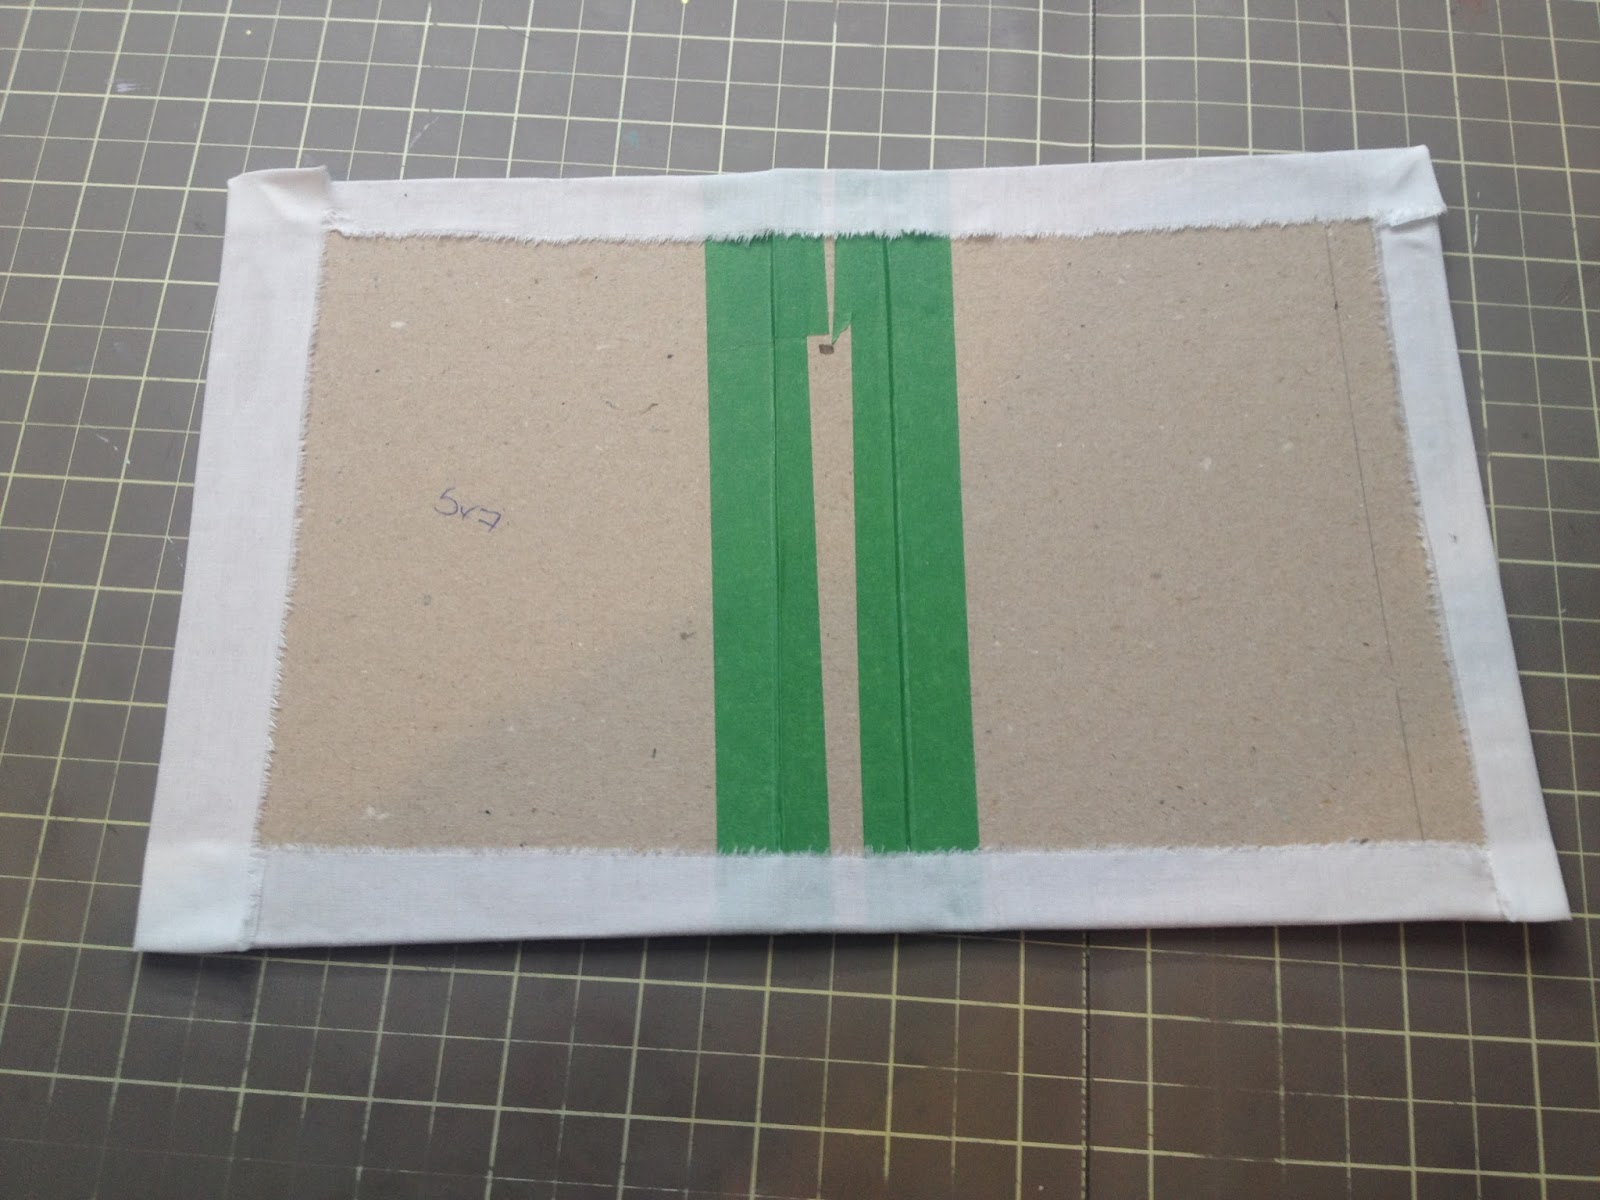
Next you'll want to tape your spine to your covers. Make sure you leave a gap between them so your spine and covers can bend to close.


Wrap the tape around both sides, and tape the back cover to your spine as well. I used painters tape because I couldn't find any white masking tape.


Next you're going to cut your fabric. You'll need two pieces of fabric, one will be a couple of inches taller than the other, but they'll be the same width.


 Both should be a little bit larger than your album. I set my album on the fabric and cut/tore it to the desired size. The smaller piece is roughly 1" wider all around, and the larger piece is an extra 2" taller than the smaller piece.


Apply glue to the outside of your album cover. Lay your smaller piece of fabric on it and smooth it out. I close my album and smooth the spine and front and back covers to make sure the fabric won't pull when I try to close it. When it's opened flat, the fabric will bubble a little along the spine, but that's normal. It means your fabric won't pull. It doesn't have to be perfect because it'll be covered by your other piece of fabric.


 Turn your cover over and glue the extra fabric down. This makes sure it doesn't shift around or accidentally tear off the cover. It doesn't have to be pretty, it'll be covered by the second layer of fabric, and the paper.


Decide on the colour you want your cover to be. I used food colouring to dye both my Love Mini Album cover, and my Vintage Book Mini Album cover. I did them both in different ways.
For the Vintage Book cover, I put drops of food colouring onto the garbage bag I covered my desk with, and used the fabric to absorb the colour. The benefit of doing it this way, is that your colours tend to be more vibrant, it's just a lot more messy.


 For the Love Mini Album, and this one, I wanted more control over my colours. I put some water into a cup, and added a few drops of food colouring then added a strip of fabric. When it was the colour I wanted, I removed it, and gently ran my fingers down the length of the fabric to get out the excess water. Then I added more food colouring and another strip of fabric. When it was a little darker than the previous strip I removed it, added more colour and another strip.


I wanted an ombre look, and I knew my colours wouldn't be perfectly ombre (I've done this before), and I was okay with that. I just really wanted a purple album, and was okay if it wasn't a super dark purple.


I left my strips to dry on the plastic bag for a half hour. I left the ceiling fan on in the craftroom to help them dry a little faster. If you want them to dry even faster, you can use a paper towel, or an old rag and dab the strips to remove excess water.


When my strips were dry, I laid them out on my album cover. Because I cut my larger piece of fabric, two inches larger than the smaller one, I was able to overlap my strips of fabric. I didn't cut them all to be the same width, so overlapping them unevenly was okay with me.


When I decided where I wanted each strip, I gently slid them off and ran my glue stick along the first strip. I did the same thing I did when adhering the base fabric. I closed the album to make sure the strip wrapped around the album cover.


I glued down all the other strips the same as the first with slight overlap, and left a bit hanging over the top and bottom. I'm a perfectionist, but I love the messy-ness of this album cover.


On the inside, my purple edges weren't very even. I was okay with that because I knew I was going to cover them with my pages. This album currently looks like a mess on my desk, but by the end I promise that it won't!


Then I ran the album through my sewing machine. I only stitched around the outside edge, but you could sew this however you wanted. If you don't want any of your stitching to affect your pages, do it now before you add any pages, and you can still hide it.


Going back to the inside of your album, now is when you cover your spine with washitape. I used black washitape to hide the green masking tape, but you can use any colour you want! Just make sure that you push a little into the gap between the spine and the covers. I went out the width of my tape from the gap between the spine and the covers. The pages will hide all the tape except the portion on the spine.

Now you can set this aside and work on your Project Life pages, or watch something on Netflix! I'll be sharing Part Two of this - the inside pages and finishing touches - on March 6th. I'm working on that post right now, and I'm so excited for you to be able to finish your albums! You're going to love them!

Thanks for coming by! I hope you found this helpful! I'd love to see your mini albums, so please please please leave links to them in the comments. Even if it's just to a Facebook photo. I'd like to think that my tutorials help people create pretty things!

Have a great day!
-Alexandria

16/02/2015

Project Life | Week 2

Good morning! Today I'm sharing my spread for week 2 of my Project Life. Just a simple spread again, full of crafty goodness, and books.


This week I used cards from the Midnight Edition, and Dear Lizzy Daydreamer mini kit.


Here's the left side. I included a photo of the final Save the Date that she chose. I printed one out to show her how it would look. She loved it. I included a stack of books I got in the mail, the Christmas tree was still up at this point (no big deal right?). I included a shot of my desk while I worked on my One Little Word prompts.


Here's the right side. I was photographing Project Life spreads from December, and the window was frosty, so I snapped a photo of it. Gracie yoga sleeping beside me. I dyed my fingers green making the vintage book mini album this week. I also included the book pages and the final mini album. So pleased with how this week turned out. So far I think I can fit it all into one album!


Thanks for coming to check out this weeks spread. I hope you'll join Karen's link up on her blog! I'd love to see your spreads, and I'm sure you'd love to see everyone else's spreads!

Have a great day!
-Alexandria

13/02/2015

10 Books To Read in 2015

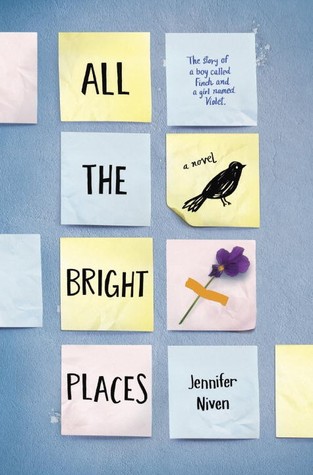
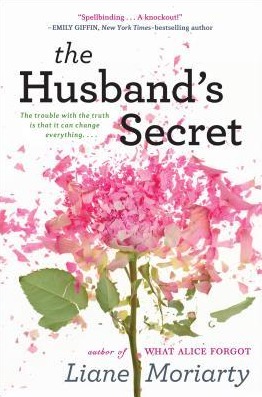
Good morning! Today I'm going to share a few books on my to-read shelf for 2015. I'm not telling you that you have to read them, but I'm hoping that you might find at least 1 book you want to read, whether I'm suggesting it here, or you find one "related" to it somewhere else. I'm also not telling you that any of these books are really good. I'm just sharing a few that are on my shelf. Enjoy!


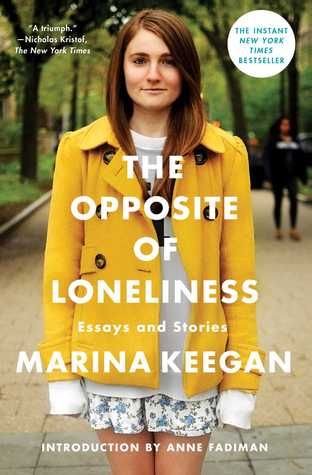
Game of Thrones by George R.R. Martin // The Opposite of Loneliness by Marina Keegan


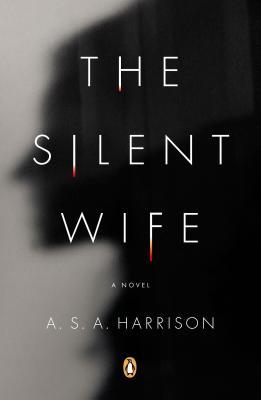
The Silent Wife by A.S.A. Harrison // This is What Happy Looks Like byJennifer E. Smith

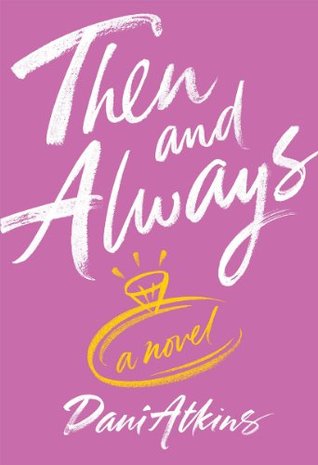
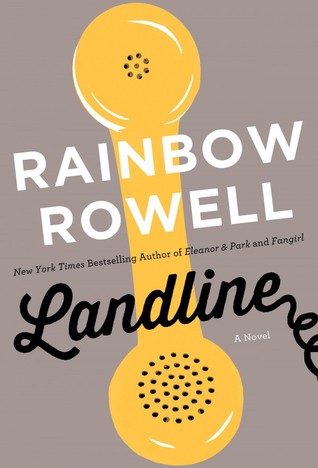
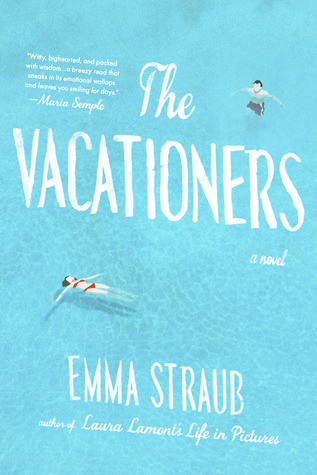
 This is just a few of the books I want to read. My goal is another 50 books, and at the time I'm writing this (the 4th of February) I've already read 8 of my 50 books. I'm currently working on number 9, and number 10 is in my bag. Reading is definitely one of my favourite things to do! If you have any book recommendations, leave them in the comments. I'm always looking for new books to read. I like almost anything and I'm the one person who judges books based on their cover. If I'm drawn to the cover, I'll read the description and usually give the book a chance.

Thanks for coming by! I hope these suggestions helped you find some books you might want to read this year (or next year). Or maybe they inspired you to do a reading challenge of your own. Happy reading!

-Alexandria