Recent Posts

Showing posts with label cards. Show all posts

10/07/2015

Scrapping My Stash | Thank You Cards

First, let me just say that I'm fangirling (is that even a word?) over the comment Paige Evans left on yesterday's post. Both her and Wilna commented on my Instagram post yesterday as well (which is freaking amazing!). I'm forever grateful to be a part of such a wonderful community of people, and I definitely will continue to fangirl when people I admire comment on my work.

In other news, this post is a little later than normal (sorry I was busy spray painting a file cabinet - and not taking before photos). Today I'm sharing some cards I made using this stamp set from Ali Edwards. Originally my plan was to use more paper layers on all the cards, but ended up mostly using the stamp. I just love everything about it, and I can't wait to use it for more cards!

I don't LOVE this card, but I do like it. I think maybe I need to stamp more "mucho thanks" in another shade of purple. I love that the black thanks is hanging off the edge of the card, and isn't perfect. I love how messy it is.
I made two of this card. I made one and gave it to a coworker with a gift certificate for all her help, and made this second one because I didn't photograph the first one, and Jon was all "you have to share this one. That 'dude. you're the best.' sentiment is AWESOME" I love it. It makes me laugh every time I see it.
This was inspired by this Studio Calico Card Sketch (they share sketches on their blog on Sundays), but of course I made it my own. I love how it turned out. I don't think I've ever machine stitched on a card possibly ever, but I LOVE how it turned out. I feel like it ties everything together, and of course it's holding the papers down.
I have the biggest stash of paper scraps ever. I use patterned paper and the leftovers go into a basket, and I rarely look at it again. Then I use a full sheet of the same pattern for a small piece when I could have just used the scrap piece. I'm trying to be better about it and use my scrap pieces, so I dug out this one and stamped a simple "thanks" on the bottom.

I'm a simple person, so I love this card. But Jon tells me it's too simple. I think it's clean and simple and the words become the emphasis of this card (but I might go baack and add some enamel dots or something to make it less boring).

This card is one of my favourites from this batch of cards. The pattern paper is from a super old kit, and I found it in my scraps and knew I was probably never going to use it for anything else, so I made my card a square and found a brown piece of paper to frame it. I used blue and red ink to pull in other colours from the paper. I love how happy it makes me feel when I look at it.

Thanks for coming to check out these cards. I'm always looking for new ways to use my scraps, and of course Paige Evans is the queen of using pattern paper, so I think I'll draw some inspiration from her and make some traditional layouts with scraps.
Have a great weekend!
-alexandria

06/03/2015

Congratulations Cards

Today I'm sharing some cards I made for my cousins wedding shower / wedding. My mom asked if I could make a last-minute card for her shower, and so I made three because I knew I'd need another one for her wedding, and one for Jon's sister's wedding this summer.


I pulled out these frame cutfiles from iheartstudio.ca, my watercolours, some stamps and water colour paper. I tried to just go with it, and have fun with the watercolours. I didn't want to over think it too much, or try and be such a perfectionist.


For this first card, I used the frame with the hearts. I painted a square small enough to fit in the frame, with watercolours. Once it was dry I glued it to the back of the frame. Added dimension with foam squares. Stamped and cut out the congratulations sentiment, and used foam squares to adhere it over the crochet cotton. I hid the knot behind the sentiment. I love that it's clean and simple. This is the card we ended up using for her wedding shower at the start of February.


I painted a piece that would fit on the front of the card, and have a little white border around it. When it was dry, I stamped the cake and sentiment onto the card using this stamp set from Studio Calico. We decided we'd use this card to go with the gift for their wedding.


I never do anything with just yellow, so I made this card. I used some left over ribbon I had sitting on my desk, another frame from the cutfiles above, and another congratulations sentiment. This one is so bright and happy. It could be used for a baby, or a wedding. My plan is to use this one for Jon's sister's wedding. Her colours are blue and yellow.

Thanks for coming by to see these cards. Pull out your watercolours, or any paints you have, and make one card. If it's not fun, then put them away and do something else.

Have a great weekend!
-Alexandria

25/02/2015

Studio Calico: Walden Card Kit

Good morning! I know this card kit is a little overdue (it was released in November), but sometimes I let my card kits pile up, then pull out a few and work on them over a weekend just to get them off the shelf. In this case, I needed a blog topic, so I worked on this card kit (and the December one).


For this card, I used some scrap pieces, and this stamp from Ali Edwards. I love  thank you cards. There's just something about showing someone how much you appreciate them, even if it's just with a simple card.


I loved the little plastic label-like sentiments that were included in this kit. I used every single one of them!


Inside the little wood veneer arrow, it says "hooray for sweater weather". Jon loves this card, I just wanted to use the orange cloud paper.


I used some scrap strips to look like washitape at the top and bottom of my sentiment. I loved the nuts about you sentiment. I wanted to use the little acorn stamp, but I only have one shade of brown, and it didn't look good all one shade of brown, so I used the nuts about you stamp like this.


I also couldn't get the apple stamp to look like an apple so I just used the "you're the apple of my eye" sentiment by itself. I think it looks fine. I added some diamond washitape along the edge where the papers met to hide the seam.


My favourite card! I love the pale colours, and the wood veneer heart is the perfect size. I wrapped the yellow ribbon around the seam and adhered it to the back of the patterned papers. Still love love love those plastic sentiments.


My favourite paper in the whole kit. I love looking at it. I almost want to make it into wallpaper and make an accent wall with it.


Used some scraps, and more diamond washitape and another plastic sentiment on this card. I love the look of it!

Thanks for coming by to check out the cards I made using the Walden card kit from Studio Calico. I hope you have a great day!
-Alexandria

28/01/2015

Studio Calcio: Underground Card Kit

Good morning! Today I'm finally sharing the cards I made using the Studio Calico Underground card kit. I'll admit that I had planned to do this a lot sooner than now (the kit came out in October), but I would pull out the card kit, and look at the stamp and think to myself "What am I supposed to do with this?" I browsed the member gallery for inspiration, and usually came up empty handed. I don't make cards for Halloween, I wanted to use only the main card kit to make at least 9 cards before I used the add-ons. It definitely didn't work out that way. With the addition of the add-ons I was able to make 9 cards. I could have used the add-on stamps to create more, but I felt that just 9 that I could hopefully use, was better than 15 that will just sit their collecting dust.


The two photos above are from the same card. These little tags were the perfect size to hold a gift card, or some money, so I put a gift card into the top one. I stamped a sentiment above the opening so that when you remove the gift card you can see it.


When I first saw the compass wood veneer, I was thinking to myself "what would I ever use this for?" The member gallery had something similar to this, but I wanted to make a band around the bottom, so I stamped the sentiment in black and green ink.


I made this card using just the stamps. The circle looks like it was supposed to be the outline for the pumpkin, or maybe just an imperfect circle. I had fun creating this card.


I have a container full of flair on my desk, and I try to use as much of the extra embellishments as I can. Originally I had stamped "Darling" directly onto the background, but it didn't turn out so I covered it with a piece of white, and realized the whole thing was a little too close to the bottom, but worked with it anyways.


When I saw the patterned paper I used for this card, I immediately thought of bow ties. Hello Handsome seemed an obvious choice. I used a bit of the copper paper for the sentiment.


I wanted the thanks sentiment to look like it was part of the chevron pattern. The middle one was the one I did first, and it didn't turn out, but I'm pleased with the rest of it. On the top of the tag I stamped "I made this especially for you".
 

I had been browsing Instagram before I made this card and someone made a PL card by repeating a stamp. I love that Darling and one of the I miss you's stand out from the rest.


One of the add-on stamps, was this tea set. It's cute. I love the tea cup and the little teabag. I found a doily in my stash and three tries later, got the tea cup to turn out.


I wanted to quickly use the snowman stamp set as well. So I made a simple two-ball snowman and rubbed a blue ink pad along the bottom.

Does it make me a horrible person that I'm happy to just be finished with this kit? I don't use a kit until I run out of supplies (except once with an earlier kit that I just loved!), so most of the papers ended up in my stash. I can see a paper purge coming shortly.

Thanks for coming by to see these cards. My hope is to make a few cards using my stash. I miss just using my stash to make cards, but if I'm buying the card kit, I'm going to try and make a few cards with it instead of just letting it collect dust on my shelf.

Have a great day!
-Alexandria

28/11/2014

Christmas Cards - For My In-Laws

I can't believe that it's already December. It's my niece's birthday in a few days, and we have 3-4 Christmas's to try and attend this year. Luckily most of my family lives close enough to make day trips to see them, instead of taking two weeks off to make sure we see everyone. I'd love to go a little further and visit my Aunt & Uncle in Manitoba for Christmas (I have yet to see the house they've been living in for the last 4 years). We'll see how things go.

Every year I make Christmas cards for my in-laws. I usually choose an animal that's somehow associated with them. This is the third year, and the last two years we did a horse, and a panda. This year, we decided on a deer, and after flipping through a dozen card making magazines, I found a simple on that had a deer head on it. I love that they include any cutfile details in the fine print at the bottom, so I downloaded the one they used and started planning.


I chose this cutfile but I hated the head of the deer. So while browsing Pinterest, I came across this photo, and so I used the trace feature in Silhouette, and traced the deer head. The image was small, so I traced it while it was small and after removing the image, I changed the size of the cut design to be the size I needed it for the card.


I used the "mount" from the original cutfile so the deerhead didn't look like it was just floating on the card. I typed out the Merry Christmas sentiment in word, and made a table with boxes the size I needed so I didn't have to think about it, I could just cut them out, cut the ends to make a banner and glue it down.


I love this paper. It's from the DCVW glitter pack. We decided on a stripe because it was more visually appealing than just the solid colors. I love that the glitter doesn't come off on your hands, and get everywhere, but I hated how thin it was. I had issues with it sticking to the cutting mat too well, and ripped a bit of the leftovers trying to get them off, luckily no deer were harmed in the making of these cards!


I also love that the deer don't all look the same. There's a few that are similar, but they're not exactly the same. I apologize for the terrible photos. I meant to do this post last night, but when I got home it was dark, and I couldn't find the lamp, so I took the photos this morning, in a rush before work.

Thanks for coming by to see these Christmas cards! I'm hoping to get mine and Jon's done fairly soon, but with my luck they won't be going out until next year, again.

Have a great weekend!
-Alexandria

14/11/2014

Quick & Simple Sympathy Cards

Good morning! Today I'm sharing some super simple Sympathy cards. I whipped these up in about an hour, after I figured out what I was doing, and the colours I wanted to use. I hate making sympathy cards because death is extremely sad, no matter how well you did or did not know someone. I prefer to make cards for happy occasions like birthdays, babies, etc. 


I did a similar style of this a year and a half ago, when I first started this blog. Today I'm going to share the measurements so you can make them yourself! (I'd make a sketch, but I have no idea how to, without drawing it out by hand)


The card base is 4x4, and if you cut a piece of 12x12 paper just right, you can get four cards out of it! Bonus right? The grey paper on the left is 2"x3 3/4". The YEllow Flower paper is 1 5/16" x 1 7/16". The thin yellow strip with the white gems on it is 1 5/16 x 1/4. The little white tag is 1 1/2" x 2 3/4".

Happy crafting! Thanks for coming by to check out these cards. I'd love to see what you make with them! Have a great day!
-Alexandria

10/11/2014

Studio Calico: Penny Arcade Card Kit

Good morning! Today I'm sharing the cards I made using the Penny Arcade Card Kit from Studio Calico. This kit was released in August, but I kept putting off using it because I felt that the stamp was extremely limiting, but I missed both the presale and the reveal, so I worked with the main kit.


This first card was pretty straight forward. I added buttons and stars in a somewhat random fashion, but within the white scallop.


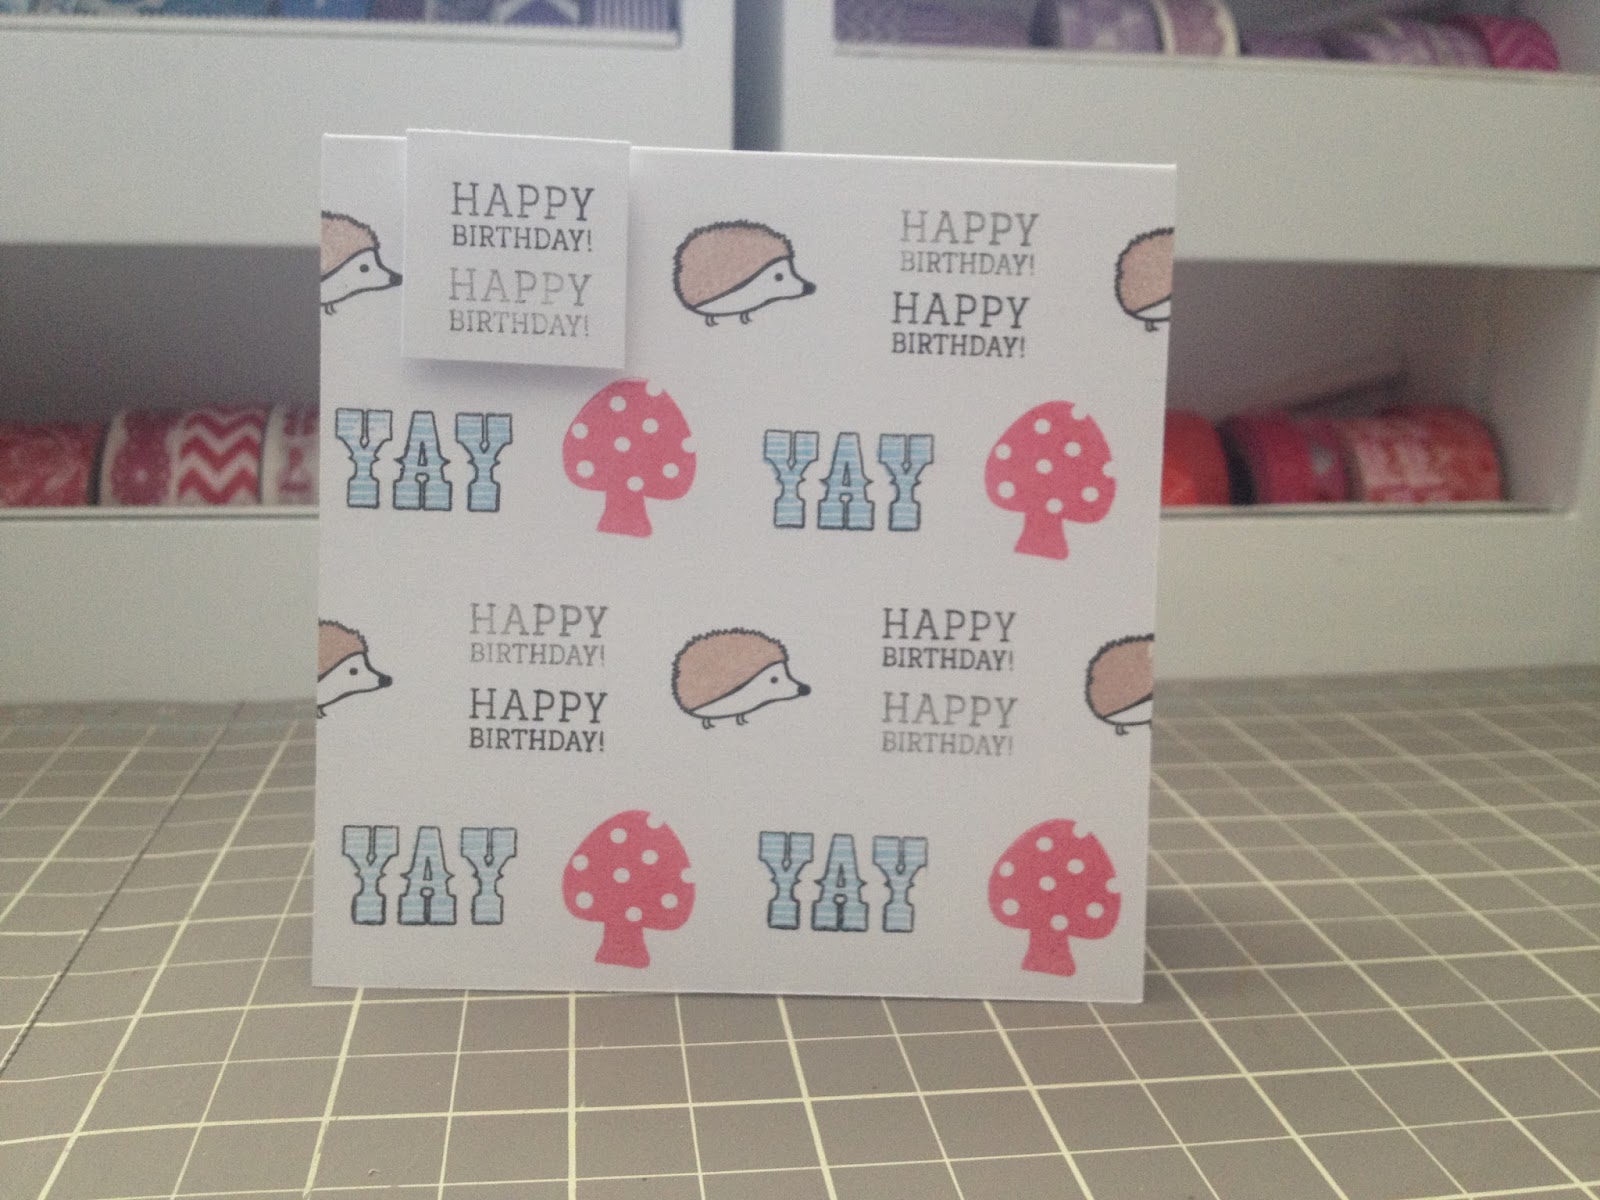
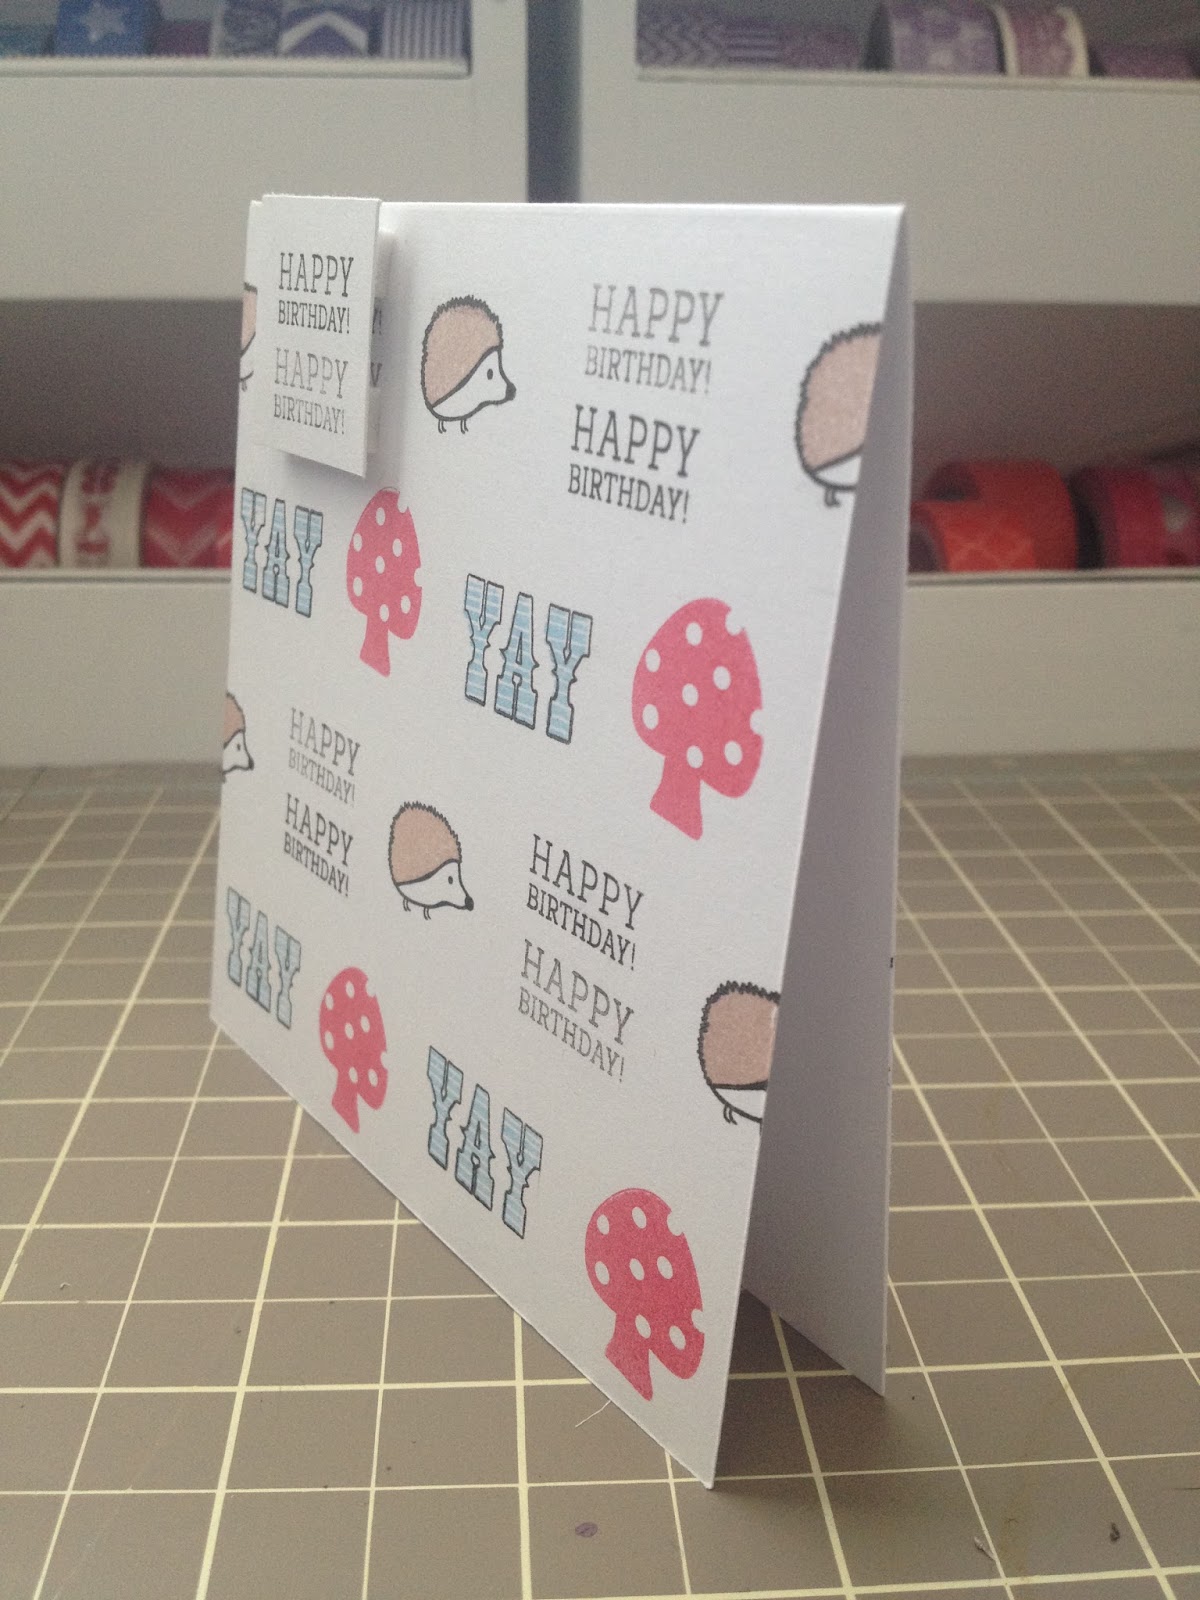
For this card, I made a grid of 1 inch squares, but staggered them (like bricks) and stamped each image in one of the squares. The "yay" and hedgehog stamps came with outlines, and a couple of "filler" options. I used both the outlines, and the filler options. I stamped a happy birthday on a scrap and adhered it with foam squares.


All the inspiration for this card, came from the Studio Calico member gallery. I wasn't quite sure how they did their card, but I painted a piece of cardstock with water colors, and used white ink to stamp the cloud on top (after it dried). I had to stamp it twice to make the cloud a little more opaque, but I'm happy with it. I adhered it to the card, added a bit of washitape, and stamped you make me happy over and over down the right side.


After seeing a card in the member gallery with watercolors around the words on this paper, I knew I had to try it. I love it! I love how it makes certain words stand out more against the black and white of the rest of the paper. I added a wood veneer from my stash, and a banner that I stamped "you make me happy" onto. That's possibly my favorite stamp in this kit.


Despite this gnome stamp, stumping me, I made this card inspired by the member gallery. The gnome only had filler options for his hat, so I used water colors to color in the different parts of him. I added little tufts of grass with watercolors.


The member gallery is the best place for inspiration. I found one similar to this. I just added some more stars to it. I wish I'd used a different sentiment, but I don't like mixing kits, or products until I make at least 9 cards using just the kit. I'm still pleased with how this card turned out. It's so cute!


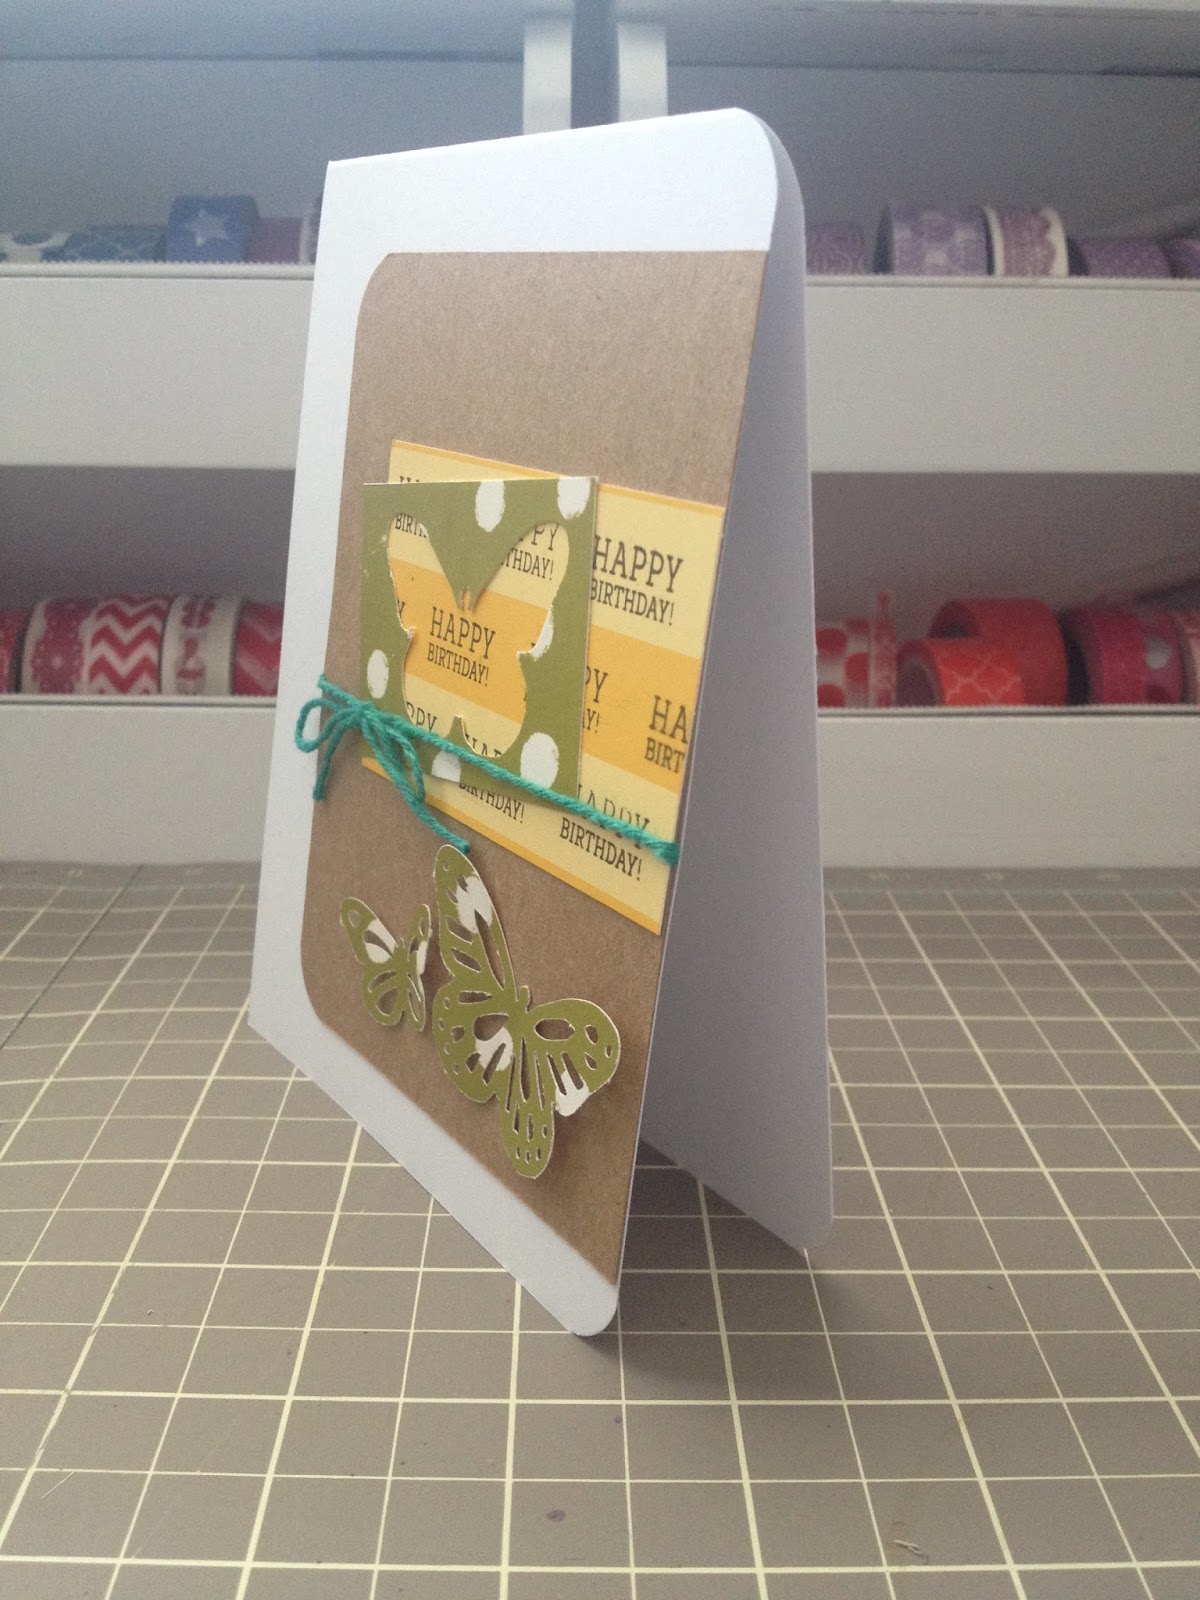
This one was somewhat inspired by the gallery, but also had some influence from one of the weekly sketches. Perhaps I should have chosen different colors, but I want to at least try and use every paper a tiny bit throughout my cards. I stamped happy birthday on the yellow paper in a staggered pattern, and punched a butterfly from a piece of the green and used the negative space above the butterflies.


This card didn't turn out how I wanted it to. I should have used a lighter ink for the blue sky, or used something else entirely right there. I love the words on this one. I wanted to use more colors. For the cloud piece, I traced the stamp on a piece of cardstock, cut it out and used it as a mask and inked the edges around it, then trimmed down the inked piece to fit on the card, and stamped the cloud face.


When I saw the gnome stamp, the sentiment and the map paper, I knew I couldn't not make this card. The kit came with a metal die in the shape of a banner, unfortunately I don't own a manual die cut machine (yet!), so I just cut a banner by hand and stamped the sentiment on it. Adhered it with foam squares. The gnome was stamped on a scrap, painted with watercolors, and adhered to the map paper.


Thanks for coming by. I hope you enjoyed seeing these cards. Better late than never right? Crossing my fingers that I'll get some time to work on other cards as well in the near future.

Have a great day!
-Alexandria