Recent Posts

Showing posts with label paper. Show all posts

30/04/2014

More Crafty Goodness

So before I go on a no new craft supplies summer (worst idea ever I'm sure), I filled a shopping cart on Two Peas in a Bucket, Freckled Fawn, and both of them arrived on Monday, and I was so excited to share my haul with all of you, that I moved around some posts I had planned for later this week so I could share my excitement with you.


I shared this photo on Instagram Monday morning after my packages arrived. I couldn't wait to tear them open and see all my pretty goodies!


I opened the box first (of course), and this was what greeted me. There was paper placed on top to keep things from shifting around too much. The box weight 19lbs, so I think I got a lot of stuff.


Instead of tackling the giant box of goodies, I started with my slightly smaller package from Freckled Fawn. Inside was a bunch of wood veneers, and these three stamp sets. I will definitely be ordering their stamps again in the future. Aren't they just the cutest?!


I ordered two of each package of wood veneers because I have a very strong feeling that I'll be using these A LOT in the future. They're just the kind of simple embellishments that I needed for my PL pages.


Then I pulled everything out of the box and laid it out on my desk. There's such a variety here, and I'm sure I won't need to buy anything else for a while.


Of course I bought a variety of Studio Calico wood veneers. I bought one of each of these.


I'm a sucker for stamps. The two sets on the left are from Technique Tuesday by Allie Edwards. The set on the right is by Allison Kreft.


I bought two Elle's Studio sets, the far left is 100% Sweet Stamps, the second is from the Serendipity line, next is Happy Place "Home" by ChicTags, and a set by Evalicious (which I only recently discovered), you can find her shop (here).


Doodlebug sequins were a must have for me, and are what started this whole thing. I wanted to make some sequin pockets (which are really popular) for my PL pages, so I bought a bunch of sequins, and I'm waiting on some vellum from Studio Calico.


I've recently developed a love of thickers, so I bought some Dear Lizzy Thickers. They're gorgeous.


Here's a close up so you can see the difference between the three sets. The set on the left has navy dots, the middle set has white dots and the set on the right is covered in aqua glitter.


The bottom set of stickers is from Studio Calico, and the top set is Close Knit.


Baby stickers by Studio Calico. The far right set are vellum stickers.


The far right is Pebbles: Love You More journaling and filler cards. I saw them in a  Youtube video on Two Peas' channel, and thought they were just the cutest! In the middle is Dear Lizzy title cards, just 6 3x4 cards for Project Life. On the right is embroidery thread by Amy Tangerine.


On the left are Crystal Clear Sequins by Jenni Bowlin. In the middle is some Cut & Paste enamel stickers by My Minds Eye. One of my favourite lines by them! On the right is some chalkboard die cuts from Studio Calico.


I'm so in love with the Cut & Paste line from My Minds Eye that I bought both 6x6 paper pads, and the chipboard stickers.


These stickers are Sundrifter by Studio Calico.


Here's a variety of 12x12 sheets I ordered including, Dapper Dan by Glitz Design (mustaches), a couple pages from Cut and Paste by My Mind's Eye, some Maggie Holmes and Dear Lizzy paper as well as some rainbow chevron vellum.


I got the MME (My Mind's Eye) 6x6 Chalk paper pad and the Story Time paper pad by Studio Calico. I loved the colors and I make a lot of baby themed things for family and friends.
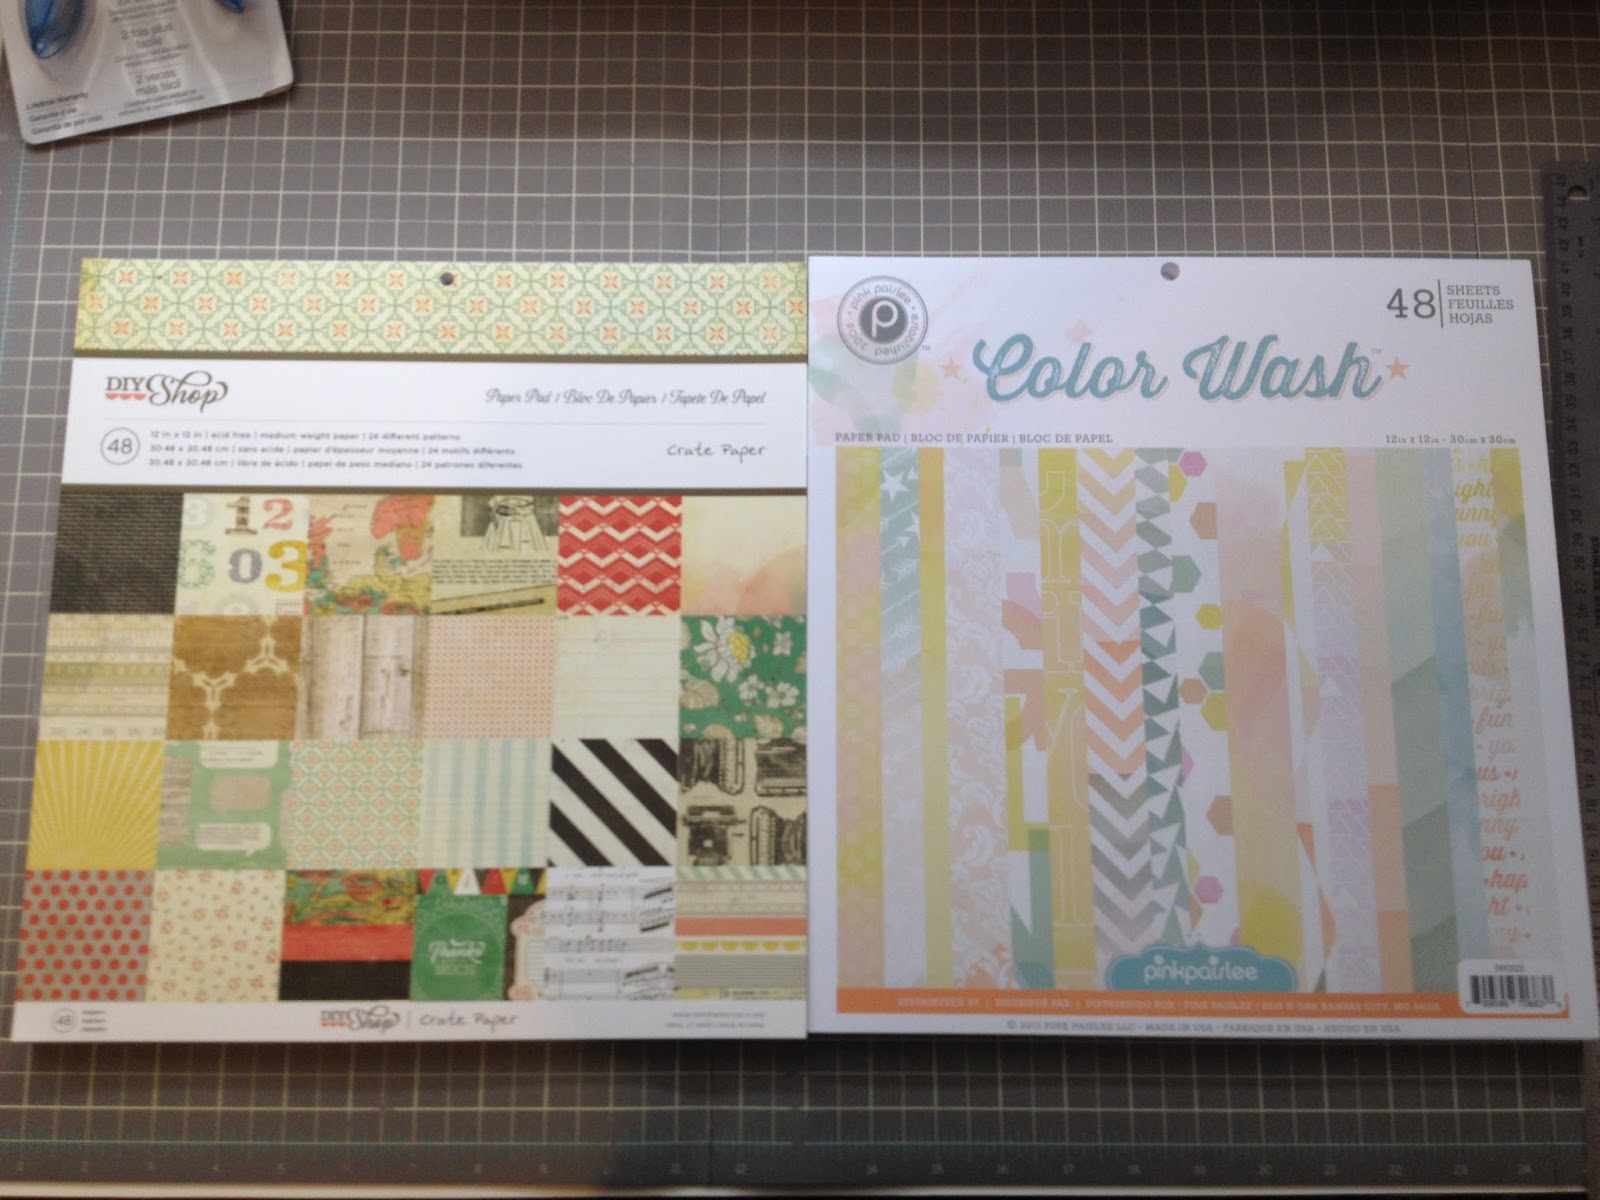

I picked up a few 12x12 paper pads as well. The left is DIY Shop by Crate Paper and the right is Color Wash by Pink Paislee (my favourite!).


I bought the Dear Lizzy Neapolitan 12x12 paper stack as well, and the Atlantic paperstack by Studio Calico.


Maggie Holmes and Wanderlust by Studio Calico 12x12 paper stacks.


Dear Lizzy: 5th & Frolic Collection Pack. There wasn't a 12x12 paper stack available, so I got this instead. It has a variety of papers that match the Project Life core kit, and some black glitter thickers.


Because I ordered more then $1 in physical product they sent these free gifts. I don't think I'll ever use the punch, so I'll probably put it into my pile of supplies to sell. As for the canvas, I have no idea how I would even use it, but I might hold onto it until I figure it out.

Now I just need to wait for my photos from Persnickety Prints to come in so I can put some of these beautiful supplies to use and work on the last two years, then I think I'll offer to do some albums for family (heritage, a travel album for my grandma, and various albums of photos from my childhood and my siblings).

Have a great Wednesday!
-Alexandria

13/01/2014

Rosette Wall Art

As promised last week, here's my post about my rosette wall art. I spent two days scoring, cutting, folding and gluing all of these together. Never again. I couldn't lift my arm by the time I'd finished. Even scoring on the second day was hard on my shoulder. But I've finished it and it looks beautiful!


Looking at it laying on my kitchen floor, I wish my wall was covered in wood. But this is my rosette wall art. I worked so hard on it and it didn't turn out quite how I wanted it to, but I'm still happy with it. I love the colors and patterns.


First up we have one with a more green colour. It goes beautifully with the colours of our living room. I also love the floral pattern on it.


This black and white one is the exact same as the white and black (they're just opposites). I chose them to add more contrast to the overall palette.


This is a yellow-y beige. I added this pattern to tie it all together without overpowering the other colours. IT also matches the colour of the walls in the living room.


This paper tied into the beige-y colour of the first pattern, and I needed more rosettes.


Here's the one that started it all. This is the colour of the blankets we have on the couches (they're white so we put blankets on the seats to keep them white). It's such a beautiful colour.

I also made some silver, gold & black ones for New Years Eve and hung them in our kitchen.


I made two of the one on the left, and hung the one on the right in the centre. 


This paper is silver and white, but its hard to tell unless its reflecting the light.


The small one in the centre is not reflective, but the other two are gold and white.


Here's a better picture of the gold and white catching the light. Everyone thought they were beautiful!

I'd love to see what you do with your rosettes! E-mail your photos to creationsbycoal@gmail.com

Have a great day!
-Alex

28/11/2013

Christmas Card Supply Haul

Alright, so my birthday was on November 5th (V for Vendetta). We were going to go to the city for a Michael's / Ikea trip, but the roads were terrible and we couldn't go. To make up for it, Jon and I did some shopping in town instead. We bought a bunch of things for the house (which I'll share later), and I bought some much needed scrapbooking supplies.

I went to a local scrapbook/photography shop and bought practically everything Christmas they had.


I bought this Bazzil Basics Paper stack. I loved the variety of patterns and colours. 


I bought two of these Bo Bunny Christmas paper collections. They're beautiful!


This is silver metalic paper. It's super reflective so I placed a piece on top to only show a sliver of its metallic surface. I have a few sheets of gold as well that I bought last year. 


I bought one sheet (might go pick up more) of this beautiful red green and cream striped paper. 


This photo doesn't do this paper justice, the vines are metallic gold and they're beautiful. I bought four sheets of this to do my in-laws Christmas cards.


I also added some more little inks to my collection. I almost need to make a list of what I have so I don't buy duplicates! I'll share my little ink collection later.


I also bought a bunch of Christmas Stamps. As if I don't already have a crazy amount of stamps, I bought almost every Christmas stamp set they had. 


I love the Happy Holidays stamp, and the ornaments. So pretty on a corner of a card or gift tag.


I love the deer and the wreath on this one. I also love the little tree, so cute.


I bought these so that when I finally got around to starting my Project Life, I had stamps to use when Jon and I were doing things outside, or if I had photos of the weather. I also simply loved the skates and the sleigh.


The wreath on this one! It's absolutely perfect for my in-law's Christmas cards. It adds exactly the right touch. I also loved the vines in this set.


I love the variety of stars and the two trees. The one thing I love about Christmas is trees! Unfortunately we can't afford a tree this year, so we're using the tree I had in college (I'll share when we make space and put it up).


I bought this one mostly for the sentiments, but the holly stamp is growing on me.


This one has cute to and from stamps. I also loved the cupcake. 


This was one of the first ones I picked up. I love the snowflake and the tree which has the snowflake pattern on it. So pretty! I was mostly looking for different sentiment stamps for the front of my own cards.

My favourite holiday is probably Christmas. I love buying things for my family, though this year will be on a tight budget since we just moved and everything. Maybe next year we can buy a bunch of decorations and host Christmas here with the family!

Have a wonderful day!
-Alex