Recent Posts

Showing posts with label pocket mini album. Show all posts

24/04/2015

#myselfiescrapbook | Week 1

Good morning! Today I'm sharing my pages for Week 1 of my selfie scrapbook. I'd hoped to share these sooner, but didn't  get them photographed before I left for my trip to Manitoba, so I'm sharing them now. Better late than never right?

For the beginning of my album, I took some inspiration from a Minibook workshop I took last year at Studio Calico. It was taught by Marcy Penner (one of my faves) and she had a lot of transparent elements, layers and different sized pages. I love that you can see right through my title page into the pages that come after it.

To start, I cropped my photo to a circle, and added the "My Story Matters" from this digital brush set by Ali Edwards. I used the PNG file as an overlay, and changed the colour to a light grey so that when I printed it, you could see through the letters. I typed out #myselfiescrapbook and cut it like a banner. I placed my photo in the pocket and stapled my photo to the pocket page (next to story) so that it wouldn't move around. I then stapled my banner on top of the pocket page.
I love how my photo looks even after I turn the page. It goes perfectly with the tag on the right.
Using the "I AM" stamp from Ali Edwards' One Little Word mini kit  I stamped onto the tag. Then in Word, I typed out a few things about me that were relevant to right now. I love that it offers a little glimpse into who I am, and what I like at the moment.

On the back of the tag, I used a frame from my stash (I believe it came in a Studio Calico kit) and a quote from Julie Gagen (found here).
When I was reading through Jen's intro post about #myselfiescrapbook I knew that I needed to include this quote in my album somewhere. I could have put it on the front of the tag, but decided that it was better for the back of the tag. I didn't want it to distract from my front page, but I love how perfectly it fit with the "my story matters" that I put on my front page.


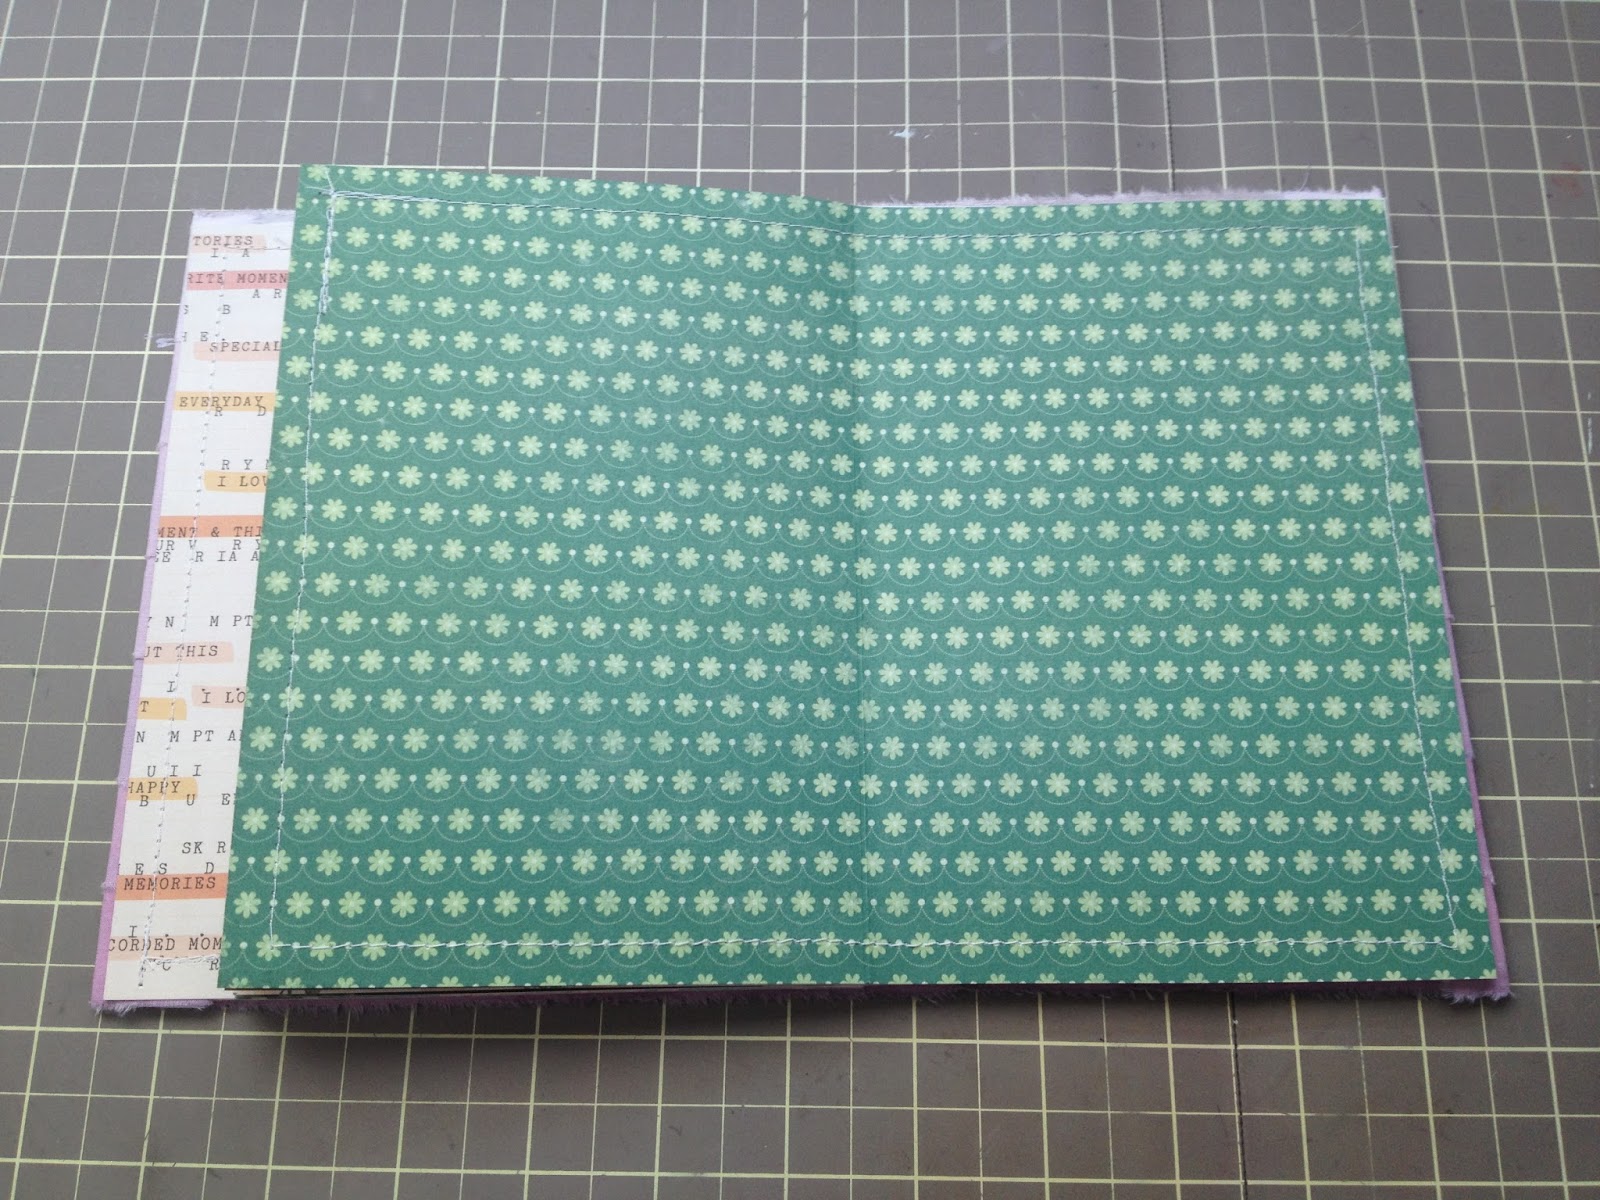
Behind the tag, I have a little 2x4 pocket that was hidden behind the tag. Originally I thought about moving the tag, or changing the order of the pockets, but decided I was okay with it hiding behind the tag. It's almost like a little surprise when you turn the page.
The first weeks prompts included starting with my feet. I don't really take pictures of my feet, but after a few prompts that involve my feet, I'm a little obsessed with taking selfies that include my feet! This particular photo happened to include Gracie who is always near my feet in the morning.

The second prompt I did was "hands". I hate my hands. Like to the point that I do everything I can not to draw more attention than necessary, but for some reason I notice other people's hands and assume they're staring at mine. Anyways. Enough about my hands. I added a label and journaled straight onto the photo. The journaling on my photo is a short description of what they do/endure during the day.
On the right was "hair" (obviously). I had a wonderful hair day, and took advantage of the natural light in the craftroom. I wish my hair curled that nicely everyday, but since it doesn't I'm trying to embrace the imperfect curls as well. I printed some labels on vellum as well as cardstock and cut them out. Some are from Studio Calico, others are freebies I found on Pinterest. Just whatever I had saved on my computer.

Next up was "favourite shirt". This shirt is one of my favourites right now. I don't know why, I just really like it. Used a self-timer app on my phone to snap this photo.
On the right was "what I carry". I have 2 bags, and so I took a photo of each bag, and it's contents, and journaled about what's in each bag, and where I take it. The top bag was the one I take to work. It usually has my keys for work, a book, and a little zipper pouch full of random things that usually go between both bags (mints, advil, lotion, etc.). The bottom bag is my purse, which has my wallet, a TON of random candy and receipts and lists I forget to clean out of it, my glasses (that I never wear), some lotion, midol and there was a hair elastic, but I don't think it made it into the photo.

Next up was jewelry. I don't wear it much these days, but when I do, it's one of the necklaces in the top corner. The pearl was my very first birthday gift from Jon and I love it so much! The robot and mustache are ones I purchased in college, but still love. My favourite pieces, are two of my owl necklaces. Is it obvious that I'm obsessed with owls? I adhered the labels to a scrap of clear plastic that I cut to fit in the pockets. I used the same label shape on both sides of the top pocket, and a different shape for both sides of the bottom pocket.
The right page's prompt was "now let's see you". I was originally going to take a head to toe selfie, but was feeling like a whale that day, so I opted for just a photo of my face.

I'm definitely enjoying this project so much! I've loved seeing everyone's pages on Instagram, and in the link ups (that I'll be adding my link to). This project fits perfectly into my One Little Word prompt for this month, and I'll definitely be including a piece of this in there in some way.

If you haven't joined the #myselfiescrapbook, it's definitely never too late, and I absolutely suggest that you check out Jen's blog Sunlight & Air and jump on board. You might regret it for a little while, but you'll have so much fun!
Have a great weekend!
-Alexandria

04/03/2015

Tag & Pocket Mini Album | Gracie

Good morning! I was going to post yesterday, but things were a little busy last week and over the weekend, so I didn't get my Project Life spreads photographed. I did however, get the living room rearranged and all of our Ikea furniture assembled. The room feels so much bigger, and more organized. I actually enjoy spending time in the living room now. Just need to get our new couch and we'll be all set!


Today I'm sharing some photos from this little mini album I made for our cat Gracie. A few weeks ago, I asked how many albums it would be acceptable to fill with photos of my cats. Everyone encouraged me that cats are cute, part of our family, and absolutely should be recorded, even in their own albums. The tutorial to make this album (and a few others), and the cutfiles for the tags and vellum pockets can be purchased here. Wilna offered this class on Two Peas in a Bucket last year, but added a few new projects, and added it to her site.


Here's a close up of the cover. I splattered some watercolors on a piece the size of the cover. Then I layered some papers from my scrap bin, added some ribbon with hearts on it, and spelt out Gracie with white foam alphas and stitched them down. Then I adhered it to the rest of my album.


I added stickers, ephemera, ribbon, diecuts, and a photo to each of the tags and pages. I journaled mostly on the tags, and kept any additional bulk to a minimum. I added chipboard stickers here and there, but tried to use them sparingly.


I tend to keep things more on the simple side. Mostly because when I embellish it looks exactly the way it happens. I just throw things on the page.


I've been trying to use up some of my stash more, and a lot of it consists of ephemera and stickers that I wanted, but haven't used yet. The embellishments on this tag are from Notes & Things by Crate Paper.


I also wanted to document Gracie in a lot of her natural habitat. Like when she forces her way onto my lap, and refuses to move for a couple of hours.


I also wanted to include photos that perfectly showed her personality. Like when she just flops over on her side and meows at me asking me to pet her. I know she's asking me to pet her because when Jon tries she hisses at him. He clearly doesn't know what she likes.


I haven't done much stamping lately, but while looking through a few that were sitting on my desk, I found this one from Kellie Stamps (here), and knew I had to use it in this album. It was perfect for this card.

I also just browsed Kellie's shop, and absolutely need to buy more of her stamps! They're beautiful!
I hope you enjoyed seeing this album full of photos of Gracie. I imagine more of them will be coming in the future. There's just so many techniques I want to try.

Have a great day!
-Alexandria

27/02/2015

DIY Pocket Mini Album | Part 2 - Creating the Pages & Finishing the Album

Good morning! Today I'm sharing how I made the pages for my Love Mini Album. You can find Part 1 - Making the Album Cover HERE. In this part, we'll be making the pages, and putting the whole thing together. After this your album will be ready for photos and embellishments! That's so exciting right? I had so much fun making this album, and I hope you learned something, and were able to make your own beautiful album! I'd love to see your finished projects, so you can leave a link in the comments, or let me know and I'll host a mini album link party.


Supplies:
  • 9 Patterned Papers - unless you want more pages
  • Score board (optional)
  • Bone folder - to score and fold pages
  • Sewing machine (optional)
  • Double sided tape - I used my ATG
  • Twine, string, or anything you could use to tie it closed (optional)


First, select your 9 papers that you want to use. I made my cover purple, and so I struggled a little bit with choosing papers, but in the end I think the papers I chose, will compliment the purple cover perfectly. All of the papers I chose are from the Maggie Holmes Open Book 12x12 paperstack. I chose neutrals, green/teal, and a little bit of pink and yellow. I think they look beautiful together!


 Next you're going to cut your papers down to 9 3/4" x  7. Or, if you made your album a different size, you're going to make it double the width of your front cover, minus 1/4", by however tall your album is. You have to take off the extra 1/4 inch so that when it's closed, the spine doesn't push the pages out beyond the edges of the covers. You also make them twice as wide as the cover so that you can fold them in half.

Once you have them cut to size, just score them and fold them in half, except for one paper that will go on your front cover. That paper gets cut in half and set aside.


After I scored and folded my papers I chose the order in which I wanted them to go in my album, and stacked them so they were in order from front to back.


Then I got out my sewing machine and stitched around the outside edges of all of my papers (individually). I didn't do this in my other album, but decided to do it for this one. You can skip this step if you don't want to sew on your pages, or if you don't have a sewing machine. If you want any additional stitching detail, AND still want to create pages with a pocket between them (like in my Love album), you'll have to do that now, or you'll sew your pockets closed.


I took one half of the paper I cut in half and adhered it to the inside of my front cover. Because of the size I cut it, it hides the uneven edges of the fabric, and goes all the way to the spine. I sewed around the edges of this paper before I adhered it to the cover, since I had already sewn the cover.


Once you've sewn all your other papers, decide whether you want your pockets to open at the top, or on the side. If you want them to open at the side, run your tape along the top and bottom (the short sides), and along the side where you're page is folded. If you want them at the top, don't put tape at the top, but run it around the other three sides. If you don't want pockets, run your adhesive around all the sides.


As you can see, my pocket is along the side (again). This is the very first page of my album, so I used the same paper that I used for inside my album cover. Adhere the rest of your pages together, just like your first page (unless you want to switch up where your pockets are on each page).


On your last page, run adhesive all over it. This page lifts a little bit when you flip to it, depending on how thick your other pages are, so don't worry about that. Just make sure you press it down so it stays in place.


Make sure your pages aren't over the gap where your back cover meets your spine. If they are, peel them off and move them further from the gap, otherwise your album won't close properly.


There you go. You're finished adding the pages to your album. Go ahead, flip through it and admire your handiwork.


LOVE LOVE LOVE this paper.


This is my last page. As you can see, the right side lifts a little bit, but that's only because I put 8 pages into it. If you did less, the last page wouldn't lift, but you also wouldn't be able to pack it full of love!


You have some extra space between your pages and front cover, but that's okay because once you start adding your embellishments and photos you're going to need that extra space for them to expand.


I added twine around my album, and to make sure the twine stayed on my album, I poked a hole in the spine of my cover and folded my twine so that when I wrapped it, the bow would fall on the front. Then I pulled it through the hole I made in the spine and tied a knot to secure it in place. I did the same thing for my Love album, but when I tied it closed, the bow was along the side with all the tags.


Here's what my finished album cover looks like. It's so perfectly me, and I'm so happy with how it turned out. It'll look beautiful on the shelf next to my other mini albums I've made.

If anyone knows where I can get some more chipboard, that would be great! I want to make a bunch more of these, and host a giveaway. Leave links to your projects in the comments, and I'll either host a link up, or a round up of my favourite albums!

Thank you for checking out this tutorial. I hope it helped you to make pretty albums!
Have a great day!
-Alexandria