Today I'm sharing the cards I've made using the Studio Calico Office Hours card kit. It was the kit released in March. When it was revealed, I wasn't crazy about it, and it took me a while to get into using it, but then I did and now I wish I had more paper leftover to make more!

First up we have this get well card. This was the very first card I made with this kit, and I shared it on my Instagram shortly after I made it. When I opened this kit, I fell in love with the stamps. Especially the clouds. They're so cute!


This card was inspired by one I found on their site. When I looked at it afterwards, I realized how similar they actually were. My intention was never to make it look so much like the other one, but this is how it turned out. I'm pleased with it. I love the scalloped paper on the left!


This was also inspired by a card on their site. I used different papers and a different sentiment, and love this card! I'm not a huge fan of pink, but this card is so pretty.


Okay so most of these were inspired by their creative team and community. This one I changed a bunch from the original. The little stars added just the right amount of sparkle.


Also inspired by their site. To make it my own I added more layers to the sentiment, and stamped it more than once.. I struggled with the triangles a bit, but the end result was something I could live with.


I made this using scraps from the triangle card. I first cut the triangles bigger than I wanted to, and so I trimmed the bottom off and used the scraps to make this card. The ribbon flower was made by accordion folding the ribbon and tying it in the centre with some twine and stapled the ends together to make it a circle. (Similar to how some make their paper rosettes).


I can see now that pulling ideas out of my head might not always be the best idea. I'm not sure how I feel about this one. I loved it at first, but now I'm not so sure. The perfectionist in me is staring at the second ros of clouds like "what was I THINKING?". My favorite part of this card is the ribbon on the bottom. I've seem numerous other people use it on a card, and I wanted to try it (though I have no idea how they do it, I just winged it).


I believe this was also inspired by their site a tiny bit. I love the red backing the floral print. It just makes the flowers pop a little more against the green background. At this point I was running out of ideas and getting low on large pieces of paper to work with.


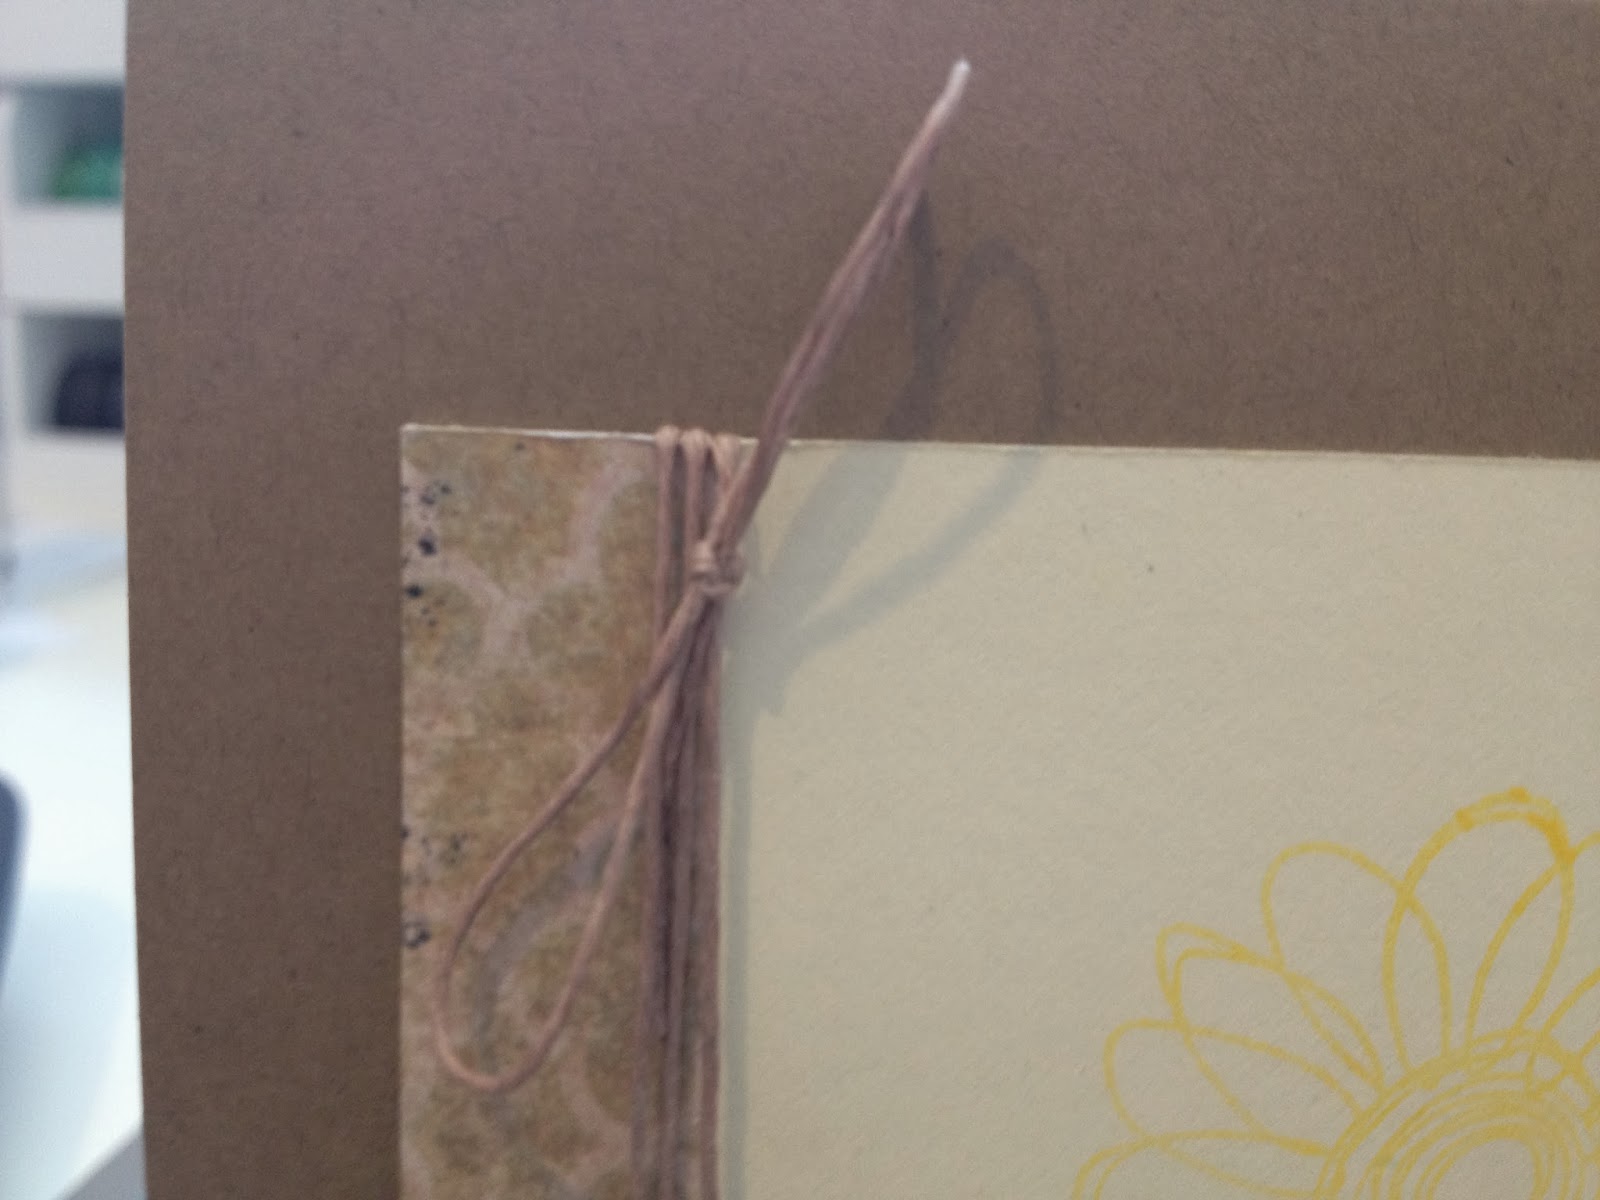
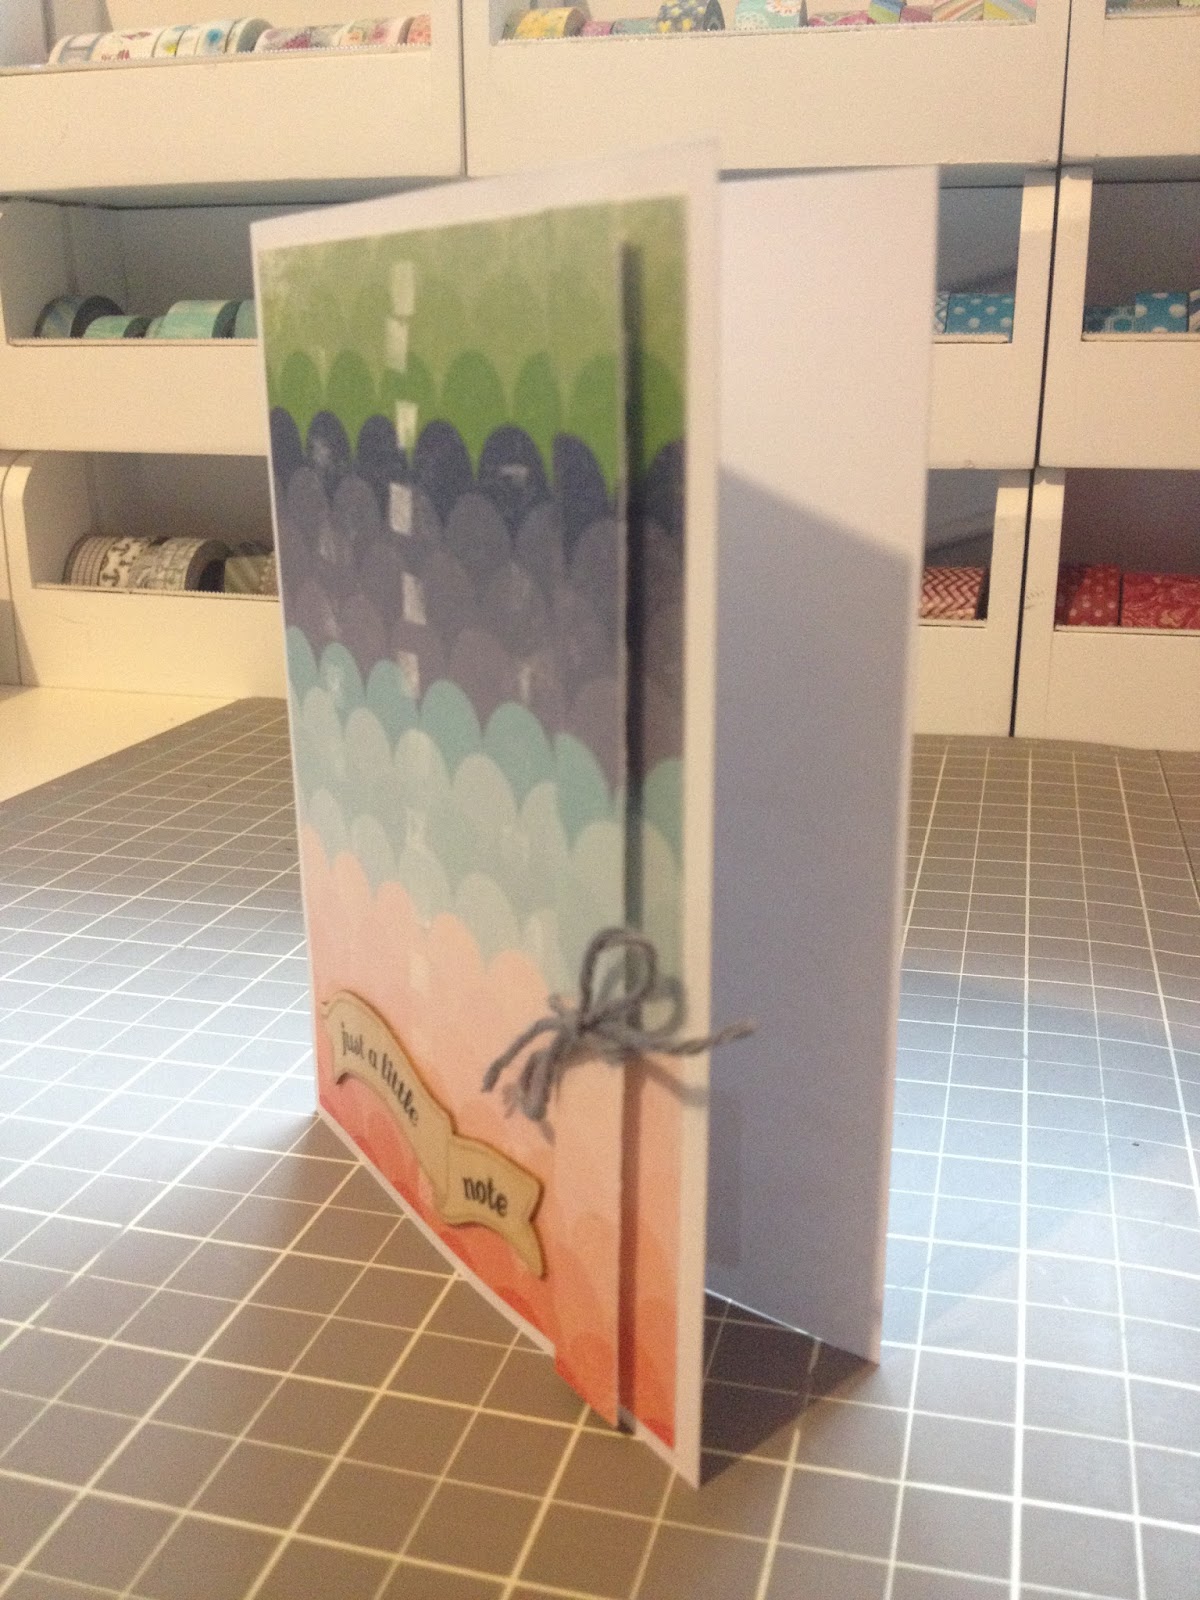
Here's the final card I made using this kit. In my head, my idea was solid. Once I completed it however, it was horrible. I originally had two strips I wanted to be raised off the rest of the card, but hated it more than I hate this, so I peeled it off. The foam squares took some of the colour off the paper. Rather than try and cover it with something, I stuck them down again on either side of the first line to make it look intentional. That didn't work either. Maybe I'll send this card to my mom, who doesn't see the flaws I see in my work.
Thank you for looking at all my cards. I was in a rut, but felt like I was throwing my money away buying the card kit and then not using it. I have another three to get through, and some Project Life to catch up on, but I'm getting there!
Have a great long weekend! I'll share my next post on Wednesday!
-Alexandria