Recent Posts

12/05/2014

Project Life: Week Fourteen

Today I'm sharing week 14. It was pretty simple, not too photo heavy, finally the end of March, but not the end of winter apparently. It was also Jon's dad's birthday.  


This week I tried to do pink and orange just because I think they're pretty together. I used Dear Lizzy: Neapolitan, and Coral. 


Here's the left side. The cupcakes were for Jon's dad's birthday, it snowed again, the orange card in the bottom right was a funny story Jon and I laughed about this week. 


Cut another Design C insert in half for the insert. I used the insert for photos from when my sister and my niece came to visit me at work.


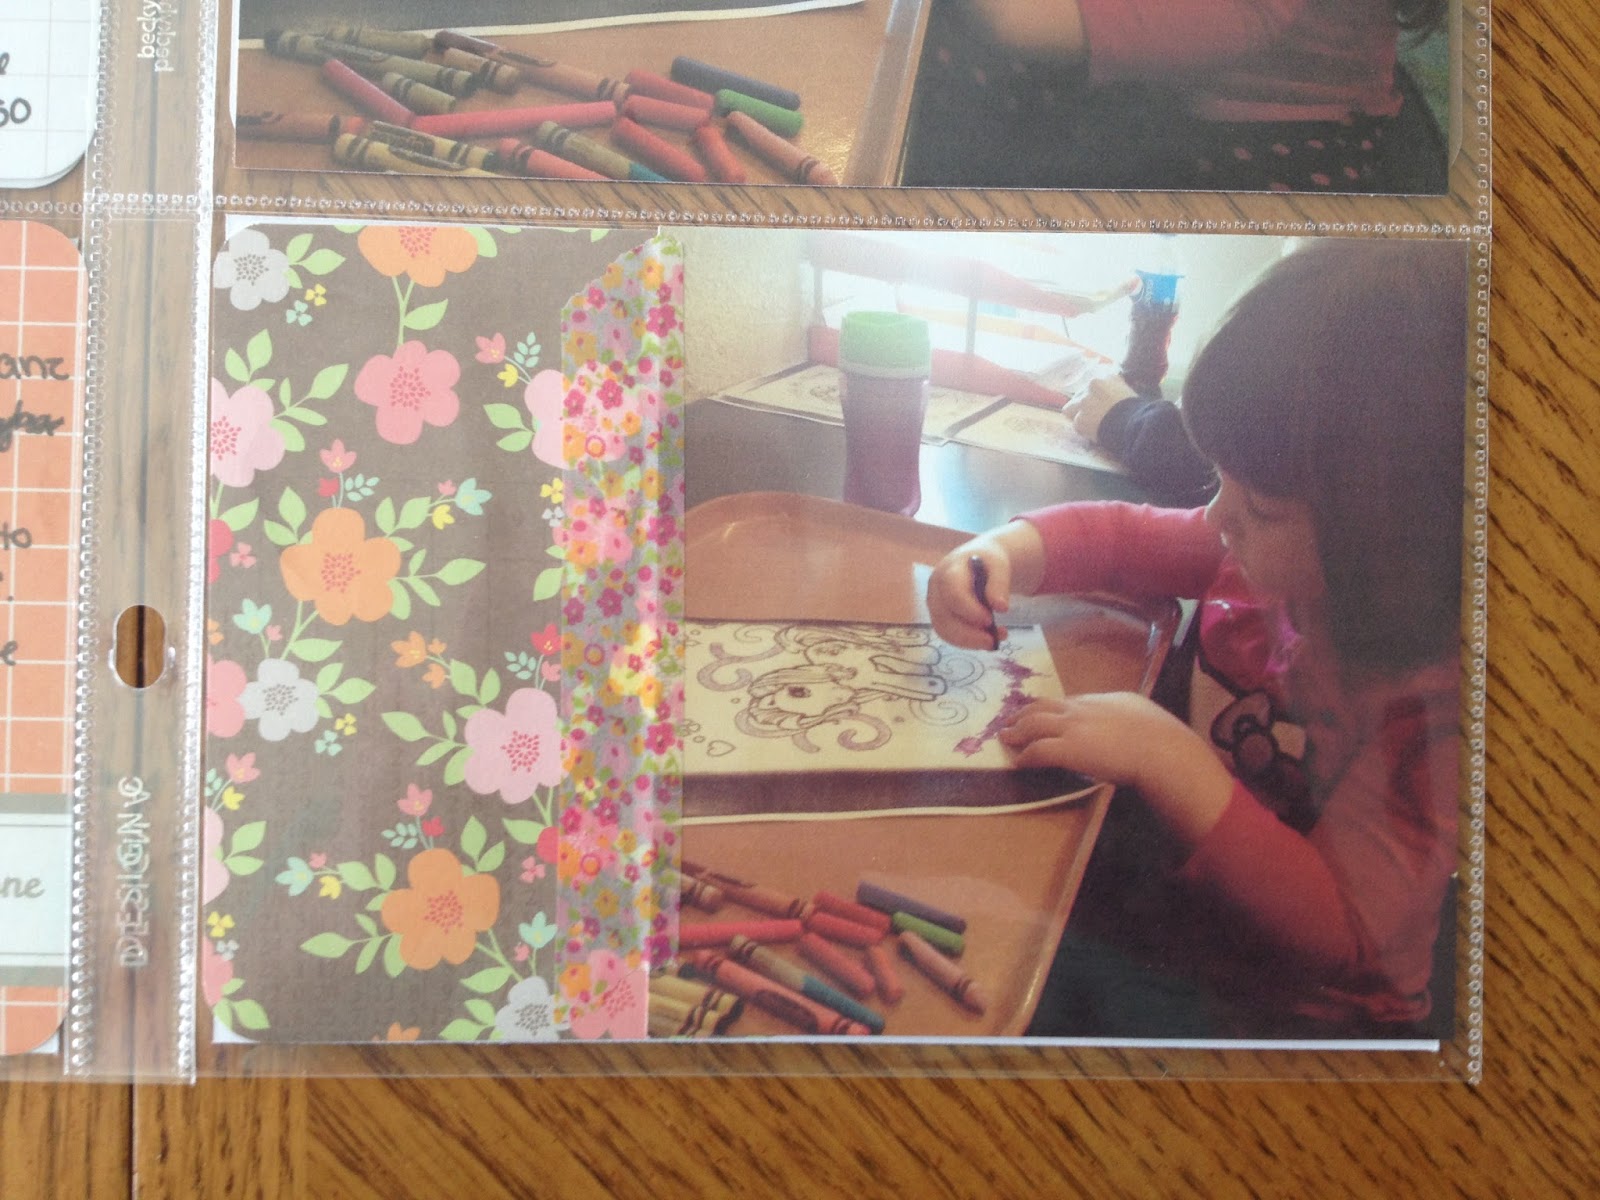
I used floral washitape to adhere this photo to a background card. You can't really see the tape unless you look closely, which is what I wanted for this card. 


Here's the back side of the insert and the right side. I used the same washitape from the previous photo on my month card. 


The insert was design D cut in half. On the back side I included journaling about their visit. We coloured and threw paper airplanes in the hallway. It was fun. 


Here's the right side. I included Jon's painting and and a little journaling back here. 


Again I hid my journaling for the week in a bifold card. I just need to mark it so I know to pull it out for the journaling for the week. Also need to finish my month card. 

There's week 14. Another simple layout full of photos. I recently ordered photos from the last two years, and a bunch of scrapbooking supplies so layouts from previous years and some crafty hauls will be coming soon!

Have a great day! 
-Alexandria 

09/05/2014

Peanut Butter Banana Bread

Does anyone else feel like Peanut Butter Banana Bread is a giant mouthful? Luckily it tastes as good as it is long, and it was a huge hit with my boyfriend and I. A friend of mine made muffins with a similar recipe once, and though they were a little dry, they were still really good. The only thing I added to this recipe was crunchy peanut butter (I ran out of smooth) and some chocolate chips.


Tell me that doesn't look delicious! I made two of them, and ate them both almost entirely by myself. 

The recipe comes from here.

Yields 9 x 5-inch loaf
1/2 cup (1 stick or 113 grams) butter
3/4 cup (150 grams) brown sugar, packed
2 large eggs
1 teaspoon vanilla extract
3 large ripe bananas, mashed
1/2 cup (130 grams) peanut butter
1 cup (125 grams) all-purpose flour
1 cup (120 grams) whole wheat flour
1 teaspoon baking soda
1 teaspoon baking powder
1/2 teaspoon salt
1/4 cup (60 ml) milk
* 1 1/2 cups of Chocolate chips - Optional
Preheat oven to 350 degrees F (180 degrees C). Grease a loaf pan.
In a large mixing bowl, cream together the butter and sugar until light and fluffy. Beat in the eggs one at a time, mixing well between additions. Beat in the vanilla extract, mashed bananas, and peanut butter until fully incorporated. Mix in the flours, baking soda, baking powder, and salt. Stir in the milk.
Transfer batter to the prepared loaf pan and bake for 55 to 65 minutes, or until a toothpick inserted into the center comes out clean. Cool loaf in pan for 10 minutes before removing and transferring to a cooling rack to cool completely.
Enjoy!
-Alexandria

07/05/2014

Lemon Cranberry Muffins

On Monday in my Week Thirteen spread, I promised to share the recipe for the Lemon Cranberry Muffins I made. I found it on Pinterest, and changed just a couple of things to give us some pretty amazing muffins.


Before I share the recipe, look at those delicious cranberries! They're so beautiful and red.

I've made this recipe twice now, and the first time I did it, turned out a little better than the second (according to my boyfriend, and since he's the one who's eaten most of them, I'll take his word for it).

The original recipe can be found here. Below I'll share my recipe.


2 cups plain vanilla yogurt
2 cupes granulated sugar
6 large eggs
1/4 tsp salt
3 cups all-purpose flour
4 tsp baking powder
lemon zest from one large lemon
half of the juice from one large lemon (set aside other half of juice)
1 tsp vanilla extract
1 cup vegetable oil
2 cups fresh or frozen cranberries

Directions:
  1. Preheat oven to 350 F. Mix the yogurt, sugar, salt and eggs together in a large bowl. Add the lemon zest, lemon juice and vanilla extract.
  2. In a separate bowl, mix together the flour and baking powder. Add dry ingredients to wet, and stir together until moistened.
  3. Add oil and mix until batter is smooth and homogenous. Fold in cranberries and mix with a spatula to prevent breaking the cranberries.
  4. Bake for 20-25 minutes until a toothpick inserted into muffins comes out clean.
  5. After baking muffins brush remaining lemon juice on top.

In relation to the original recipe, I double the batter and use lemon juice as well as the lemon zest. I feel that the lemon zest isn't quite enough to give it the lemon flavour that I expected from it. In the first batch I made, I mixed it exactly how it said, but when I added the cranberries I felt that there wasn't enough batter so I made a second batch but had no more lemon zest so I used some of the juice from the lemon. I didn't have enough to make the lemon glaze so I just brushed straight lemon juice on the top.


There you have it! Lemon Cranberry Muffins. You could also substitute the fresh/frozen cranberries for dried cranberries to make them more like Safeway Lemon Cranberry Muffins.

Enjoy!
-Alexandria

05/05/2014

Project Life: Week Thirteen

This week was extremely photo heavy. So much so that I did four full pages and an insert. This week I tried a few new things, and did a bit of embellishing, and incorporated my boyfriend handwriting in his own portion of this week. 


Hers what I refer to as part one of my layout. This is everything I did before the weekend (I worked all weekend and nothing exciting happened). I used just 5th and Frolic for this part of the layout. 


Here's the left side. The books quote on this page was a free printable I found on Pinterest. I simply set it to print multiple PDFs to get it to a size that would fit in my spread. 


I added the arrow sticker to cover an ink smudge. I used my stamp from the February Studio Calico kit and the sticker is from My Mind's Eye: The Sweetest Thing line. This week I also incorporated a QR code. If you scan the code, it's just a video of our cat Gracie playing with her ball wheel. 


This is the right side. I tried out a couple of new recipes this week, and on Wednesday I'll be sharing the Muffin recipe and Friday will be the Banana bread recipe. I also used a bifold card the way it was intended and added some stickers to a journaling card.


Here's my bifold card. The alphas are from the April Studio Calico Kit. I made the pull tab with a scrap of paper and adhered it to the back of the card.


Here's what I refer to as part two of this week. Jon had a tournament and borrowed his dad's camera to take photos. He took a lot and I tried to include a couple from each game. The insert is a Design C protector cut in half.


Here's the left side. I used Cinnamon and Rain editions for this portion because it fit the colors of the photos better.  I tried to keep the photos in order and include as many as I could without making an entire album. 


I used more alphas and some washitape for the title card and had Jon write out game one. All I did was choose the cards and place the photos. 


Here's the front side of the insert. I just cut a Design C page protector in half. 


Here's the other half of this. I added two journaling cards, one for each game, and some fillers. 


Here's the back side of the insert. Just more photos. 


Here's the right side. I greatly dislike his handwriting, but he loves that I'm doing this and is more than happy to contribute. I love this his handwriting will always be there!

My layouts generally aren't this full of photos but it's nice sometimes, especially when we haven't had time to go on any trips together lately.

Have a great day!
-Alexandria

02/05/2014

Project Life: Week Twelve

I hope that spring has finally arrived (or fall). Today I'm sharing week 12. This week wasn't as photo heavy as previous weeks, and lately I've almost been forgetting to take photos, so I just fill in the gaps with Jon's painting or our cats. 


This week I used Maggie Holmes' core kit, a card by MAMBI, and a card from the Seasons Mini Kit. 


Here's the left side. The 'Hello Sunshine' wood veneer is from the Studio Calico March Kit. I thought it went well with my photo of what we all thought was the beginning of spring, but turned out just to be Mother Nature having a slight hot flash. 


I did a close up of this because I made the photo using the instaweather app for iPhone. I bought the pro version for a buck or two. The photo comes out square, so I used the spring card to fill in the space and added the hello sunshine veneer because we hadn't seen the sun for a few days. 


Here's the right side. This week I realized that we had very few photos (if any) of our other cat in our album. Most of my photos of him were taken before Christmas and didn't make it in. He has been in the habit of dumping his food pail because he thinks that we don't feed him enough (even when his dish is full). I wanted to include that in the album because though it's annoying, it's something I wanted to remember. I have moved his food pail to where he can't dump it, and this problem has stopped. 

That's all for this very simple spread. 
Here's a tip for those of you who make a bunch of spreads before posting them, if you have trouble remembering which kit(s) you used and you want to include that in your post, use a sticky note. I also use a sticky note to mark which layouts have not been photographed or posted, and sticky notes to remind me if I have an unfinished page. Sometimes I use them to plan layouts mid week. They're possibly my favourite organizational tool. 

Have a great day!
-Alexandria