Recent Posts

Showing posts with label Christmas. Show all posts

01/11/2015

Fangirl Moment | I Heart Studio

Ladies (and gentlemen), I'd like to interrupt your Sunday to tell you that Wilna of iHeart Studio is releasing her beautiful Christmas products today. I can't rave about her and her products enough. They're beautiful, and whimsical, and absolutely creative!

On October 28th, I shared this photo on Instagram. I was so excited about the page that I couldn't contain my excitement to share it with the creative world. I used this flourish set from Wilna and my Silhouette to cut this page. I cut two and glued a piece of vellum between the flourishes to add a bit of necessary stability to the page.

I also shared this sneak peek of the giant stack of pieces I printed and cut from the new set, and the things I cut from the old set. I love the amount of colour in her new set. It's beautiful.

I shared this sneak off the dividers I was cutting to add to my album. They're beautiful!

I shared this sneak of the printed and cut flourishes. Look at that colour! This is what happiness looks like!

Here's a close up. I love that she includes a file with an offset to cut out the printables. If it's to wide for you, you could always do an internal offset off the original cut to get a closer crop around the printables. I love the cute little hand painted deer.

I also have some really horrible quality photos of my December album so far. I chose the December Memories printable to be used as my official cover page. I wanted to keep my album pretty traditional colour-wise (red, green, gold, silver, white and touches of black). But after seeing her new Christmas products, I'm fairly certain that other colours are going to make an appearance in my album, and most of my plans have been thrown out the window, but I know a lot of Wilna's products are going to make their way into my album.

Here's my final diecut page. I added one of the "divider" files to the front because the solid white space wasn't enough for me. I love how the white on white on white looks here. That diecut edge takes my breath away every time I look at it. Currently my favourite part of the album.

Guys, I strongly suggest that you at least go check out Wilna's new Christmas products. I wasn't paid for this post, and there are no affiliate links, I just think that if you find something you love, you should tell the world about it, and since discovering Wilna and her products, I've been in love with them. I'm all for supporting small businesses, and raving about them so other people know they exist, and this is one I think you all need to know exist!

I can't wait for December to get here so I can do more work on my December album, and I can't wait to share it with all of you. I hope you have a wonderful rest of your day, I'm off to work shortly, and trying to get plans nailed down for my birthday later this week (Thursday in case you were wondering), which is also release day for the new Kellie Stamps so mark your calendars!

Have a great day!
-Alexandria

28/11/2014

Christmas Cards - For My In-Laws

I can't believe that it's already December. It's my niece's birthday in a few days, and we have 3-4 Christmas's to try and attend this year. Luckily most of my family lives close enough to make day trips to see them, instead of taking two weeks off to make sure we see everyone. I'd love to go a little further and visit my Aunt & Uncle in Manitoba for Christmas (I have yet to see the house they've been living in for the last 4 years). We'll see how things go.

Every year I make Christmas cards for my in-laws. I usually choose an animal that's somehow associated with them. This is the third year, and the last two years we did a horse, and a panda. This year, we decided on a deer, and after flipping through a dozen card making magazines, I found a simple on that had a deer head on it. I love that they include any cutfile details in the fine print at the bottom, so I downloaded the one they used and started planning.


I chose this cutfile but I hated the head of the deer. So while browsing Pinterest, I came across this photo, and so I used the trace feature in Silhouette, and traced the deer head. The image was small, so I traced it while it was small and after removing the image, I changed the size of the cut design to be the size I needed it for the card.


I used the "mount" from the original cutfile so the deerhead didn't look like it was just floating on the card. I typed out the Merry Christmas sentiment in word, and made a table with boxes the size I needed so I didn't have to think about it, I could just cut them out, cut the ends to make a banner and glue it down.


I love this paper. It's from the DCVW glitter pack. We decided on a stripe because it was more visually appealing than just the solid colors. I love that the glitter doesn't come off on your hands, and get everywhere, but I hated how thin it was. I had issues with it sticking to the cutting mat too well, and ripped a bit of the leftovers trying to get them off, luckily no deer were harmed in the making of these cards!


I also love that the deer don't all look the same. There's a few that are similar, but they're not exactly the same. I apologize for the terrible photos. I meant to do this post last night, but when I got home it was dark, and I couldn't find the lamp, so I took the photos this morning, in a rush before work.

Thanks for coming by to see these Christmas cards! I'm hoping to get mine and Jon's done fairly soon, but with my luck they won't be going out until next year, again.

Have a great weekend!
-Alexandria

24/11/2014

DIY Christmas Ideas

Good morning! Today I'm sharing a few Christmas related projects that I want to try out this year. As a creative person, I prefer to make things if I can, as opposed to buying them pre-made. Things don't always work out when I do them myself, but the point is that I at least try and do them myself, so that has to count for something right?

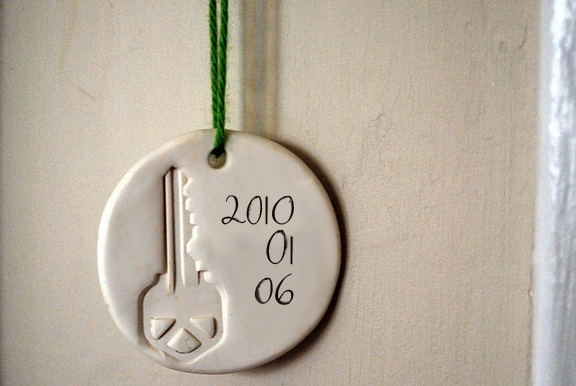
First up, is this first home ornament from Dollar Store Crafts. Last year my mom gave us an ornament for our first home, but after I saw this one with the imprint of the key to the first house, I knew it was something I wanted to try. Even if it doesn't end up on the tree, but instead goes into our Project Life album, I'd be totally okay with that. I think it'll be fun to look back at the imprint of the key to our first home.

I don't have a photo for this next one, but how about a this paper tree from Love Taza. She uses old music paper, but I think I'd use old book paper. I saw another one on Pinterest that had the same idea but they used leftover scrapbook paper.


I tried to make a couple of these last year, unsuccessfully. A few things I learned in the process include: use regular paper, no cardstock. It's too thick to curl nicely, it just bends. Perhaps measure and draw lines to cut because I can't cut straight to save my life. And of course, take your time.


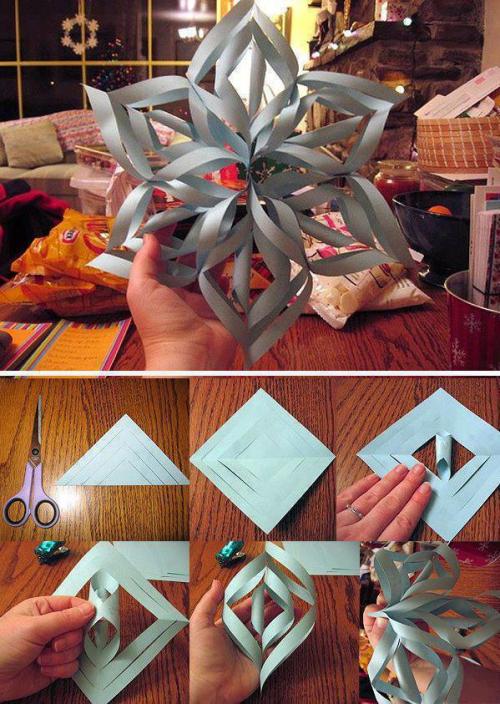
I love this simple snowflake from The Ballard Bunch. It's so simple, and so pretty that I could easily whip one (or several) up in an afternoon.


Last year I found these Cinnamon Ornaments from McCormick and I had planned to make some, but never got around to it. Perhaps this year, I'll get my niece to help me, and send a few home with her.


I first came across this tree on Pinterest, and knew I was going to make some for our little Christmas display. I found a tutorial on Trocas De Linhas. It's not in English, but the photo instructions make it pretty easy to follow, or you could use Google Translate to make it English. I have all the supplies for his one, I just need a bit of time to get it done!

I found  this beautiful Star Garland by Mollie Makes. It would be an adorable addition to a simply wrapped gift, or strung in a window. It's so simple! Now to find myself a small star cookie cutter so I can make it!

Of course, not everything I want to make is for decoration. Some of it can be for eating!


Baked by Rachel has a recipe for Pepermint Bark. It looks delicious! I usually buy Almond Bark from a family friend who sells it at the local Farmer's Markets. It's delicious and I can never seem to get enough of it! Now I can mix it up and make some Peppermint Bark, or use this recipe to make my own almond bark!


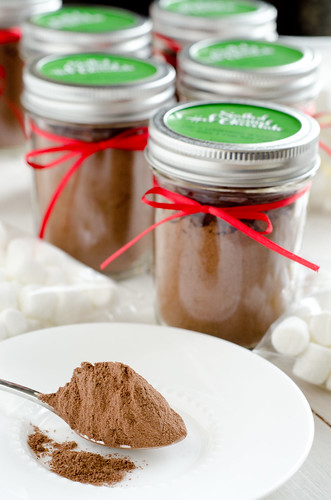
Salted Caramel Hot Chocolate from Seated at the Table. I love hot chocolate and salted caramel, so the two of them together is possibly the best thing ever made!

I doubt I'll make it through all of these things, but I'm sure going to try and get through most of them. If I make anything from this list, it will at least be the string tees, and I will cross my fingers that they turn out how they look in my head.

Have a great day!
-Alexandria

06/01/2014

Merry Christmas

This year, I sent out three different Christmas cards. A handful of friends got one, half my penpals got another and the other half got another. They're similar, they're just not all as close to the same as I wanted them to be, but that's okay.


This is what I wanted all my cards to look like. Unfortunately, I only made 6 of the trees, and couldn't find all the other ones I had cut out before we moved. I also hate glitter so I didn't want to make more of these.


Instead I found a cute little tree stamp, and used gold ink to stamp trees onto the remaining cards.


These cards I left just like this because I felt the yellow paper was too busy to stamp on top of it.

Unfortunately, I didn't have the supplies or the time to make any other Christmas cards this year, but now that I have a bunch more Christmas stamps and Christmas paper, I might start now and make a bunch of cards for next year.

Hope you all got your cards out on time, mine went out just before New Year's.
-Alex

01/01/2014

Merry Christmas & Happy New Year

First, let me apologize for my posts being all over the place from September to December. After much debate, I've decided to decrease my posts to 2-3 times a week instead of 5 times a week. I simply don't have the time or the energy to be creative enough for 5 posts a week. I'll also try and save all my shopping hauls for one large post once or twice a month.

I hope you all had a wonderful Holiday! We definitely did. We were excited to have our first Christmas living together, though we didn't celebrate at our house. Jon and I had Christmas at my parents' house on Christmas Eve, and his parents' house on Christmas Day. We got a bunch of beautiful gifts from everyone, which we are beyond grateful for, but one that stood out the most was this one my parents gave us.


I mentioned to my mom that I wanted to make an ornament for our first year in the house, and so she gave us that beautiful bell. It was so sweet, I almost cried. It fit perfectly onto our tree, and it'll be there every year. Thanks mom and dad.

The only other gifts that I want to share with all of you, are the Project Life things that Jon gave me, and the one that his sister sent for me.


Jon had a hard time finding mini albums online, one of them didn't arrive in the mail because it was sold out, but he managed to get me the Jade mini album. It's beautiful, and hopefully perfect for our before and after photos of the house.


He also got me the Jade edition of Project Life.


It's very green, but so pretty!


He also got me the Sunshine edition of Project Life. 


He bought it for his sister, and when I was wrapping it, I said that it might be too neon for me, but after flipping through the cards, it wasn't as neon as I thought.


For my two large albums, he bought me a variety pack of pocket pages. I think I'll use these for my Vancouver trip, and buy a pack of Design A for my 2014 album.


Jon's sister from Calgary sent me the Holiday Edition.


I thought it would just be Christmas (I had a brain fart then realized that's the Merry & Bright edition). It covers every single holiday through the year from New Years, to the Fourth of July (useless since I'm Canadian though), to Thanksgiving and Christmas, and Hanukkah.  

I also got a bunch of owl things from book ends, to a lunch bag, a set of boxes, and a stuffed owl from my sister. It was a wonderful Christmas and I was beyond excited to spend it with my family. We also celebrated my Grandma's 80th birthday on the 21st, and I found out that I'm going to be an Auntie again. I'm so excited for my brother and his family. Maybe I'll be able to help out with the birth announcements again.

Happy New Year!
-Alex

12/12/2013

Christmas Decorations

This is Jon and I's first Christmas together in our own place. Last year we celebrated at his parents house, and my parent's house. This year we're decorating the house a little bit. Next year we want to tackle hanging Christmas lights outside, and doing more decorating inside (no need to buy everything at once).

The first thing we did was set up the tree, though it took us a few days to get the decorations onto it.


Our tree is sitting by the front door because we had no idea where else to put it aside from in front of the TV, no one liked that idea. (Excuse the mess we had only been home a few minutes).


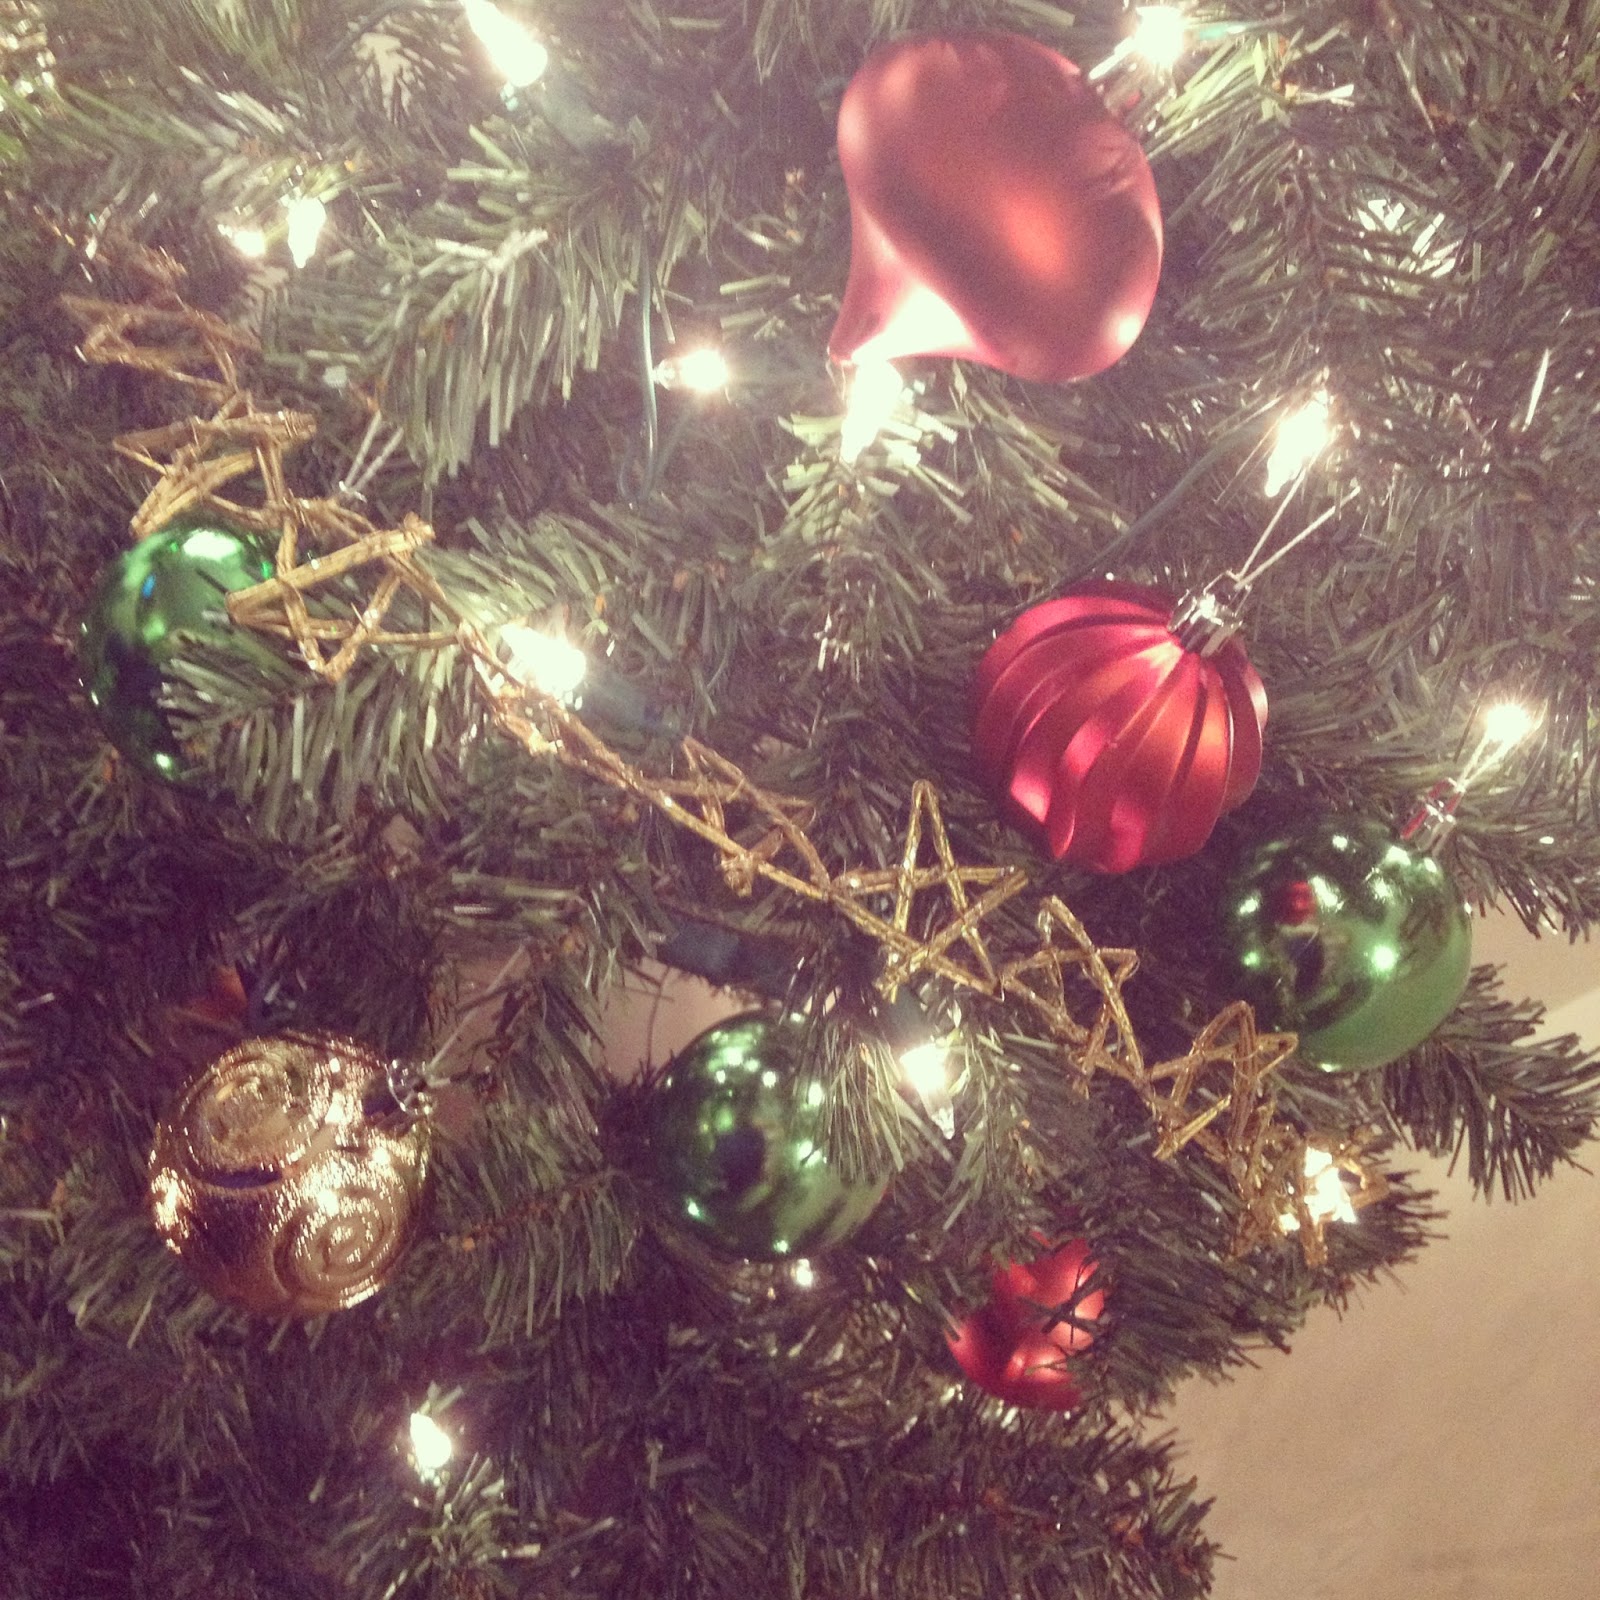
Here's a close up of the decorations. We went with red, green and gold this year (that was all our store had), and got the star garland from his mom. She bought it a few years ago at the Christmas Farmer's Market they host in town every year in December. She said it was handmade by the lady, and she had 5-6 of them. We managed to get two (they're not very long), to do our tree, and two went to work. They're beautiful and a huge hit with everyone.


We also have the Be Merry banner that I made. It hangs above our TV. I still feel like it needs something more. The wall seems so plain otherwise. Maybe I'll pick up a garland of some sort to string across the top.


We bought two of these garlands and strung one over the window in the kitchen, and one over the window in the living room. It's like having candles lit when we have just them on.

My love of owls has translated into our Christmas decorations (and the edge of our key rack). Here's one of a few owls that we put out for Christmas.


These three hang on the mirror by the front door. The one pictured above is in the bottom corner of the mirror.


These three are hanging on the window on our front door. They're frozen solid (normally they're rubbery and flexible). It's been extremely cold lately.


This is our adorable little own door hanger. He gets squished between the two front doors, but I smile when I come home and see him hanging there.


We even have owls on the table! At first I thought the table looked kind of plain, but I like it. It's cute and winter-y without necessarily being Christmas-y.


We ventured away from the owls and I bought this snowman. It has a space on the back for a tealight. I've been meaning to get a battery operated one because the cat is drawn to lit candles.


I also picked up this Santa one that sits opposite it on top of the cabinet that holds all of our movies (pictures of the house coming in the new year).

I can't wait to decorate the house more next year! I love Christmas.

Hopefully you all have your decorations up by now! Have a wonderful day!
-Alex
06/12/2013

DIY Be Merry Banner

I was going through some of my craft stuff that I've barely used and stumbled across my Close To My Heart chipboard letters. I used a couple last year on a project that still isn't finished, but figured I should use more of them. I have limited letters since I bought them from a yardsale, but I used what I had to make a Christmas banner.

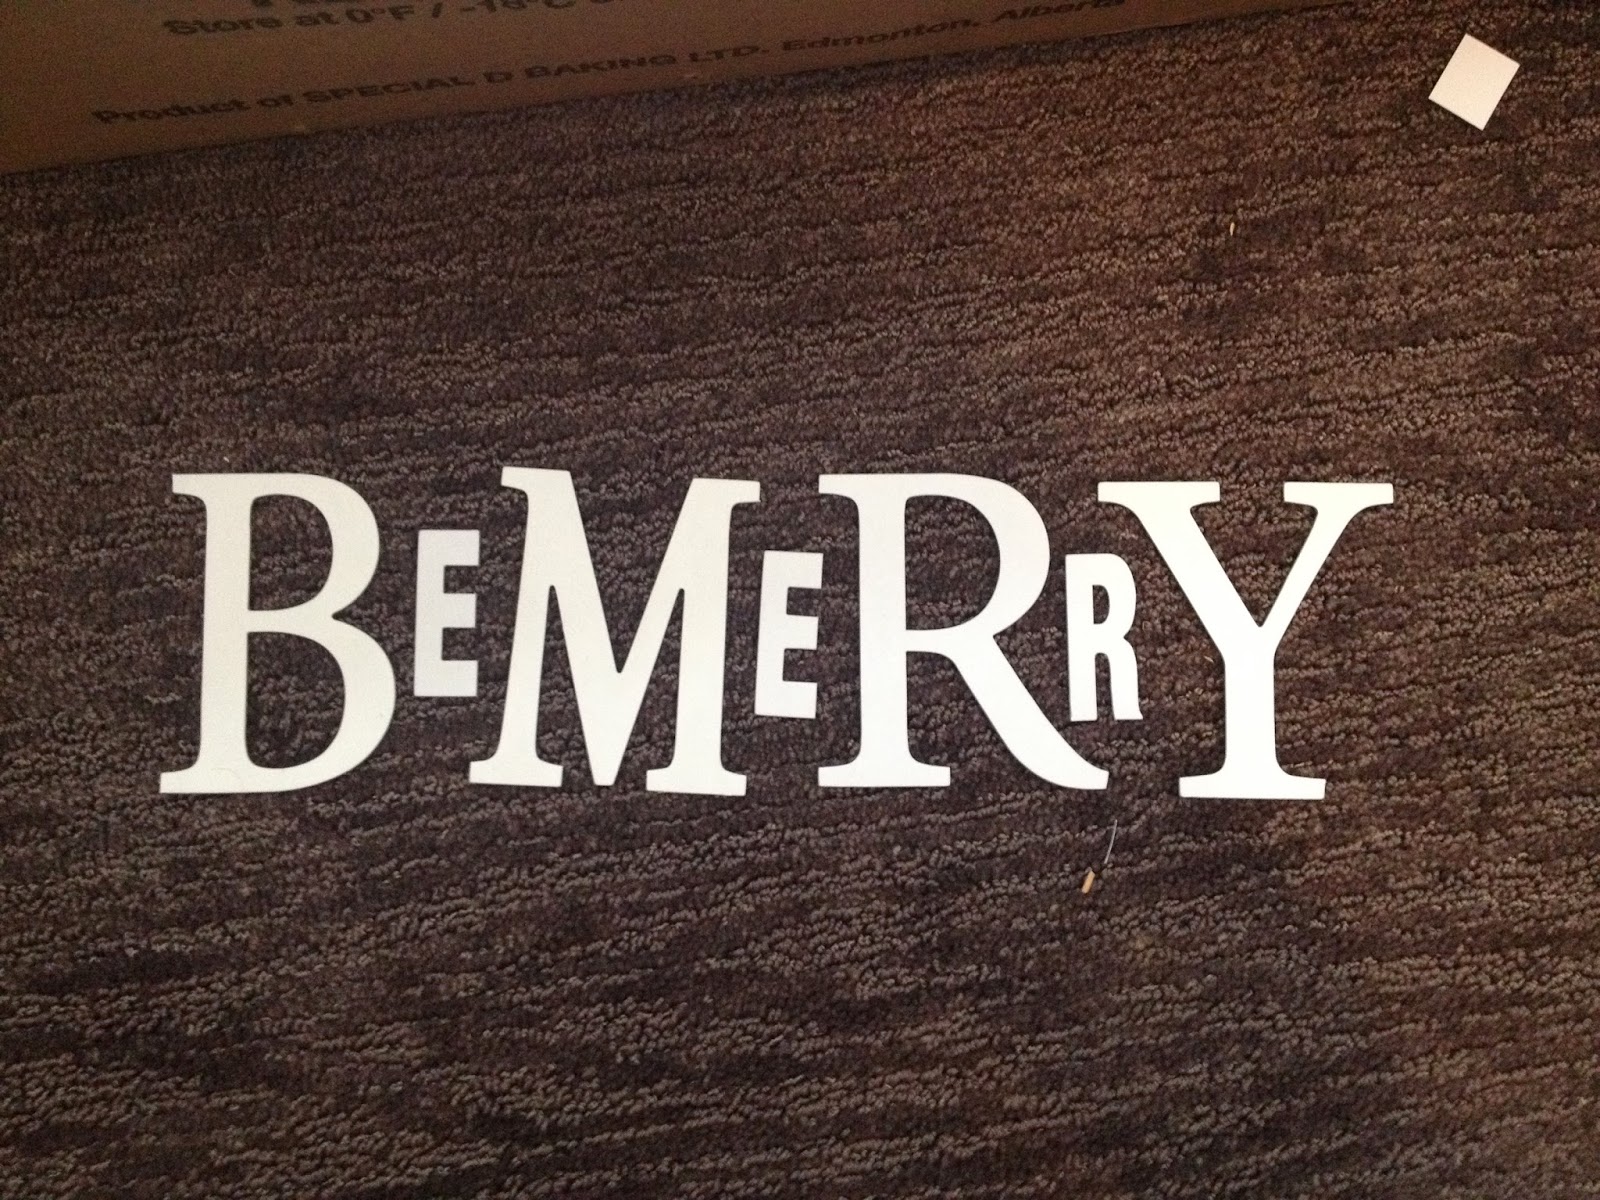
I originally wanted to go with "JOY" but didn't have all the letters for it, so I looked through the few I did and realized with some creativity I could do "BE MERRY".


I love our new carpet and I did a lot of my planning for this project on my floor. I went through the letters and chose to do it this way since I had one sheet of each letter but was lucky enough to have two E's that were the same! 


At first I wanted to cover them in patterned paper and hang them on a garland above the TV. That didn't work out the way I wanted it to, so instead I made this. Don't mind the TV, I was watching the M3 Top 20 Countdown. This is just Legacy by Fefe Dobson.


We hung it on the wall using white tacks, and I attached ribbon to each of the rosettes. I'm not tall enough to get a good picture of how we hung them, but if you squint and tilt your head you can see the tacks.


I had Jon take these down so I could get better pictures of them. I attached a scalloped circle in a similar colour to each rosette to keep it together, then put the letter on top of that. Most of our decorations are red or green, so I figured they were a safe colour choice.


The large rosettes were made using three 3" strips of patterned paper. This red one is probably my favourite.


When I cut the striped paper for the little ones I definitely wasn't thinking. The pattern doesn't match up where the strips were connected. I should have cut one strip from each sheet of paper and connected those. These ones were made using two 1 1/2" strips. I used a black scalloped circle so you could see the letter from a distance.


Here's a better look at the green chevron pattern on this one.


I love this red paper so much. The pattern is just perfect, and the colour is a reddish pink.


A closer view of my mismatched pattern. Oh, and I coloured the circles black. They were off white, because I wasn't thinking and it was late when I finished these ones. 

I love Christmas so much. I'm going to spend the next few days trying to wrap presents without using bows and using minimal ribbon. Our cats like to take the bows off the gifts and play with the ornaments on the tree. So far though they've left the tree alone, I'll share a photo of that next week!

Have a wonderful weekend!
-Alex