Recent Posts

Showing posts with label birthday cards. Show all posts

17/11/2014

Studio Calico: Sandlot Card Kit

Today I'm sharing the cards I made using the Sandlot Card kit, and the Squints add-on from Studio Calico. This is the August card kit, and just last week I got the add-on. As I was using the kit, and browsing the member gallery for inspiration, it made me want the Squints add-on and luckily they still had some available, so I bought one before they sold out. I'm so glad I did. It helped me make more cards with the kit.

I could have made more cards, but I felt that they would have ended up looking very similar if I did, and so I limited myself to just these. The extra paper and embellishments were added to the rest of the leftover embellishments and papers from other card kits.


This one is my absolute favourite from this kit. Just circles, sequins, little wooden stars, and some gold mist.


This was inspired by a Sunday sketch. I left off the giant embellishment, and made the strips of paper a little wider.


This was inspired by one from the member gallery. I have terrible hand writing so I used the stamp that came in the kit, and now I wish I'd just tried to handwrite it. The thanks is a little larger than I would have liked.


I love this gumball machine! I wish I'd used a different background paper for this so that the "you're so sweet" on the bottom showed up better.


I greatly dislike this card. I made it at work, and in my head it looked awesome, but I realize now that using just the circle paper might not have been the best choice.


I love how this one turned out. So many gumballs.


I added watercolors to the background paper to highlight the words and only put ink onto the "you're so" portion of the "you're so sweet" stamp. I added a few enamel dots from the Squints add-on (should have done it more random).


My style is extremely simple, and that's why I love this one. I have no idea how those two rose stamps are supposed to line up, but I'm fine with how they turned out.


I'm so proud of this one. I wasn't at all sure that my ruffle would turn out, and although you can see the thread in a dew places, it still looks okay. I love that it's a little messy and not perfect. Makes the thread showing seem intentional.


This was real simple. Just cut some 1/2" strips in colours to match the top/bottom paper and put them in a way that no two similar colours were together.


Stamped some flowers, cut them out, arranged them around the card. A couple of them were adhered with foam tape to make them pop, and the roses were just stamped directly onto the card.


I had so much fun making this card. I stamped a bunch of roses, let them dry and then painted a few with watercolours. It was totally random, but Jon tells me there's a slight pattern to it.
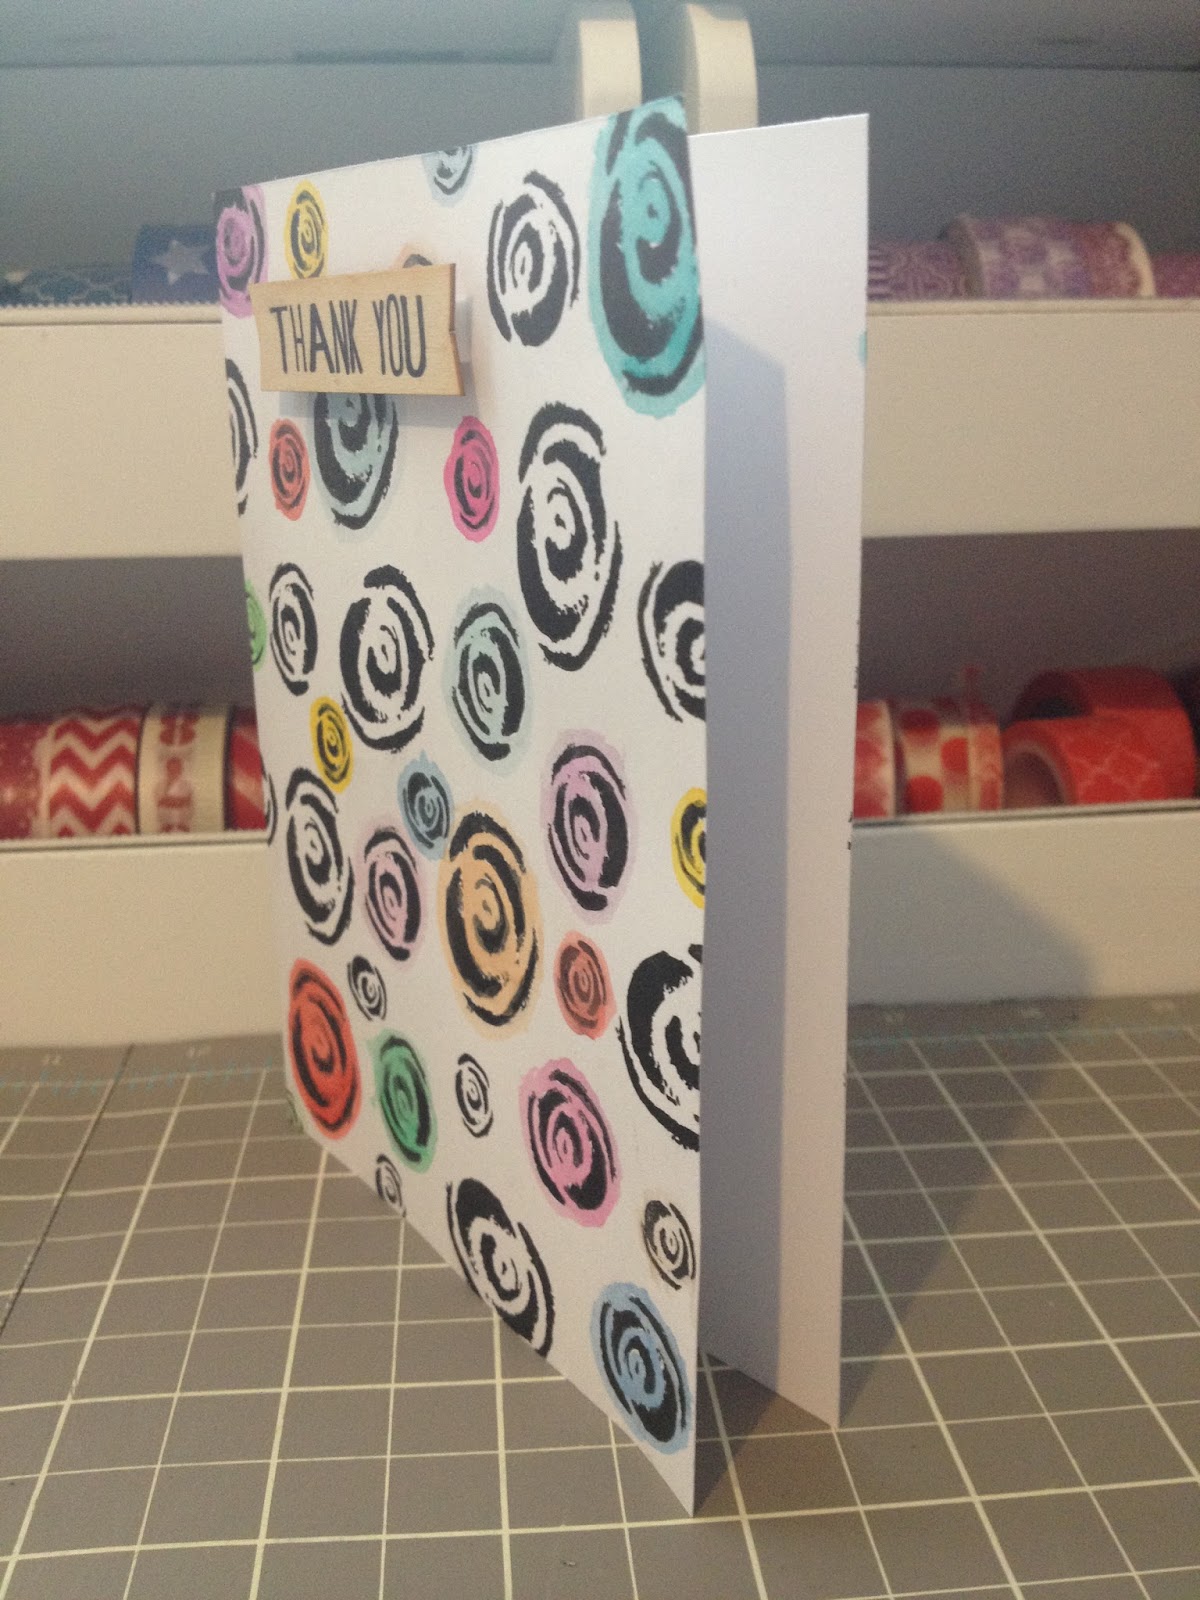


This one has a lit less flowers, but I added the paper and the wood veneer anyway. I'm not sure how I feel about it.


Thanks for coming by to see these cards! Some of them I finished up just yesterday! Crazy, I know. I'm trying to get through a couple more card kits, and then my goal is to start making some from my stash. I miss doing that!

Have a great day!
-Alexandria

10/11/2014

Studio Calico: Penny Arcade Card Kit

Good morning! Today I'm sharing the cards I made using the Penny Arcade Card Kit from Studio Calico. This kit was released in August, but I kept putting off using it because I felt that the stamp was extremely limiting, but I missed both the presale and the reveal, so I worked with the main kit.


This first card was pretty straight forward. I added buttons and stars in a somewhat random fashion, but within the white scallop.


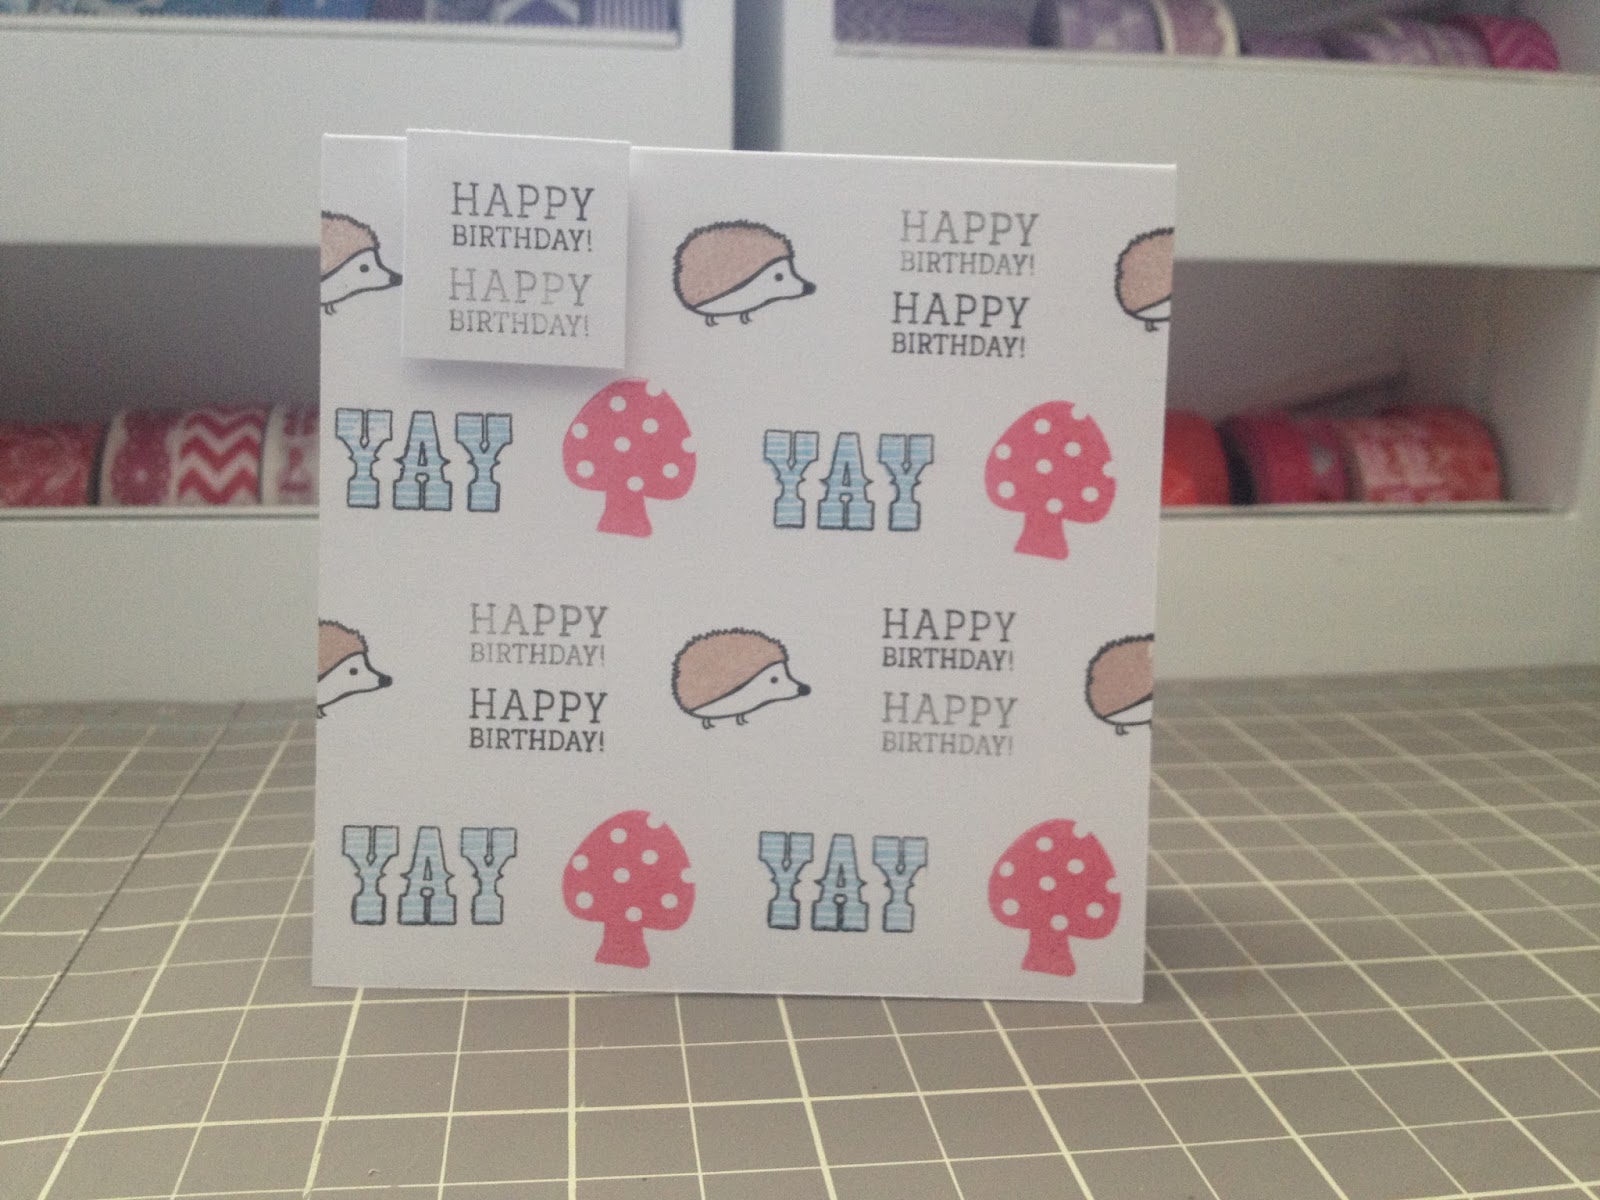
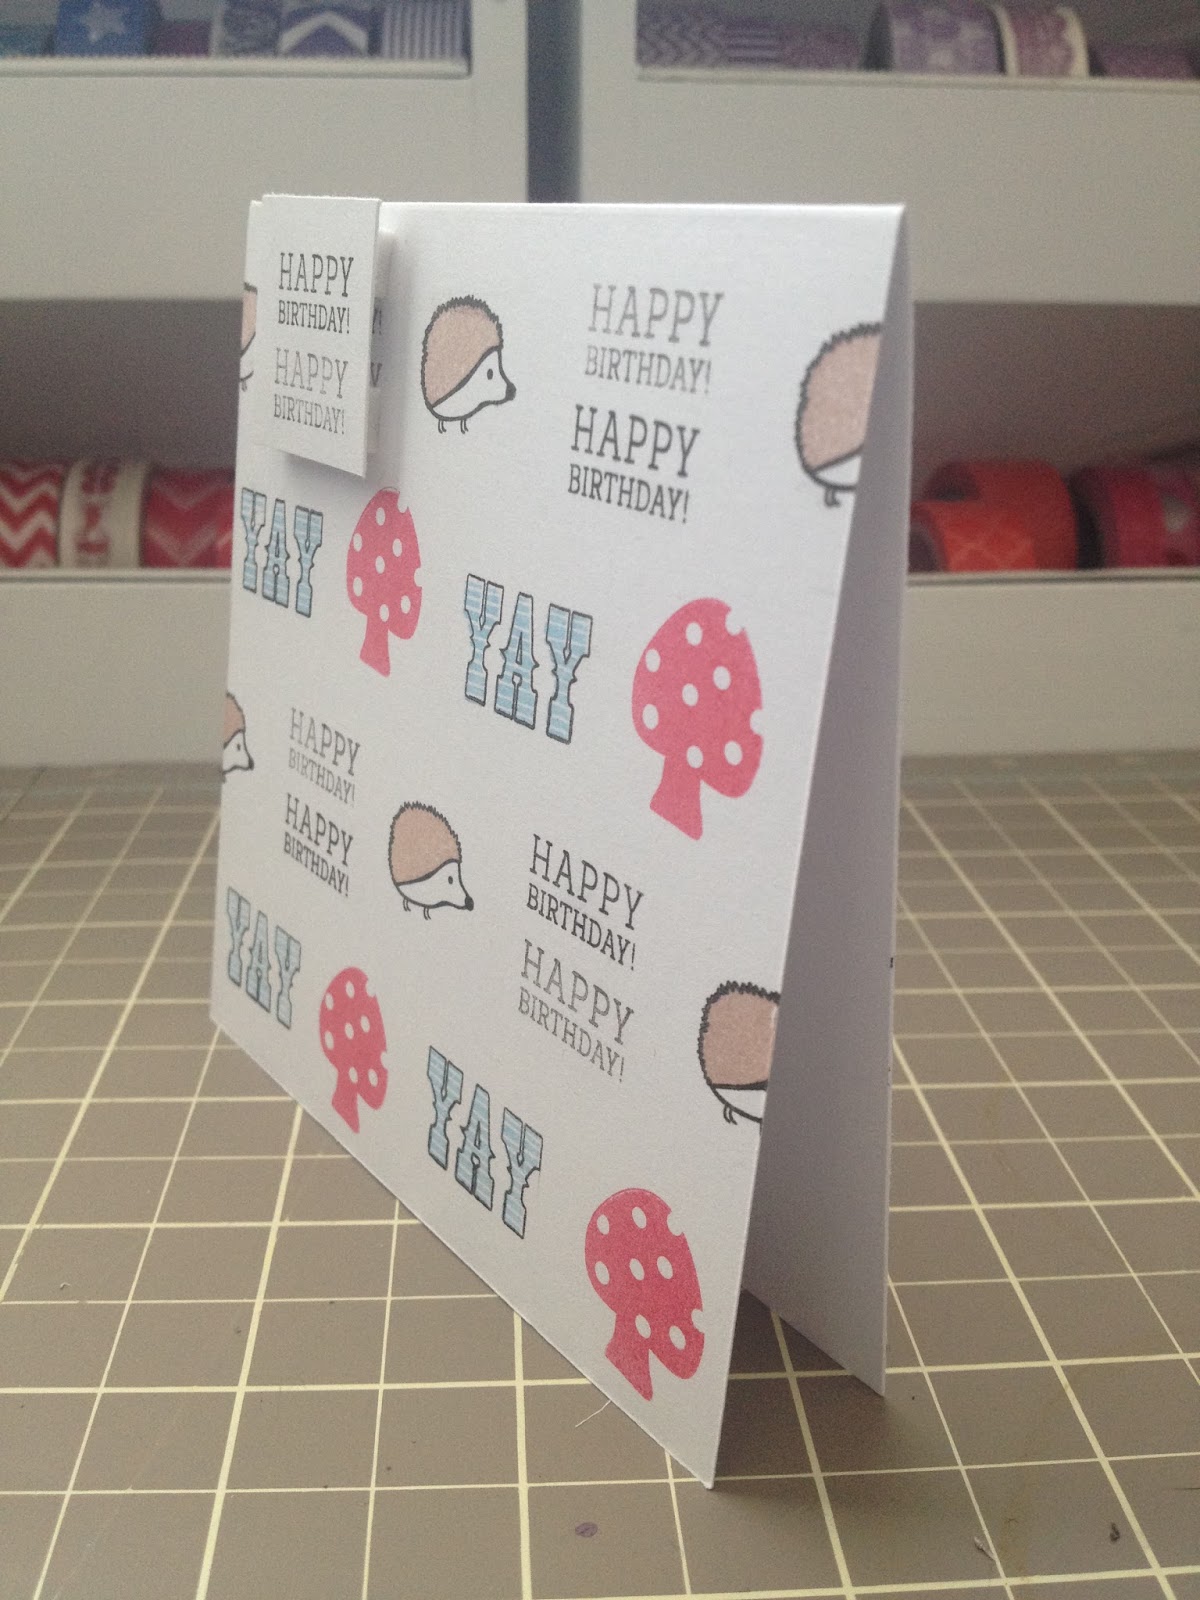
For this card, I made a grid of 1 inch squares, but staggered them (like bricks) and stamped each image in one of the squares. The "yay" and hedgehog stamps came with outlines, and a couple of "filler" options. I used both the outlines, and the filler options. I stamped a happy birthday on a scrap and adhered it with foam squares.


All the inspiration for this card, came from the Studio Calico member gallery. I wasn't quite sure how they did their card, but I painted a piece of cardstock with water colors, and used white ink to stamp the cloud on top (after it dried). I had to stamp it twice to make the cloud a little more opaque, but I'm happy with it. I adhered it to the card, added a bit of washitape, and stamped you make me happy over and over down the right side.


After seeing a card in the member gallery with watercolors around the words on this paper, I knew I had to try it. I love it! I love how it makes certain words stand out more against the black and white of the rest of the paper. I added a wood veneer from my stash, and a banner that I stamped "you make me happy" onto. That's possibly my favorite stamp in this kit.


Despite this gnome stamp, stumping me, I made this card inspired by the member gallery. The gnome only had filler options for his hat, so I used water colors to color in the different parts of him. I added little tufts of grass with watercolors.


The member gallery is the best place for inspiration. I found one similar to this. I just added some more stars to it. I wish I'd used a different sentiment, but I don't like mixing kits, or products until I make at least 9 cards using just the kit. I'm still pleased with how this card turned out. It's so cute!


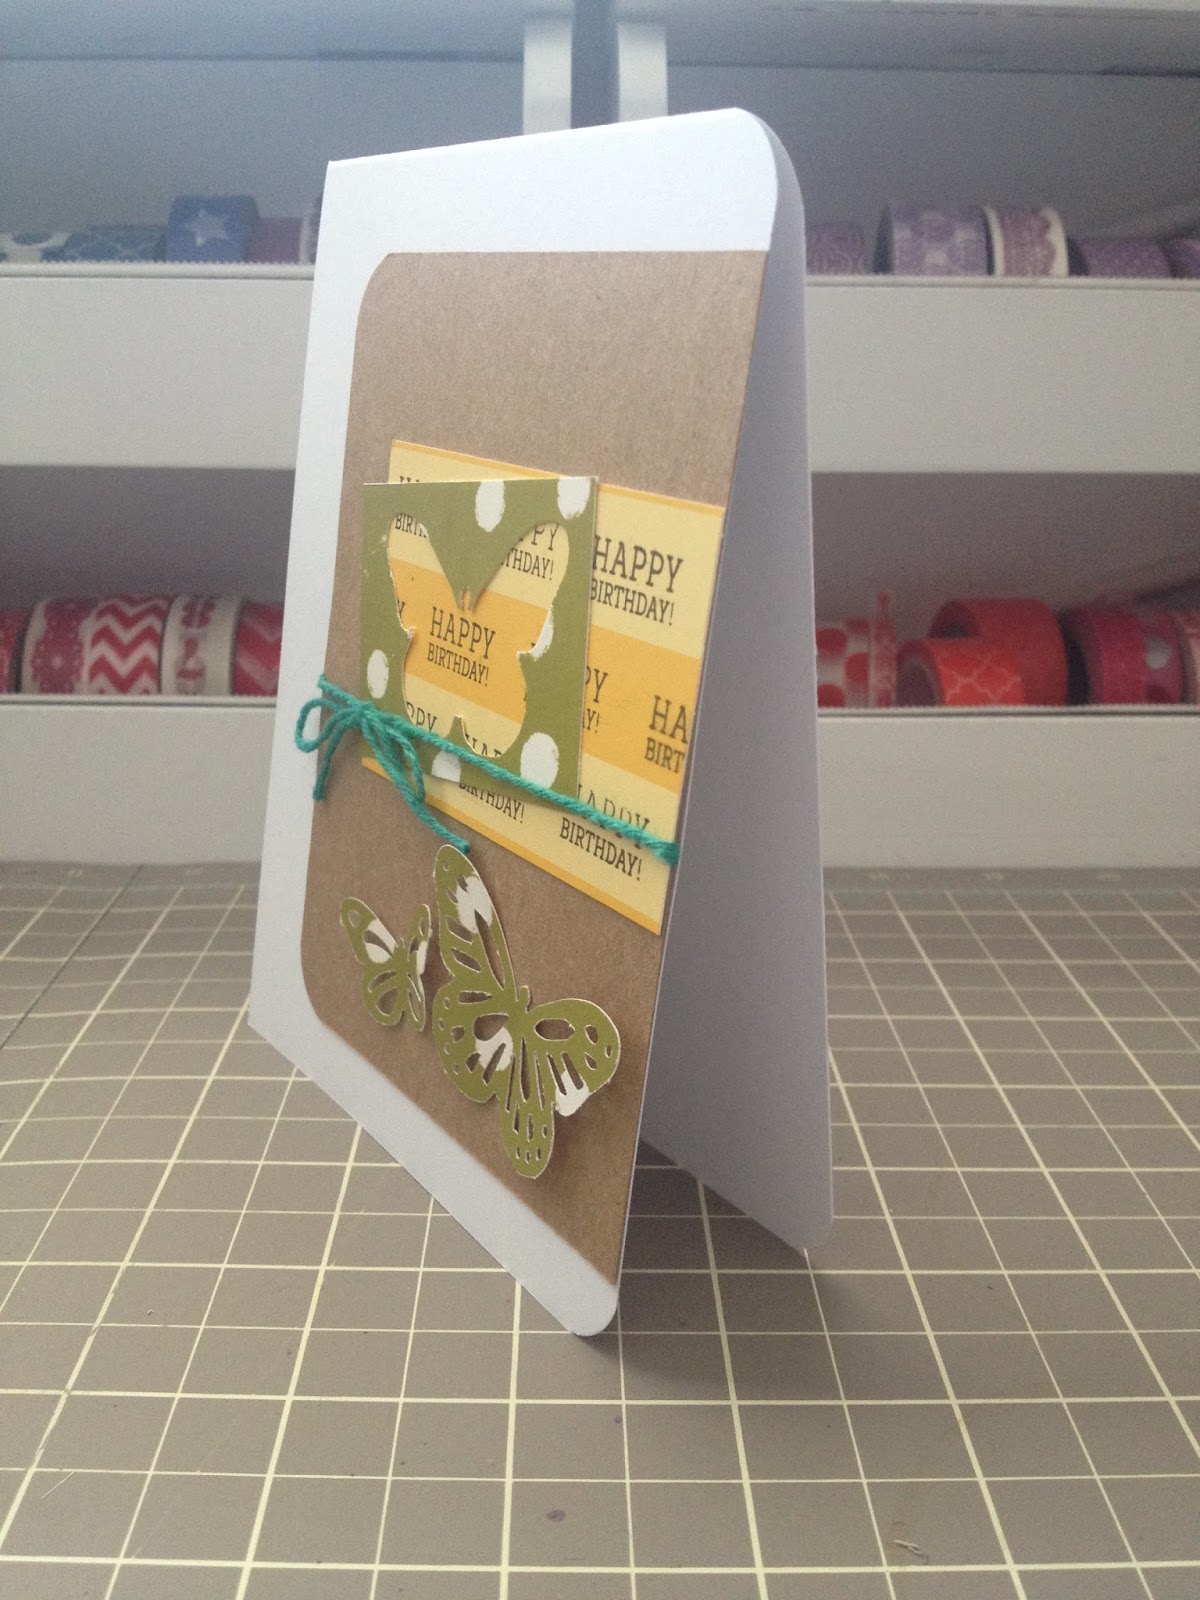
This one was somewhat inspired by the gallery, but also had some influence from one of the weekly sketches. Perhaps I should have chosen different colors, but I want to at least try and use every paper a tiny bit throughout my cards. I stamped happy birthday on the yellow paper in a staggered pattern, and punched a butterfly from a piece of the green and used the negative space above the butterflies.


This card didn't turn out how I wanted it to. I should have used a lighter ink for the blue sky, or used something else entirely right there. I love the words on this one. I wanted to use more colors. For the cloud piece, I traced the stamp on a piece of cardstock, cut it out and used it as a mask and inked the edges around it, then trimmed down the inked piece to fit on the card, and stamped the cloud face.


When I saw the gnome stamp, the sentiment and the map paper, I knew I couldn't not make this card. The kit came with a metal die in the shape of a banner, unfortunately I don't own a manual die cut machine (yet!), so I just cut a banner by hand and stamped the sentiment on it. Adhered it with foam squares. The gnome was stamped on a scrap, painted with watercolors, and adhered to the map paper.


Thanks for coming by. I hope you enjoyed seeing these cards. Better late than never right? Crossing my fingers that I'll get some time to work on other cards as well in the near future.

Have a great day!
-Alexandria

22/01/2014

Orange You Glad It's Your Birthday?

I'm not one for being creative with post titles (as some of you may already know), but I tried anyway.


I wasn't sure how I felt about this card being monochromatic, but I'm pretty happy with it.


I wrapped orange and white twine around the sentiment, and adhered gems for a little sparkle.


I hate when ink smudges, but I can roll with it. It adds character...right?


Here's a side view. This little card is only 4" x 4". The perfect little size!

Hope you all have a wonderful Wednesday!
-Alex

26/07/2013

Birthday Wishes

Good morning loves! Hope you're all feeling wonderful today! I'm sure everyone is excited for the weekend. I'm working again this weekend, but I'll try and come up with something other than cards and shopping trips to post next week! I have a few projects in mind, but they take longer than a couple of hours, and since I do most of my posts the night before, I don't have time to do a few things I'd like to.

Today, I tried something a little different. I never use border punches on the edge of a card, but today I wanted to hide the fact that the paper didn't quite reach the edge without cutting it smaller.


I love the different shades of green paired with the navy on this one! I just wish I'd had ribbon to match that could hide the seams.


Here's a side view of the card. The punch I used along the side is one of the new Stampin' Up! ones that I picked up last weekend.


I inked the edges of the birthday wishes, and used foam squares to adhere it to the card. I added gems to give the card a little something more.


Here's what it looks like closed. I only trimmed the front layer with the punch, and left the back layer the way it was. I love the business of the middle, and the simplicity of the top and bottom.

That's all for today! Hope you all have a wonderful weekend.
With Jon being gone this weekend, I should have tons of time to get things done!

-Alex