
This first card was pretty straight forward. I added buttons and stars in a somewhat random fashion, but within the white scallop.

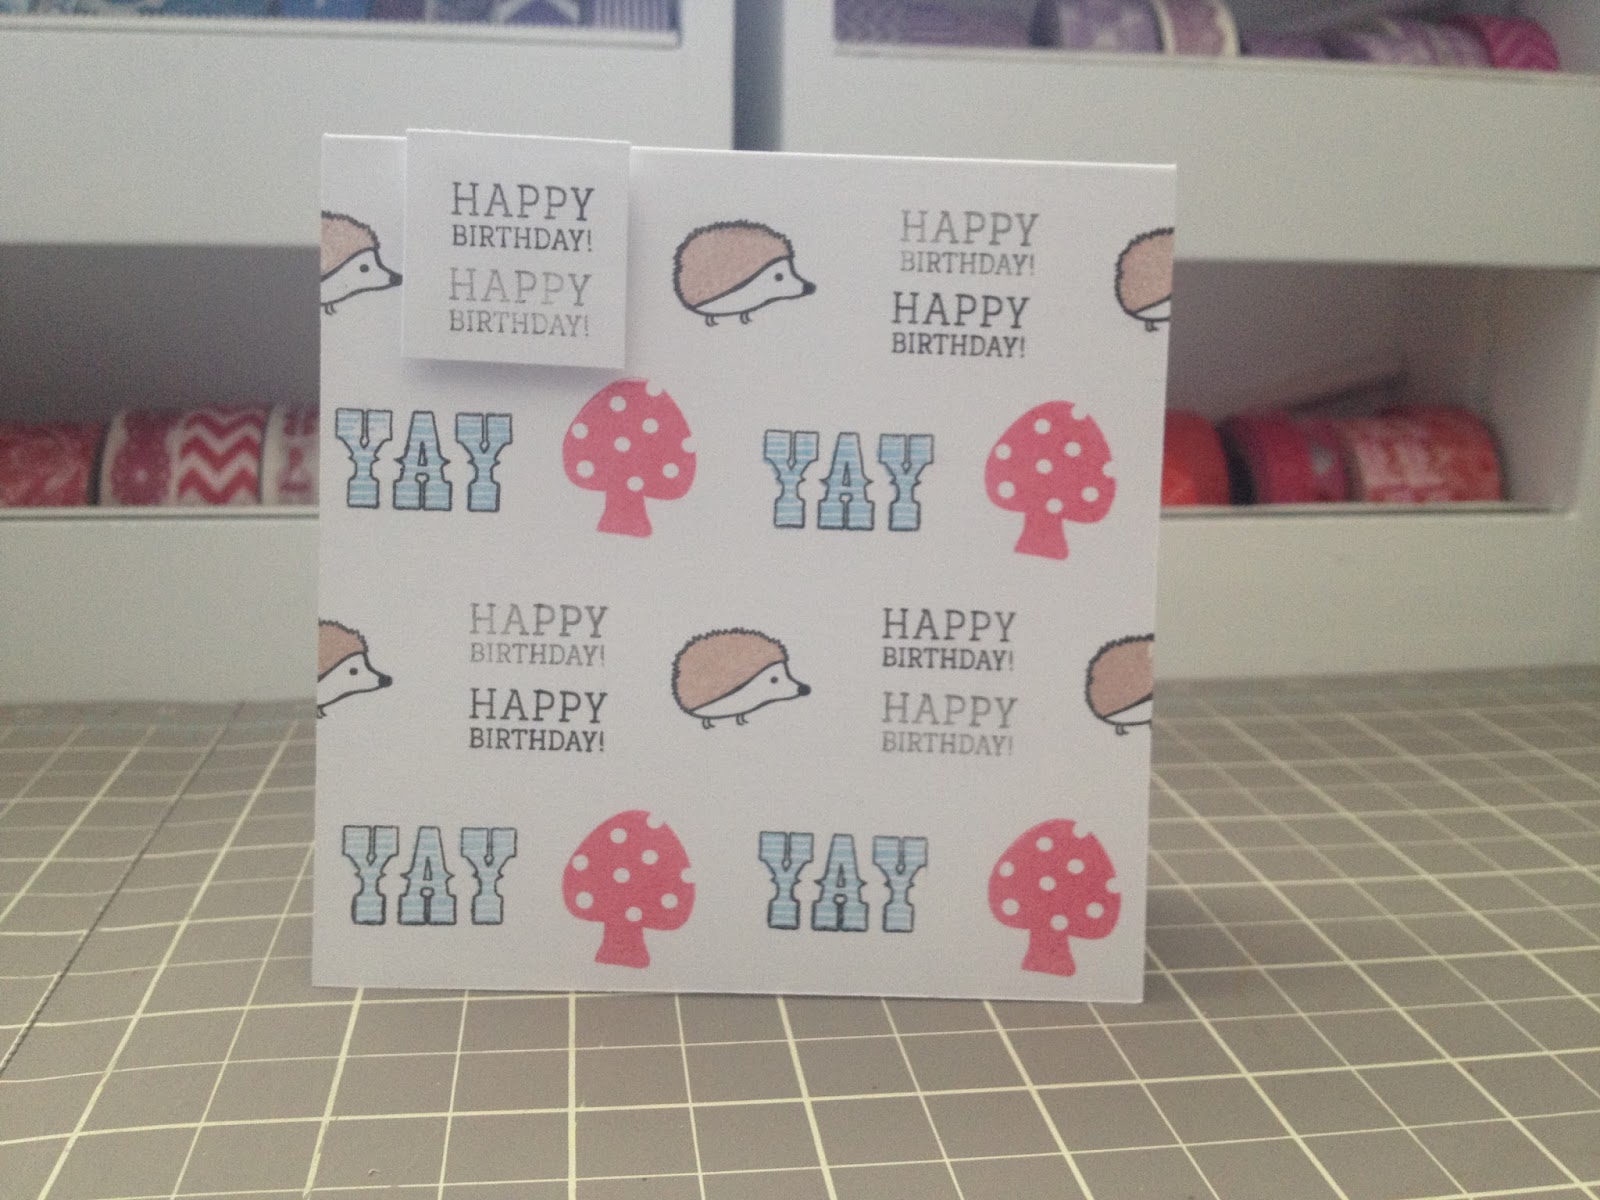
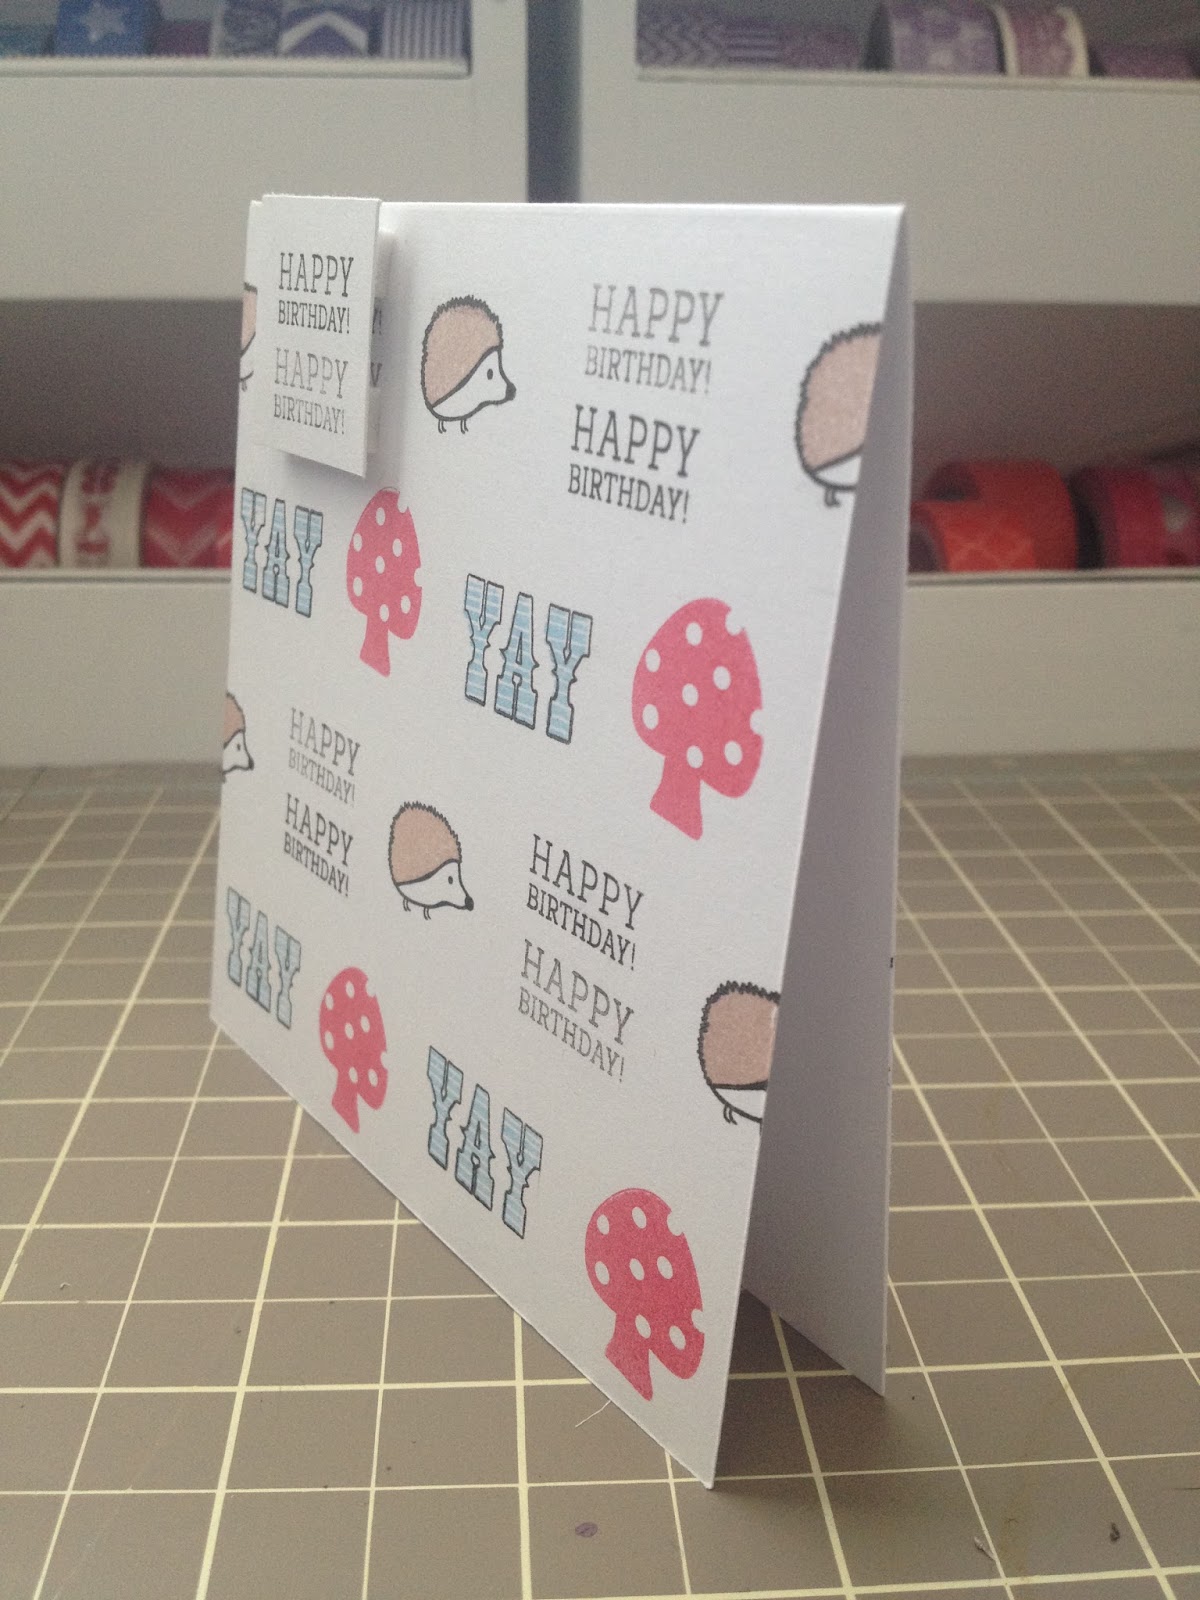
For this card, I made a grid of 1 inch squares, but staggered them (like bricks) and stamped each image in one of the squares. The "yay" and hedgehog stamps came with outlines, and a couple of "filler" options. I used both the outlines, and the filler options. I stamped a happy birthday on a scrap and adhered it with foam squares.

All the inspiration for this card, came from the Studio Calico member gallery. I wasn't quite sure how they did their card, but I painted a piece of cardstock with water colors, and used white ink to stamp the cloud on top (after it dried). I had to stamp it twice to make the cloud a little more opaque, but I'm happy with it. I adhered it to the card, added a bit of washitape, and stamped you make me happy over and over down the right side.


After seeing a card in the member gallery with watercolors around the words on this paper, I knew I had to try it. I love it! I love how it makes certain words stand out more against the black and white of the rest of the paper. I added a wood veneer from my stash, and a banner that I stamped "you make me happy" onto. That's possibly my favorite stamp in this kit.


Despite this gnome stamp, stumping me, I made this card inspired by the member gallery. The gnome only had filler options for his hat, so I used water colors to color in the different parts of him. I added little tufts of grass with watercolors.


The member gallery is the best place for inspiration. I found one similar to this. I just added some more stars to it. I wish I'd used a different sentiment, but I don't like mixing kits, or products until I make at least 9 cards using just the kit. I'm still pleased with how this card turned out. It's so cute!


This one was somewhat inspired by the gallery, but also had some influence from one of the weekly sketches. Perhaps I should have chosen different colors, but I want to at least try and use every paper a tiny bit throughout my cards. I stamped happy birthday on the yellow paper in a staggered pattern, and punched a butterfly from a piece of the green and used the negative space above the butterflies.


This card didn't turn out how I wanted it to. I should have used a lighter ink for the blue sky, or used something else entirely right there. I love the words on this one. I wanted to use more colors. For the cloud piece, I traced the stamp on a piece of cardstock, cut it out and used it as a mask and inked the edges around it, then trimmed down the inked piece to fit on the card, and stamped the cloud face.


When I saw the gnome stamp, the sentiment and the map paper, I knew I couldn't not make this card. The kit came with a metal die in the shape of a banner, unfortunately I don't own a manual die cut machine (yet!), so I just cut a banner by hand and stamped the sentiment on it. Adhered it with foam squares. The gnome was stamped on a scrap, painted with watercolors, and adhered to the map paper.

Thanks for coming by. I hope you enjoyed seeing these cards. Better late than never right? Crossing my fingers that I'll get some time to work on other cards as well in the near future.
Have a great day!
-Alexandria


0 comments:
Post a Comment