Today I'm sharing the cards I made using the Sandlot Card kit, and the Squints add-on from Studio Calico. This is the August card kit, and just last week I got the add-on. As I was using the kit, and browsing the member gallery for inspiration, it made me want the Squints add-on and luckily they still had some available, so I bought one before they sold out. I'm so glad I did. It helped me make more cards with the kit.
I could have made more cards, but I felt that they would have ended up looking very similar if I did, and so I limited myself to just these. The extra paper and embellishments were added to the rest of the leftover embellishments and papers from other card kits.

This one is my absolute favourite from this kit. Just circles, sequins, little wooden stars, and some gold mist.


This was inspired by a Sunday sketch. I left off the giant embellishment, and made the strips of paper a little wider.


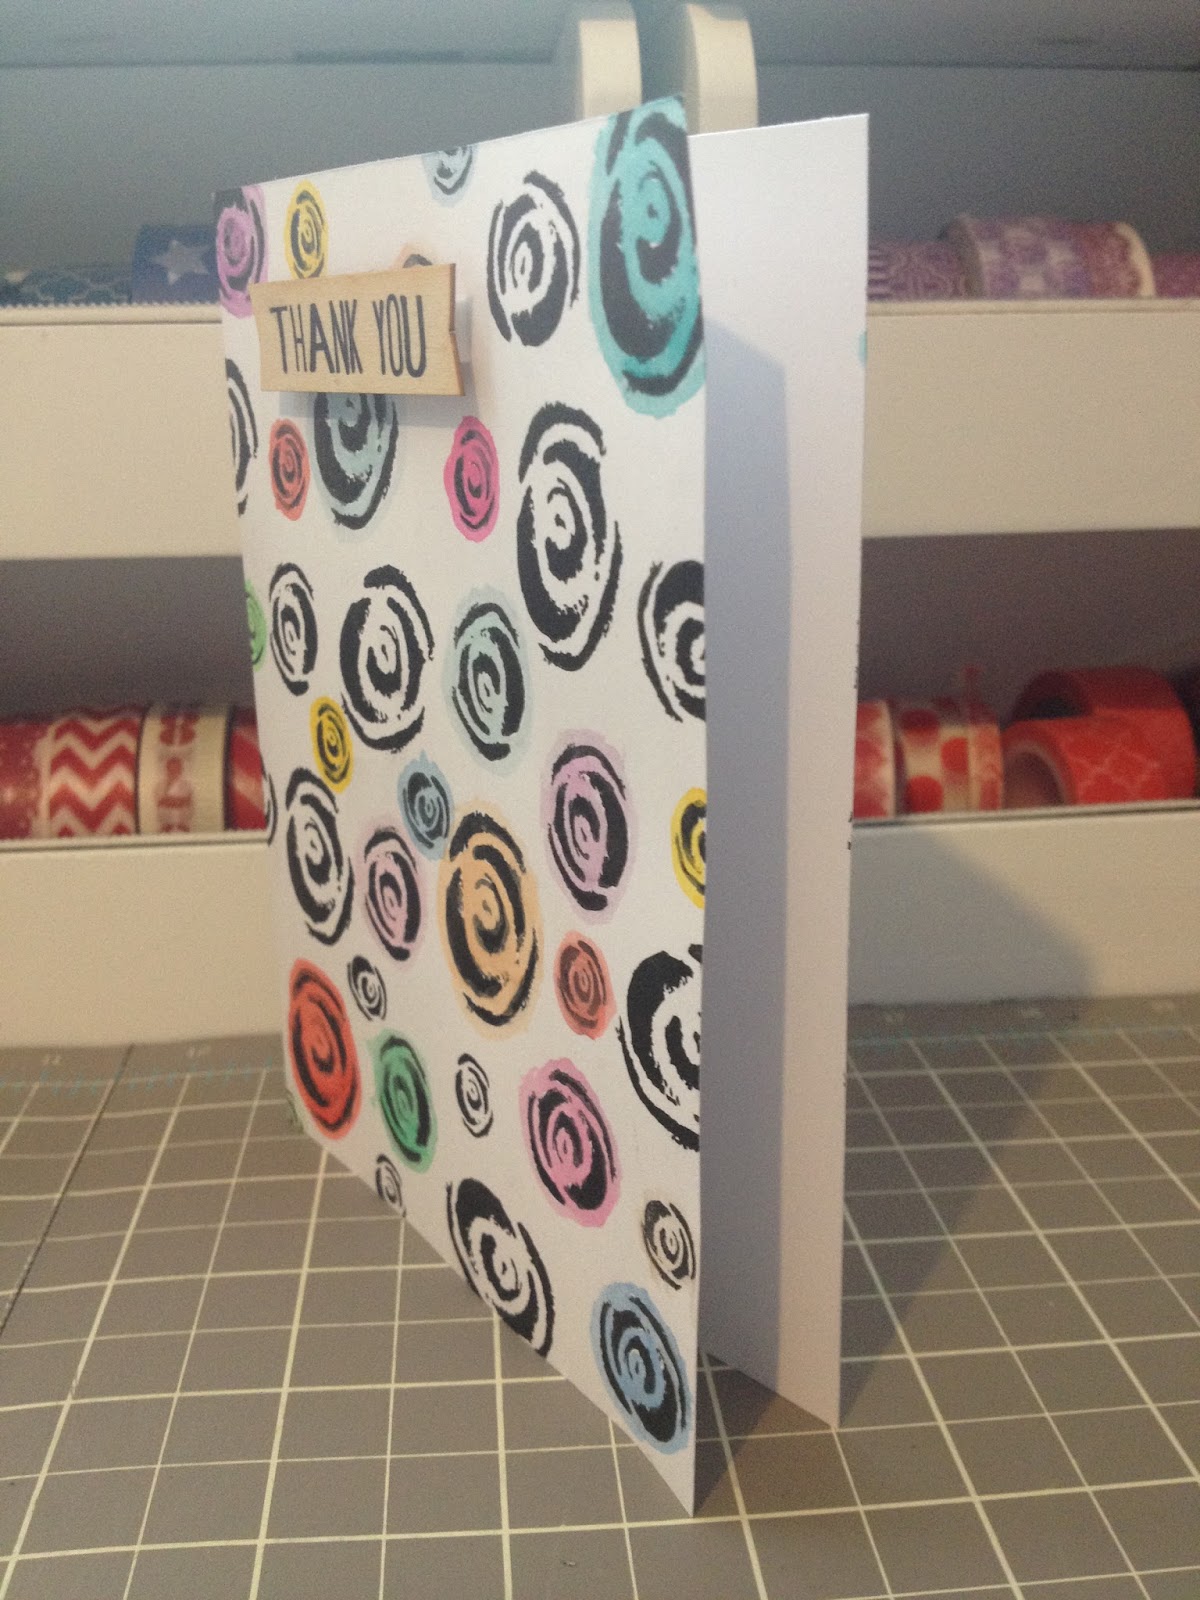
This was inspired by one from the member gallery. I have terrible hand writing so I used the stamp that came in the kit, and now I wish I'd just tried to handwrite it. The thanks is a little larger than I would have liked.


I love this gumball machine! I wish I'd used a different background paper for this so that the "you're so sweet" on the bottom showed up better.


I greatly dislike this card. I made it at work, and in my head it looked awesome, but I realize now that using just the circle paper might not have been the best choice.


I love how this one turned out. So many gumballs.


I added watercolors to the background paper to highlight the words and only put ink onto the "you're so" portion of the "you're so sweet" stamp. I added a few enamel dots from the Squints add-on (should have done it more random).


My style is extremely simple, and that's why I love this one. I have no idea how those two rose stamps are supposed to line up, but I'm fine with how they turned out.


I'm so proud of this one. I wasn't at all sure that my ruffle would turn out, and although you can see the thread in a dew places, it still looks okay. I love that it's a little messy and not perfect. Makes the thread showing seem intentional.


This was real simple. Just cut some 1/2" strips in colours to match the top/bottom paper and put them in a way that no two similar colours were together.


Stamped some flowers, cut them out, arranged them around the card. A couple of them were adhered with foam tape to make them pop, and the roses were just stamped directly onto the card.


I had so much fun making this card. I stamped a bunch of roses, let them dry and then painted a few with watercolours. It was totally random, but Jon tells me there's a slight pattern to it.

This one has a lit less flowers, but I added the paper and the wood veneer anyway. I'm not sure how I feel about it.

Thanks for coming by to see these cards! Some of them I finished up just yesterday! Crazy, I know. I'm trying to get through a couple more card kits, and then my goal is to start making some from my stash. I miss doing that!
Have a great day!
-Alexandria


0 comments:
Post a Comment