Recent Posts

Showing posts with label blue. Show all posts

12/12/2014

Baby Shower Invitations - Ahoy! It's a Boy!

I can't believe it's already the second week of December! Christmas is only 13 days away, and I'm so excited to spend some quality time with my family, and eat my fill of Turkey and other foods I only get around Christmas time. Unfortunately I haven't been working on too many Christmas-y things lately. I'm slowly getting into the later weeks of my Project Life, last week I finished up some baby shower invitations (which I'm sharing below), and I've been working a bunch, trying to get the house slowly decorated for Christmas. Last week we put up the tree and a few decorations, I'm still trying to decide what I want to put up and where I want everything. I'm so indecisive, but since we don't have anyone coming over for Christmas, it doesn't really matter.


Here's the adorable baby shower invite. They went for a whale/nautical theme. I'm so pleased with how it turned out, and not to toot my own horn, but it turned out amazing! Considering I don't have photoshop, or any other editing type program, I made the text portion in Word using a bunch of text boxes so I could position the text exactly where I wanted it. It was time consuming, but totally worth it!


A close up of the little whales. I cut them using my cricut (which I haven't used in what feels like forever). I was originally going to do one, but it was too empty, so I put two.


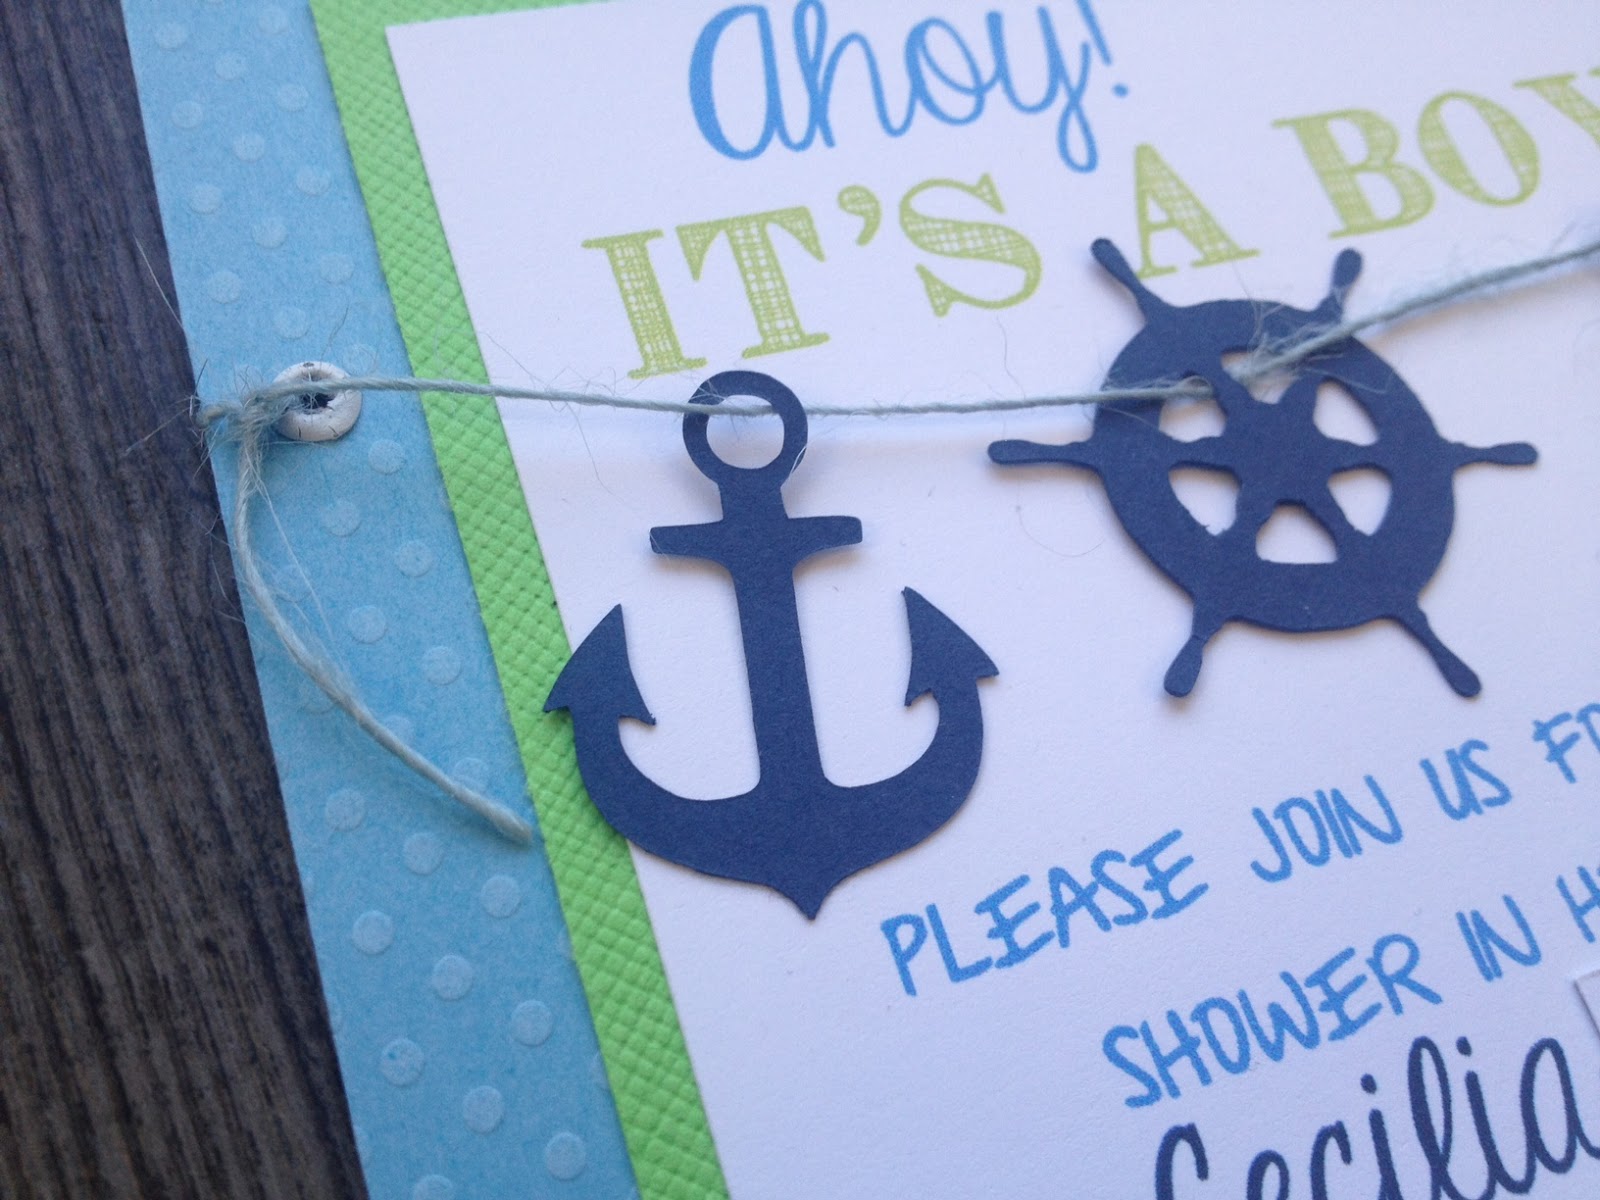
A close up of the anchor, and wheel strung on twine across the top half. Originally I wasn't going to use the eyelets, but I felt they were important to help the twine from pulling too much on the hole.


A close up of the paper texture mostly. I love the dots embossed on the blue paper. It adds to the nautical/whale theme!Thanks for coming by to check out these invites! I imagine there will be more of them coming in the future!

Have a great day!
-Alexandria

08/08/2013

Thank You

For some reason, I have a limited number of thank you cards. Maybe it's because I never have a reason to use them, and when I do, I never have one. So I made some using the left over paper from my celebrate card the other day.


This card was inspired by a graduation card I made, but instead of putting the sentiment across the top, I put it on the bottom, and put ribbon across the top.


I combined stamps from different sets to create this custom thank you stamp. I stamped it all in black to tie in the ribbon, and keep the card from being too bright.


I cut the strips in different lengths and widths and layered them starting with the orange one. Then slightly overlapped the pink one, then the blue and finally the floral one.


I tied the ribbon in a knot to add some visual interest to it. All the strips are lined up at the top.


Last but not least, the side view of the completed card, and a glimpse at the giant mess that is my desk.

Hope everyone has a wonderful Thursday, I'd love to see your projects, both cards and other. Feel free to e-mail them to me any time! creationsbycoal@gmail.com

-Alex

06/08/2013

Celebrate

Since Jon's gone to BC with his dad for a fishing trip, I've had a lot of free time to work on cards. I also have a few extra days off this week since a coworker is back from holidays. This means I've made a lot of cards, which is wonderful because I was running low on a few things, and I'd like to open an Etsy shop soon to bring in some extra money when we move.


This card sat like this for a couple of days until I could figure out what to put on it to finish it. I knew it needed a sentiment, and I knew it needed to go across the top right, I just couldn't find the right stamp.


When I got home from work today, I went through my Stampin Up! stamps and found this one. Knowing it was perfect!


I inked the top and bottom edge with light pink ink, and trimmed the edges to look like tape. I adhered it to the card with foam squares and angled it slightly.


Here's a side view of my card. I love that it's bright and cheerful! So happy with how it turned out. All the colours were picked from the floral paper.

Hope everyone has a wonderful Tuesday!
-Alex


28/06/2013

Baby Girl & Boy Congratulations

Today I made some baby cards. I made four purple & pink and four green & blue.


This is the first time I've ever used washitape on a card, and I'm so happy with how it looks. Once I put the twine across the middle, I felt the card was too plain. I slid it up and put washitape under it and I think it made it tons better than before!


The stamps along the bottom are all part of a set. I thought at first that the black would be too dark for these cards, but I think it was just enough to balance out the pastel colours.


Here we have the green one. The thing I like most about this card (minus the smudges of ink) is that if I changed the "congratulations" sentiment at the top to "you're invited" or "our baby is here", I could easily turn this congrats card into an invitation or a birth announcement!


I originally made this one first, and put the lime green washitape on it. I felt that it made it better. Now I think I should have gone with something to match the card base, like I did with the pink ones. But I still like this one as it is.

Hope you all have a wonderful weekend!
-Alex