Recent Posts

Showing posts with label pink. Show all posts

04/02/2015

Love Themed Mini Album


Good morning! I'm so excited with how most of this mini album turned out. I wish I could make a mini album that was just one thing, but I can't, and I'm okay with that. This was supposed to be about our relationship. Originally FIRSTS from our relationship (inspired by the Story Stamp from Ali Edwards), but it became just a variety of things I love about our relationship, and Jon, and a few firsts from our relationship. It's messy and full of love, and that's basically all I was hoping for with this project.


This album is so full of love that I have to tie it closed to keep it from bursting open. I love it so much. Each one of those tags sticking out, is sandwiched between two photos of memories, and tucked into the pockets I made between each page. I'd like to thank Celine Navarro for her class at Studio Calico that taught me how to make this album from scratch. Perhaps in the future, I'll share a bit of that with all of you!


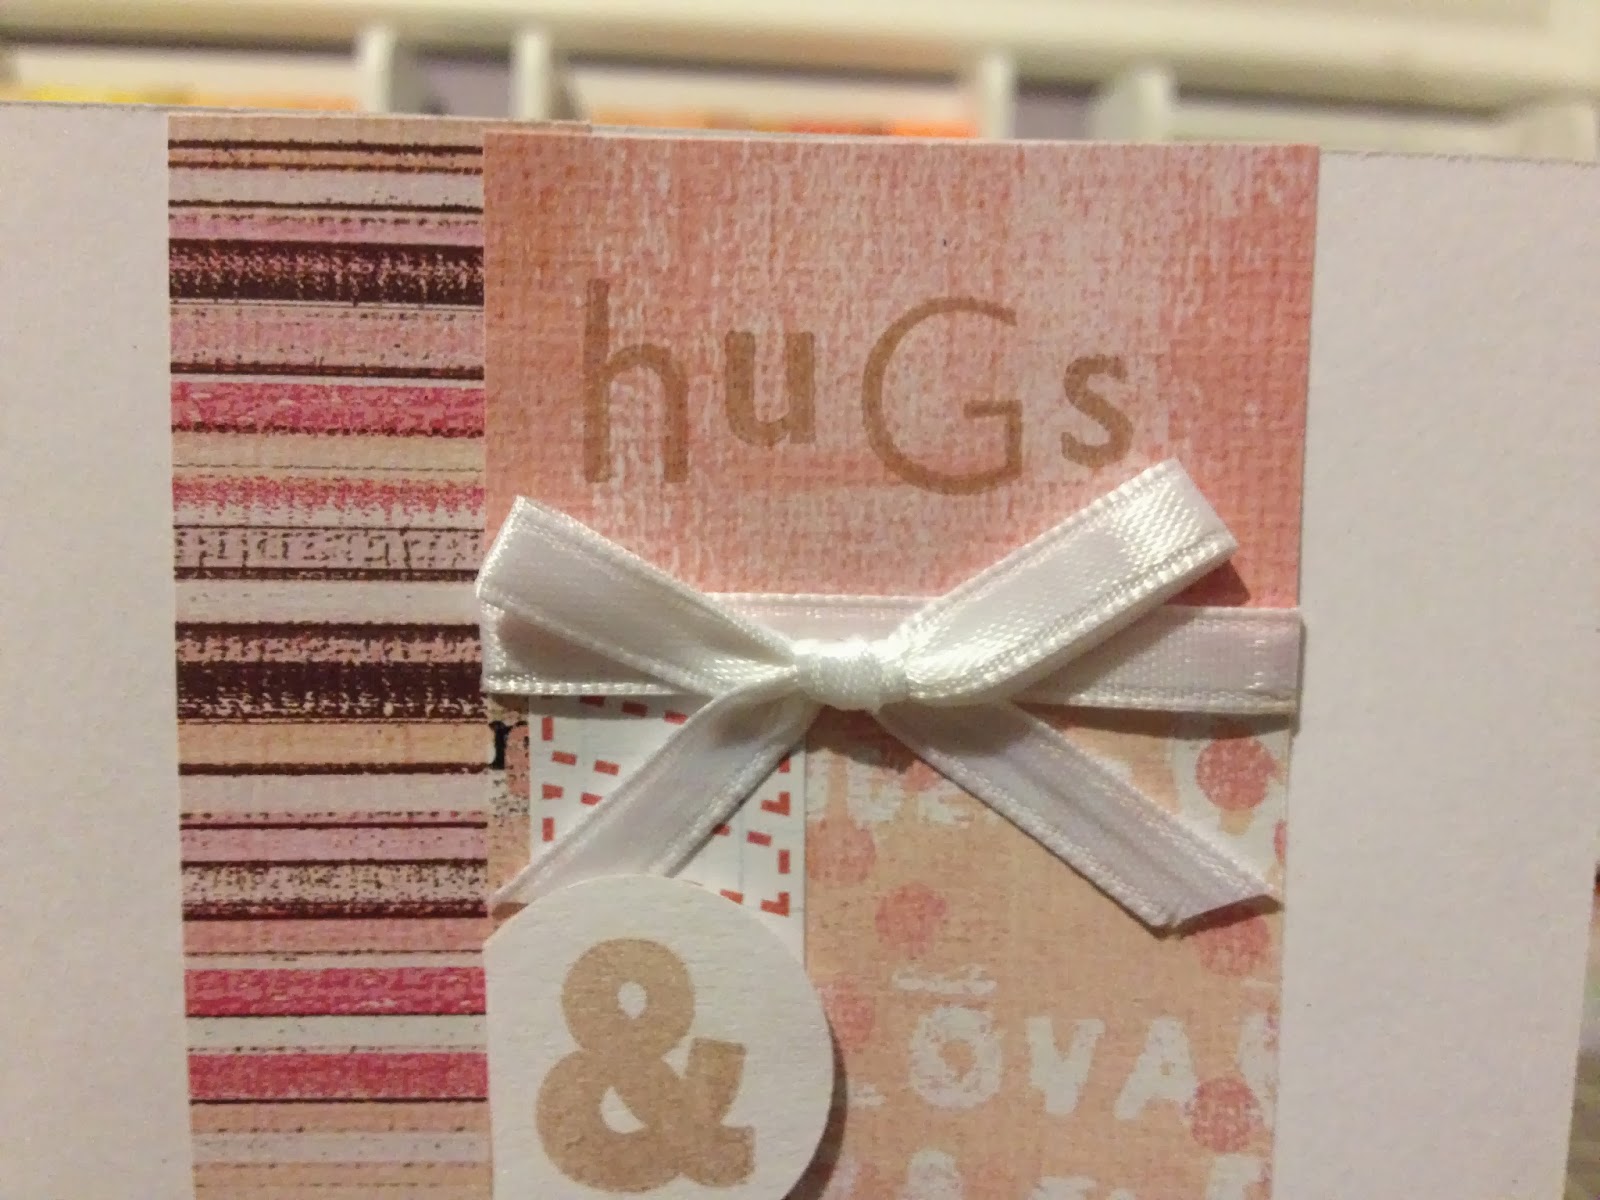
Here's the cover of the album. Isn't it just beautiful? Pink is definitely not my favourite color, but I just love the way this looks. Originally I was just going to make it, throw in some pink love-y paper for the pages, and sell it or give it away. But after I embellished this beautiful cover, I knew I was going to keep it for myself. I'm so glad I did. The black doily is from My Minds Eye (Sweetest Thing) I cut it in half and stuck it down in two places. The ticket to my heart sticker is also from that line. The arrow is from Maggie Holmes (Open Book) the chipboard hearts are from Studio Calico, and the love thicker is by Amy Tangerine. I used some old white sheets and dyed them different shades of pink using food coloring and water.


Here's What it looks like when you open it. On the left I used some word stickers from MME Sweetest Thing to create a short list of things I love about Jon. I stamped the date the photo was taken in a few places, and tried to do this where I remembered when the photo was taken.


Inside the pocket I included a photo of us from early in our relationship, and a collage I made a few months later.


The photos that were attached to the tag and slipped into the pocket.


On this page, I cut the "10 Things I Love About You" sticker in half, as well as my photo, and a chipboard heart and a banner that I stamped "I love you because" onto. I listed 10 things I love about Jon on this page and added some jewel hearts from Freckled Fawn.


Here I used my Firsts stamp set from Ali Edwards. I documented our first date, kiss, I love you's and adventure. I told the stories about each of them and included a collage of one of our trips and a selfie in the pocket.


This page has photos in the pocket, but I wasn't comfortable sharing them here. Nothing super inappropriate, but I don't think Jon would appreciate me sharing shirtless photos of him on the internet. (And none of you need to see that anyways).

I kept this page pretty simple. The pattern paper was super busy so I just stuck down a vellum circle and some heart stickers along with a recent selfie and a little journaling. I don't know why there's an acorn on this page (tucked under the tag) I definitely do not remember putting it there, but I might leave it.


I ran out of photo paper so this page doesn't have a photo in the pocket. I used some chipboard stickers from My Minds Eye (Market Street I think). It says "Perhaps it is our imperfections that make us so perfect for one another". It's perfect for this photo. Jon and I have so few pictures of the two of us, and since I (sorry for being so blunt here) got fat, I try and avoid them whenever possible.


The final page is from our first Christmas in our first house together. The bell ornament my mom made me for that year. It's so pretty and I love her for making it for us. It will always be front and center on our tree. Eventually our goal is to replace our set of purchased ornaments with ones from family that mean something to us. I almost want to write the year on all of them, but I'm pretty sure they're all documented in our Project Life at some point.

Thanks for coming to see this album. It's very similar to how I made the Vintage Book album, but instead of using a book cover as my base, I just used some chipboard from the back side of one of those giant fridge calendars. It worked perfectly and was thin enough that I could stitch the fabric down around the edges, plus you can make it any size you want!

Have a great day!
-Alexandria

17/01/2014

Hugs & Kisses - Valentine's

This was one of my favourite cards that I made last year for Valentine's Day. It was inspired by one I found on the Michael's Pinterest. I improvised it a little bit, and made this lovely card.


 This card is very pink, and girly. I selected the papers for this one very carefully. I wanted them to go well together without being too monochromatic. I think I got the perfect balance.


The ribbon hides the seam between the solid pink piece on the top, and the lighter pink piece on the bottom. The circle with the & on it was tripped on one edge and adhered with a foam square.


I used varying lengths and widths of paper for the banners. I didn't want two strips to be the same. I stamped the sentiment with brown ink.

Here's a side view of the card. This card measures 4 1/4" x 5 1/2". I've used a similar style on other cards that I've made.

Do you usually buy your significant other a store bought card, or do you purchase/make a handmade card for them? Personally, I love handmade cards, but because I make them, my family feels it would be weird to buy one of my cards only to give it right back to me.

Have a wonderful day!
-Alex

25/11/2013

Pink & Sage Celebrate

Ever time I turn around, I feel like I don't have enough birthday cards. Why does everyone have to have a birthday? Just kidding. I've been trying to use up more of my scrap paper because I currently have a box almost overflowing with paper that I've cut pieces from and never used again. This card was made using the left over paper from Friday's Gift Card Holder card.


I added the green behind it to add a bit more depth and make the floral paper stand out more.


You can't really tell, but I inked the edges of the celebrate piece with two different shades of pink. I used sage green ink to stamp the sentiment.


I used my Martha Stewart Doily border punch on the front edge of the card and adhered a piece of white paper to the inside edge on the back of the card. Then I inked the edges with the sage green ink again.


Here's a side view of the card. I adhered the celebrate piece with foam squares, and you can see how I attached the white piece inside the card. Perhaps next time I'll adhere a full white piece inside, or stamp something down the white edge inside the card.

There you have it! I suppose I should stop procrastinating and start working on my Christmas cards at some point! Going to Edmonton tomorrow, which means a trip to Michaels, and some Christmas shopping! Yay!

Have a wonderful day everyone!
-Alex

08/08/2013

Thank You

For some reason, I have a limited number of thank you cards. Maybe it's because I never have a reason to use them, and when I do, I never have one. So I made some using the left over paper from my celebrate card the other day.


This card was inspired by a graduation card I made, but instead of putting the sentiment across the top, I put it on the bottom, and put ribbon across the top.


I combined stamps from different sets to create this custom thank you stamp. I stamped it all in black to tie in the ribbon, and keep the card from being too bright.


I cut the strips in different lengths and widths and layered them starting with the orange one. Then slightly overlapped the pink one, then the blue and finally the floral one.


I tied the ribbon in a knot to add some visual interest to it. All the strips are lined up at the top.


Last but not least, the side view of the completed card, and a glimpse at the giant mess that is my desk.

Hope everyone has a wonderful Thursday, I'd love to see your projects, both cards and other. Feel free to e-mail them to me any time! creationsbycoal@gmail.com

-Alex

06/08/2013

Celebrate

Since Jon's gone to BC with his dad for a fishing trip, I've had a lot of free time to work on cards. I also have a few extra days off this week since a coworker is back from holidays. This means I've made a lot of cards, which is wonderful because I was running low on a few things, and I'd like to open an Etsy shop soon to bring in some extra money when we move.


This card sat like this for a couple of days until I could figure out what to put on it to finish it. I knew it needed a sentiment, and I knew it needed to go across the top right, I just couldn't find the right stamp.


When I got home from work today, I went through my Stampin Up! stamps and found this one. Knowing it was perfect!


I inked the top and bottom edge with light pink ink, and trimmed the edges to look like tape. I adhered it to the card with foam squares and angled it slightly.


Here's a side view of my card. I love that it's bright and cheerful! So happy with how it turned out. All the colours were picked from the floral paper.

Hope everyone has a wonderful Tuesday!
-Alex


28/06/2013

Baby Girl & Boy Congratulations

Today I made some baby cards. I made four purple & pink and four green & blue.


This is the first time I've ever used washitape on a card, and I'm so happy with how it looks. Once I put the twine across the middle, I felt the card was too plain. I slid it up and put washitape under it and I think it made it tons better than before!


The stamps along the bottom are all part of a set. I thought at first that the black would be too dark for these cards, but I think it was just enough to balance out the pastel colours.


Here we have the green one. The thing I like most about this card (minus the smudges of ink) is that if I changed the "congratulations" sentiment at the top to "you're invited" or "our baby is here", I could easily turn this congrats card into an invitation or a birth announcement!


I originally made this one first, and put the lime green washitape on it. I felt that it made it better. Now I think I should have gone with something to match the card base, like I did with the pink ones. But I still like this one as it is.

Hope you all have a wonderful weekend!
-Alex