
Supplies:
- Chipboard or thick cardboard - I used some from the back of a fridge calendar
- masking tape
- Fabric - I used old white sheets and dyed it, but you could use a patterned fabric and skip that step
- Food colouring, ink refills, fabric dye or anything you can use to dye your fabric
- Glue stick or mod podge - I used a glue stick so I could reposition the fabric if necessary
- fabric tape, or washitape
- scissors
- plastic bag

First, we're going to cut our chipboard pieces to size. You can adjust this to whatever sizes you want, but to fit 4x6 photos into the pockets, you'll want your front and back cover to be 5x7. Your spine will be 1x7, unless you plan to make a lot of pages, then you can make it whatever width you want, just make sure it's the same height as your front and back cover.

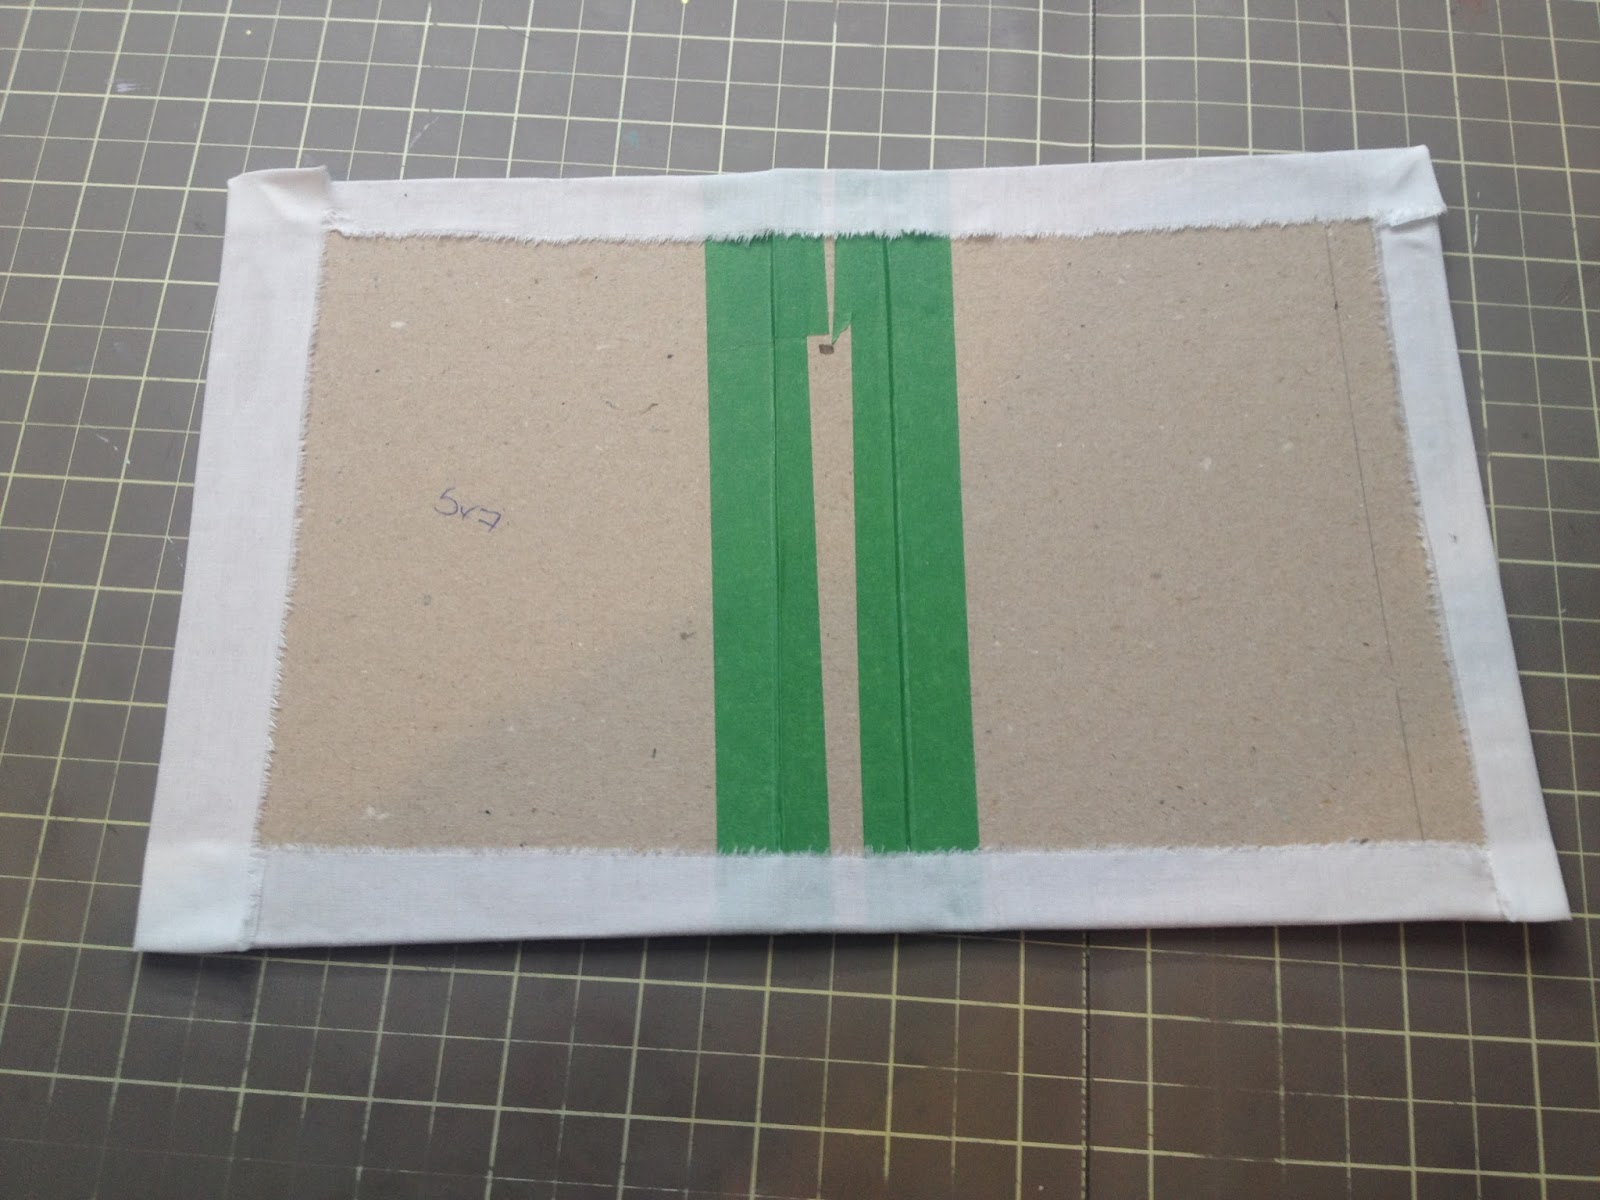
Next you'll want to tape your spine to your covers. Make sure you leave a gap between them so your spine and covers can bend to close.

Wrap the tape around both sides, and tape the back cover to your spine as well. I used painters tape because I couldn't find any white masking tape.

Next you're going to cut your fabric. You'll need two pieces of fabric, one will be a couple of inches taller than the other, but they'll be the same width.


Apply glue to the outside of your album cover. Lay your smaller piece of fabric on it and smooth it out. I close my album and smooth the spine and front and back covers to make sure the fabric won't pull when I try to close it. When it's opened flat, the fabric will bubble a little along the spine, but that's normal. It means your fabric won't pull. It doesn't have to be perfect because it'll be covered by your other piece of fabric.

Decide on the colour you want your cover to be. I used food colouring to dye both my Love Mini Album cover, and my Vintage Book Mini Album cover. I did them both in different ways.
For the Vintage Book cover, I put drops of food colouring onto the garbage bag I covered my desk with, and used the fabric to absorb the colour. The benefit of doing it this way, is that your colours tend to be more vibrant, it's just a lot more messy.


I wanted an ombre look, and I knew my colours wouldn't be perfectly ombre (I've done this before), and I was okay with that. I just really wanted a purple album, and was okay if it wasn't a super dark purple.


When my strips were dry, I laid them out on my album cover. Because I cut my larger piece of fabric, two inches larger than the smaller one, I was able to overlap my strips of fabric. I didn't cut them all to be the same width, so overlapping them unevenly was okay with me.

When I decided where I wanted each strip, I gently slid them off and ran my glue stick along the first strip. I did the same thing I did when adhering the base fabric. I closed the album to make sure the strip wrapped around the album cover.

I glued down all the other strips the same as the first with slight overlap, and left a bit hanging over the top and bottom. I'm a perfectionist, but I love the messy-ness of this album cover.

On the inside, my purple edges weren't very even. I was okay with that because I knew I was going to cover them with my pages. This album currently looks like a mess on my desk, but by the end I promise that it won't!

Then I ran the album through my sewing machine. I only stitched around the outside edge, but you could sew this however you wanted. If you don't want any of your stitching to affect your pages, do it now before you add any pages, and you can still hide it.

Going back to the inside of your album, now is when you cover your spine with washitape. I used black washitape to hide the green masking tape, but you can use any colour you want! Just make sure that you push a little into the gap between the spine and the covers. I went out the width of my tape from the gap between the spine and the covers. The pages will hide all the tape except the portion on the spine.
Now you can set this aside and work on your Project Life pages, or watch something on Netflix! I'll be sharing Part Two of this - the inside pages and finishing touches - on March 6th. I'm working on that post right now, and I'm so excited for you to be able to finish your albums! You're going to love them!
Thanks for coming by! I hope you found this helpful! I'd love to see your mini albums, so please please please leave links to them in the comments. Even if it's just to a Facebook photo. I'd like to think that my tutorials help people create pretty things!
Have a great day!
-Alexandria


0 comments:
Post a Comment